


How to Choose the Right Braid Size for Each Client
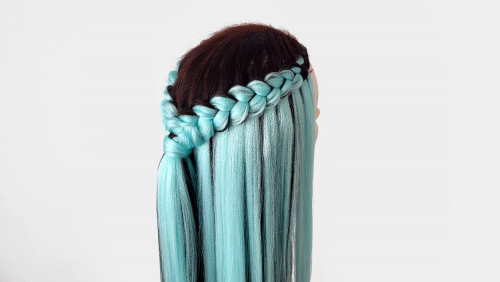
Choosing the right braid size is one of the most important decisions in a professional braid service. It may look like a simple style preference, but in real work it affects comfort, tension, weight, wear time, scalp visibility, takedown, and the overall look of the finished hairstyle. A client may ask for small Box Braids, long Knotless Braids, medium Senegalese Twists, or a fuller protective style because they saw a photo online. The braider’s job is to translate that request into something that works for the client’s actual hair density, hairline strength, lifestyle, and maintenance routine. A braid size should not be chosen only by trend. It should be chosen by what the hair can safely support and what the client can realistically wear.
Read the Client’s Hair Before Choosing the Size
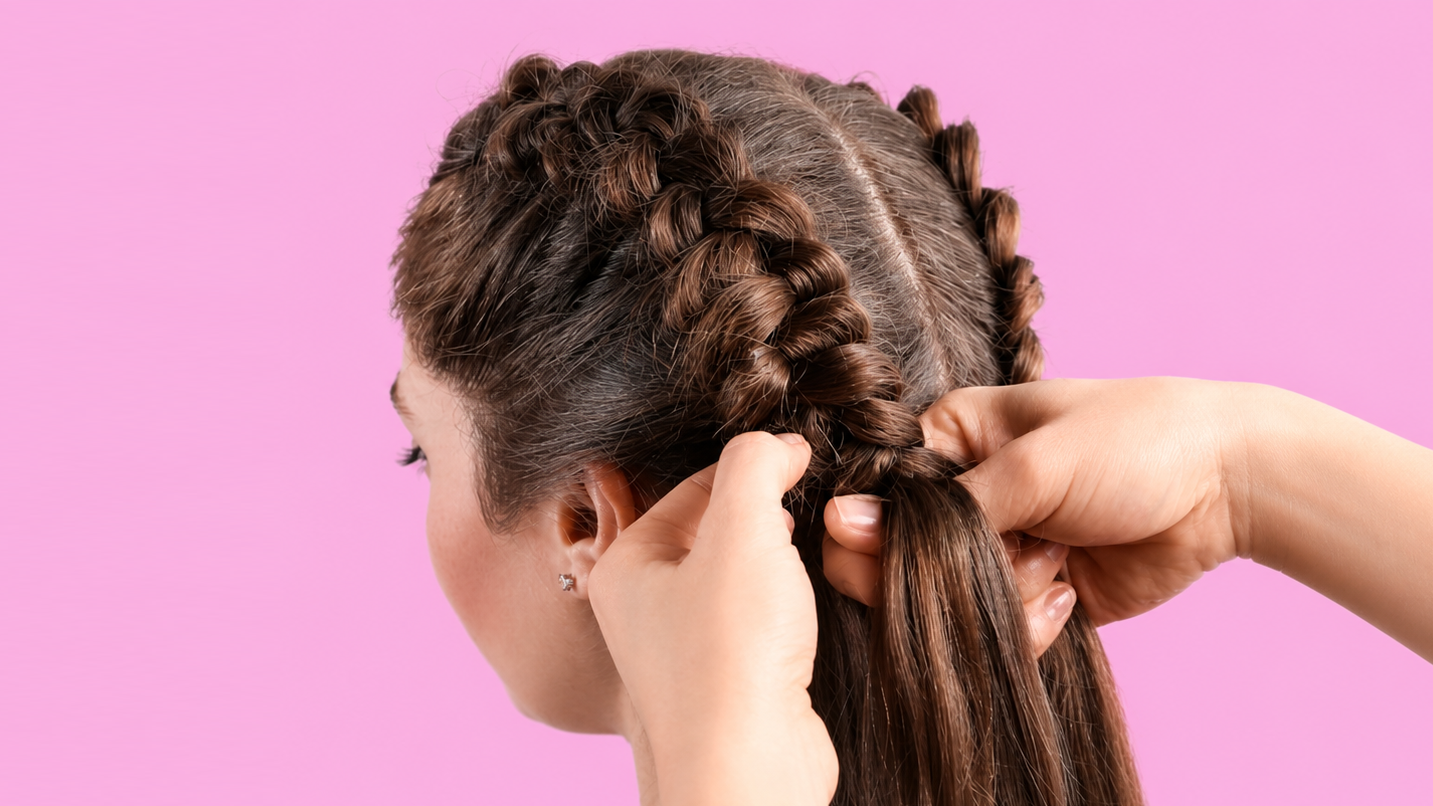
The first thing to check is hair density. Density means how much hair the client has on the scalp, not how thick each individual strand feels. A client can have fine hair but high density, or thick individual strands with lower density. This matters because the base has to support the braid. If the section is too small and the braid is too heavy, the natural hair carries too much weight in one concentrated area. If the section is too large and the braid is too small, the braid can look loose, flat, or unfinished at the root. Professional sizing begins with understanding how much natural hair is available in each zone and how much added hair that section can carry without stress.
The hairline needs special attention. The front hairline, temples, and nape often have finer or more delicate hair than the interior of the head. These areas should not automatically receive the same braid size and same amount of extension hair as the crown or back sections. A heavy braid near the edge can pull more during wear, especially when the client sleeps, works out, or styles the braids into a ponytail. A professional braider may need to make the perimeter lighter, reduce added hair, adjust the base, or avoid forcing short baby hairs into the braid. The goal is not only to make the hairline look filled in on day one. The goal is to keep it comfortable and protected during the full wear time.
Client lifestyle also affects braid size. Someone who works out often, wears high ponytails, swims, or needs a low-maintenance everyday style may need a different size than someone booking braids for a short event or photo shoot. Smaller braids can look detailed and may last longer visually, but they take more time to install and remove. Larger braids can be faster and more dramatic, but they may loosen sooner or expose more scalp depending on the sectioning. Medium braids often create a strong balance between fullness, comfort, and practical wear. There is no single perfect size. The right size is the one that supports the client’s hair, schedule, budget, and desired finish.
Balance Braid Size, Added Hair, and Coverage
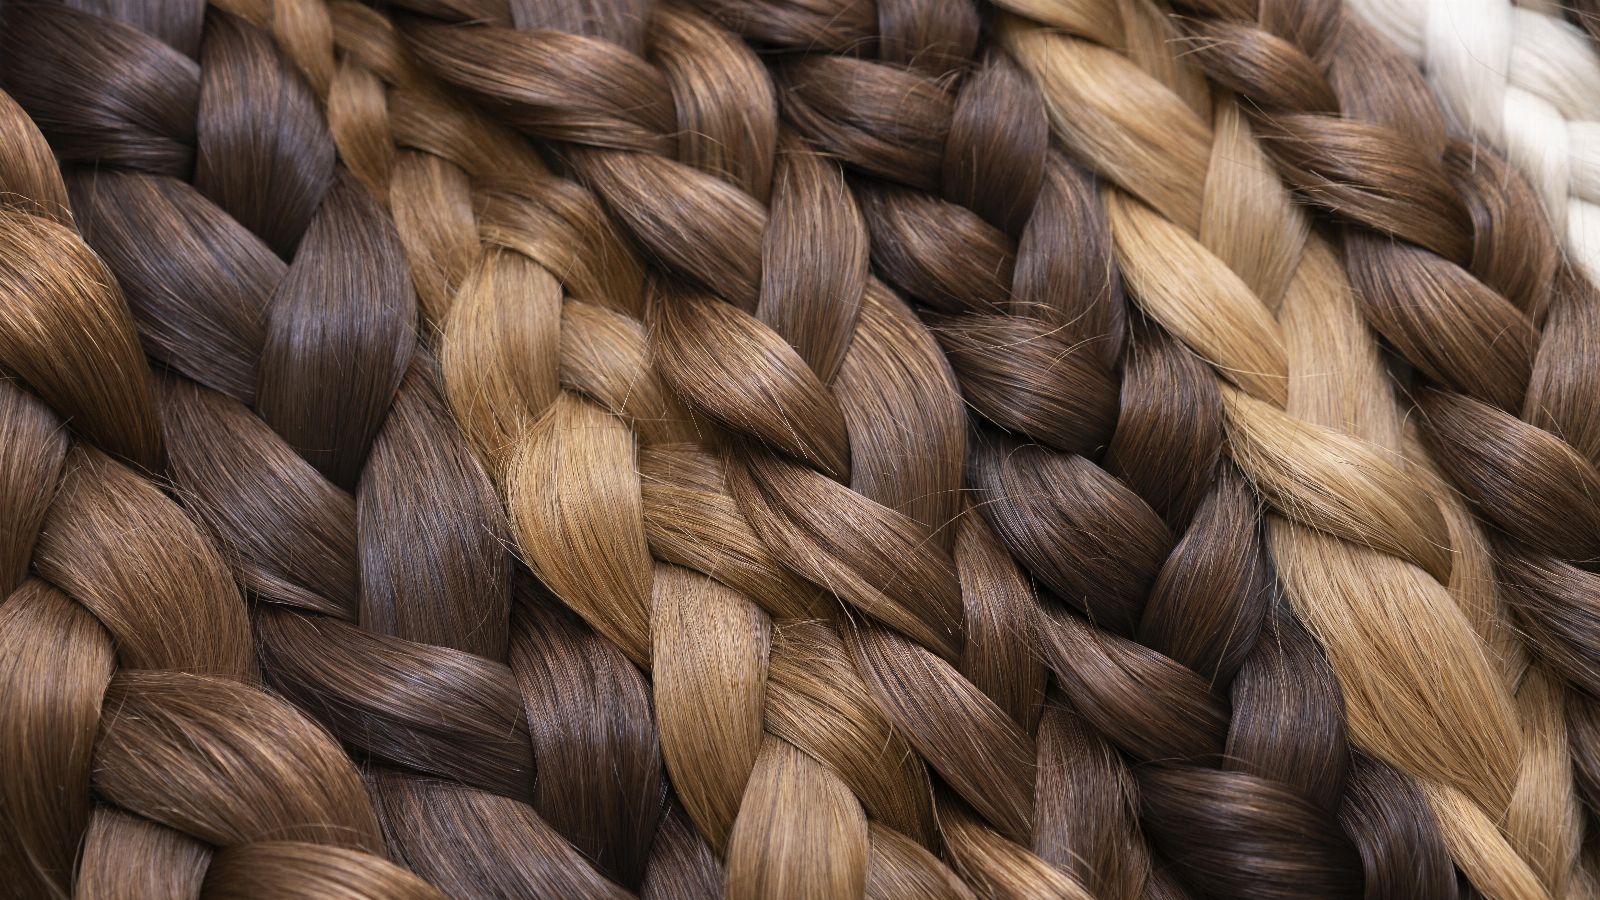
The amount of added hair is just as important as the size of the part. Two braids can have the same base size but feel completely different if one carries too much synthetic hair. Long braids, dense braids, and heavy fibers can create more pull over time. This becomes even more noticeable when the hair is wet or styled up. For Knotless Braids, the braid should build gradually without becoming bulky at the root. For Box Braids, the attachment should feel secure without creating a heavy knot-like base. For Senegalese Twists, the amount of hair has to support the twist pattern without making the twist stiff or too weighty. Braid size and extension weight should always be planned together.
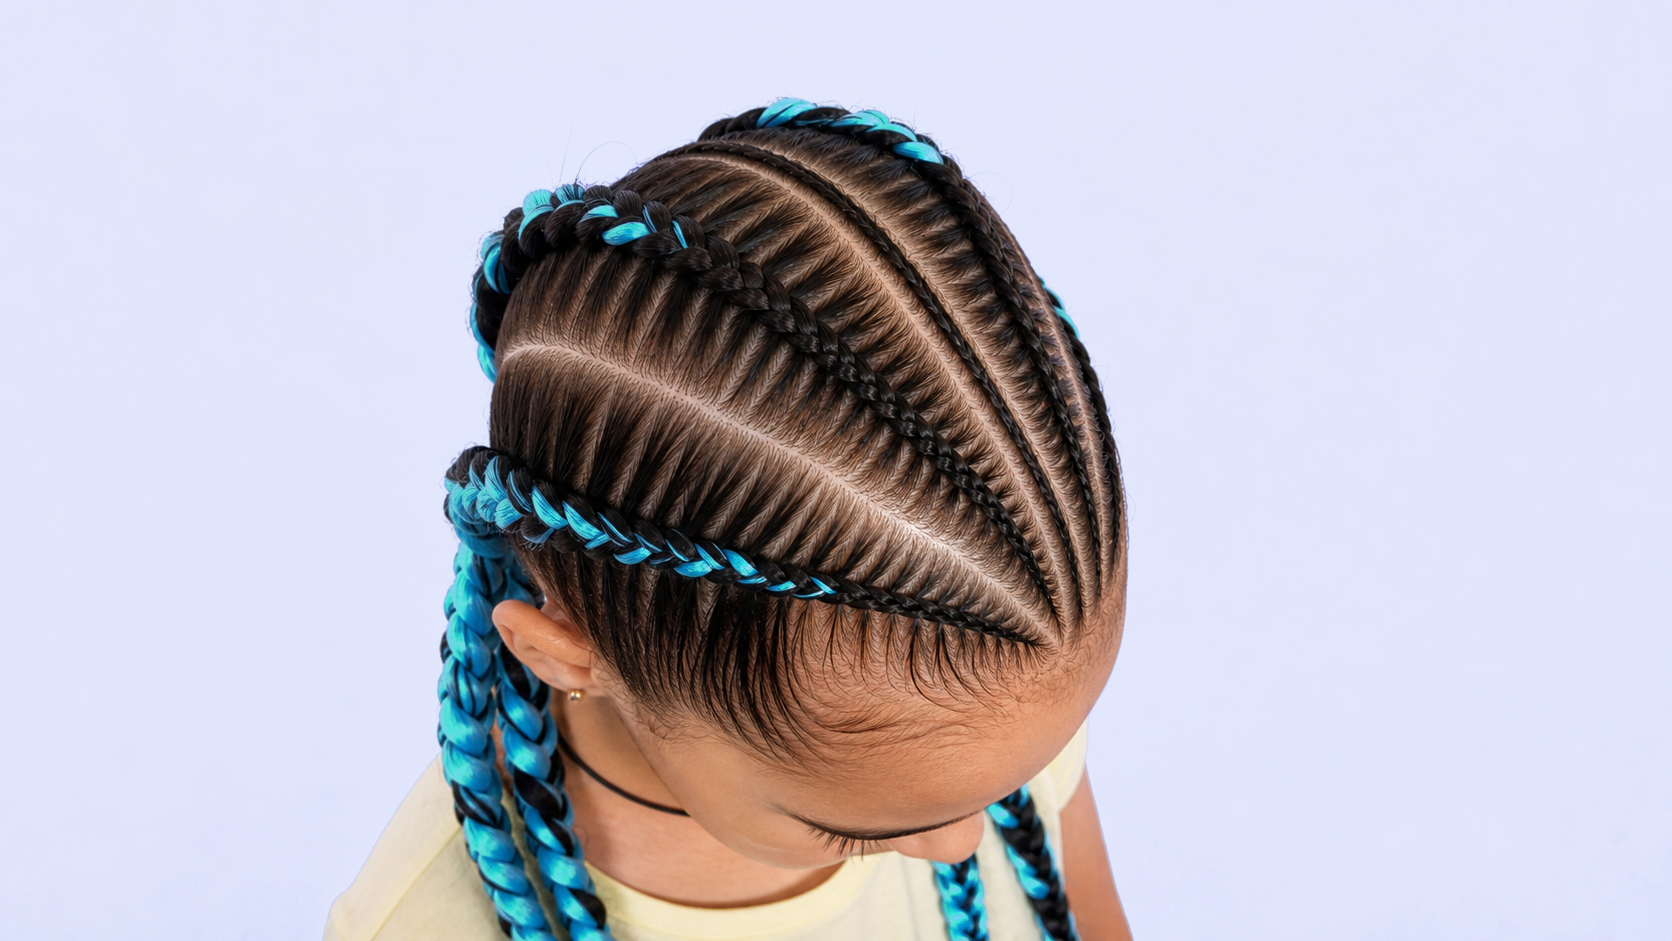
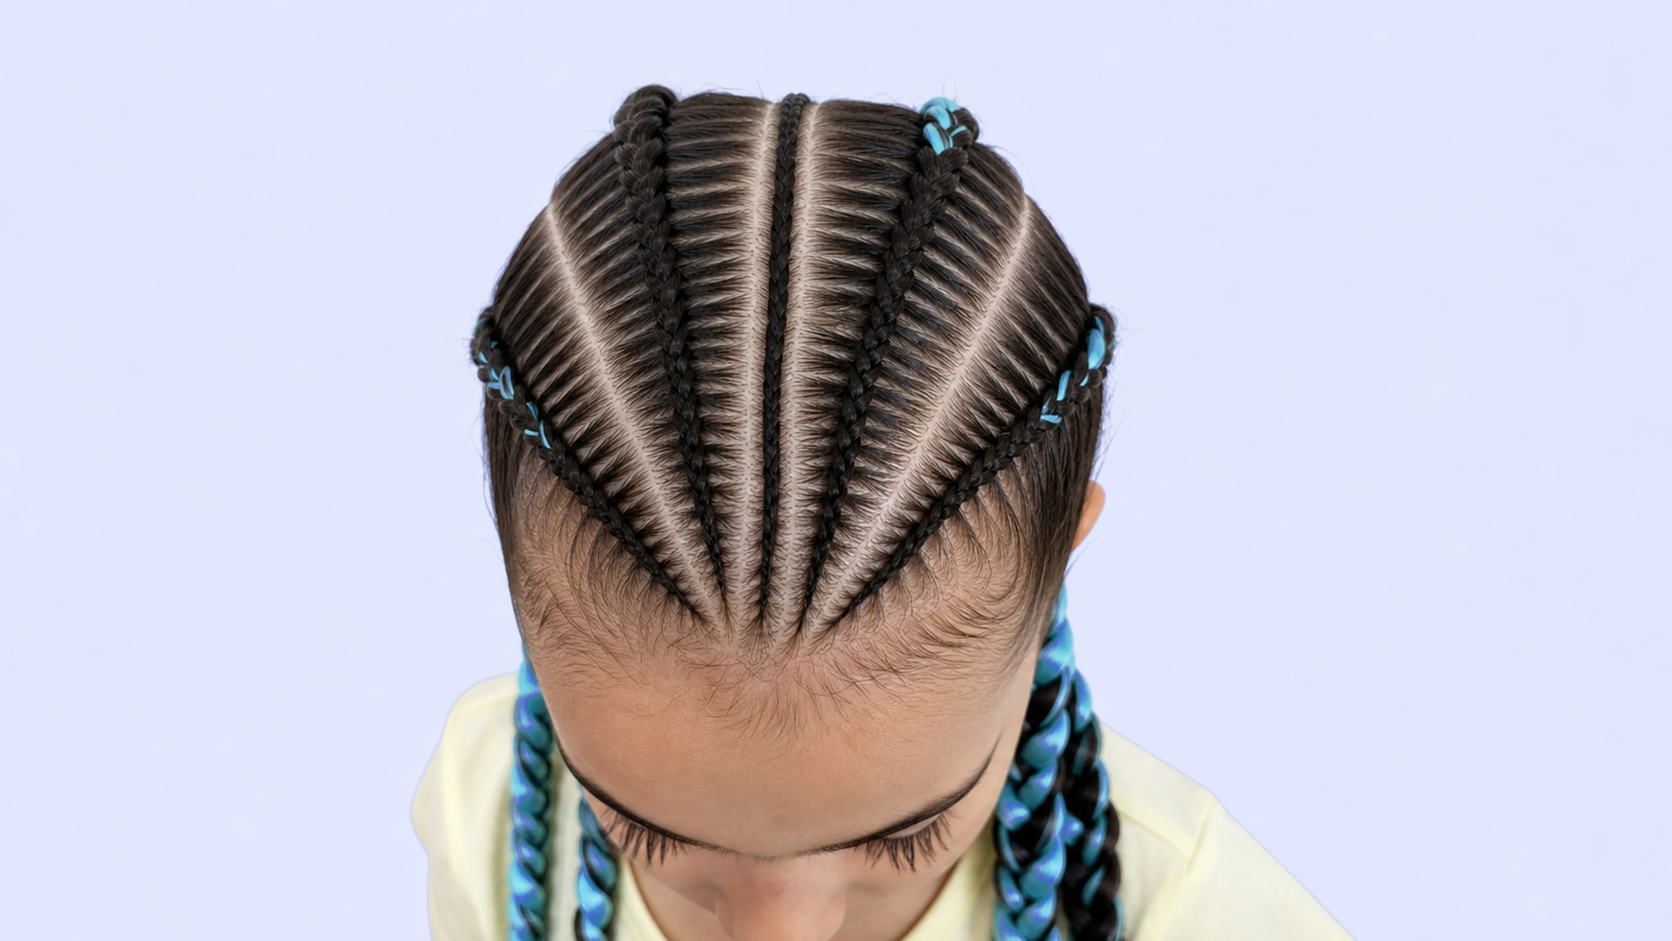
Scalp visibility is another factor. Some clients want very full coverage with minimal scalp showing, while others like a cleaner grid with visible parts. A braider should explain that fullness is not created only by making every section tiny. A smarter sectioning pattern, such as staggered placement or a better row layout, can create stronger coverage without overloading the roots. If the client has lower density hair, making extremely small sections may not always be the safest answer. It can create more tension points and a longer takedown. A better solution may be a medium braid size, careful grid planning, and lighter extension placement.
Hair length and haircut shape also matter. Short natural hair, blunt ends, layers, and growing-out haircuts can affect how the braid holds and how easily the natural hair can be tucked. If the client’s natural hair is short or uneven, very large braids may not give enough control to hide the natural ends. If the hair has layers, smaller or medium sections may allow better tucking and a cleaner finish. On the other hand, very tiny braids on fragile or short hair can be difficult to remove safely. The braider has to think beyond the install and ask how the braid will look after a few days of movement, sleeping, and natural hair expansion.
Test the Size and Think Through the Full Wear Cycle
Consultation should be direct and honest. A client may bring an inspiration photo, but the photo does not show the model’s hair density, scalp sensitivity, or extension weight. Instead of simply copying the image, the braider should explain what can be recreated and what needs adjustment. For example, a client may want waist-length small Knotless Braids, but if the hairline is fragile or density is low, a lighter size or shorter length may be a better recommendation. This kind of guidance builds trust. Clients usually appreciate when the braider explains the reason behind a professional decision instead of just saying yes to a style that may not wear well.
A useful professional habit is to test the size before committing to the full head. Create one sample braid in a less visible area and one near a more sensitive zone if needed. Check the root, the weight, the movement, and the client’s comfort. Ask whether it feels secure or tight. Those are different things. A secure braid feels stable. A tight braid feels like pulling, pressure, or restriction. If the sample braid already feels heavy, the full style will usually feel heavier after several rows are installed. It is better to adjust early than to finish the entire head and realize the braid size or weight was wrong.
The takedown should also influence braid size. Very small braids can take a long time to remove, and if the style is worn too long, shed hair and product buildup can make removal more difficult. Larger braids may be easier to take down, but they can put more weight on each base if too much extension hair is used. A professional braider thinks about the full cycle: installation, wear, maintenance, washing, and removal. A braid style is not truly successful if it looks good on day one but causes stress, matting, or breakage at takedown.
Choosing braid size is not about following one rule for every client. It is about reading the head in front of you. Look at density, hairline strength, natural hair length, scalp comfort, desired style, extension weight, and lifestyle. Then choose a braid size that gives the client the look they want while respecting what the hair can support. This is where professional judgment matters. The best braid size creates a clean visual result, comfortable wear, balanced weight, and a smoother removal process. When those elements work together, the style looks better, feels better, and reflects a higher level of braiding skill.
The right braid size should make the finished style look intentional, not forced. It should support the shape without overloading the root. It should give the client confidence without creating unnecessary tension. Whether the style is Box Braids, Knotless Braids, Senegalese Twists, Zizi Braids, or another protective look, size is never just a cosmetic choice. It is a technical decision. A professional braider understands that every section has a limit, every head has different needs, and every beautiful style should still be comfortable enough to wear in real life.