


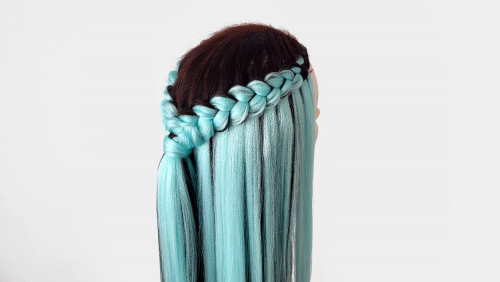
The Gel Diet: How Too Much Braiding Gel Causes Buildup and Flakes
Braiding gel can be one of the most useful products in a braider’s kit, but it can also become one of the fastest ways to ruin a clean style when it is overused. The problem is not the gel itself. The problem is using gel as a substitute for clean sectioning, controlled tension, proper smoothing, and good strand placement. When too much product is layered onto the hair or scalp, the braid may look sleek for the first few minutes, but later it can dry white, flake, feel stiff, attract lint, or create buildup around the base. A professional finish should look polished and still feel like hair, not like every section has been sealed under a heavy layer of product.
Use Gel as Support, Not Structure
The first thing to understand is that braiding gel is a support product, not the main structure of the braid. It can help smooth flyaways, define parts, control short pieces, and give the braider more grip when working with certain textures. But the braid still has to be built through technique. If the parting is uneven, the gel will not make the base balanced. If the tension is inconsistent, the gel will not fix the braid shape. If natural hair is not tucked correctly inside synthetic hair, gel may hold the flyaways down for a moment, but the problem will usually come back as the style moves. Product can polish good work, but it cannot replace good work.
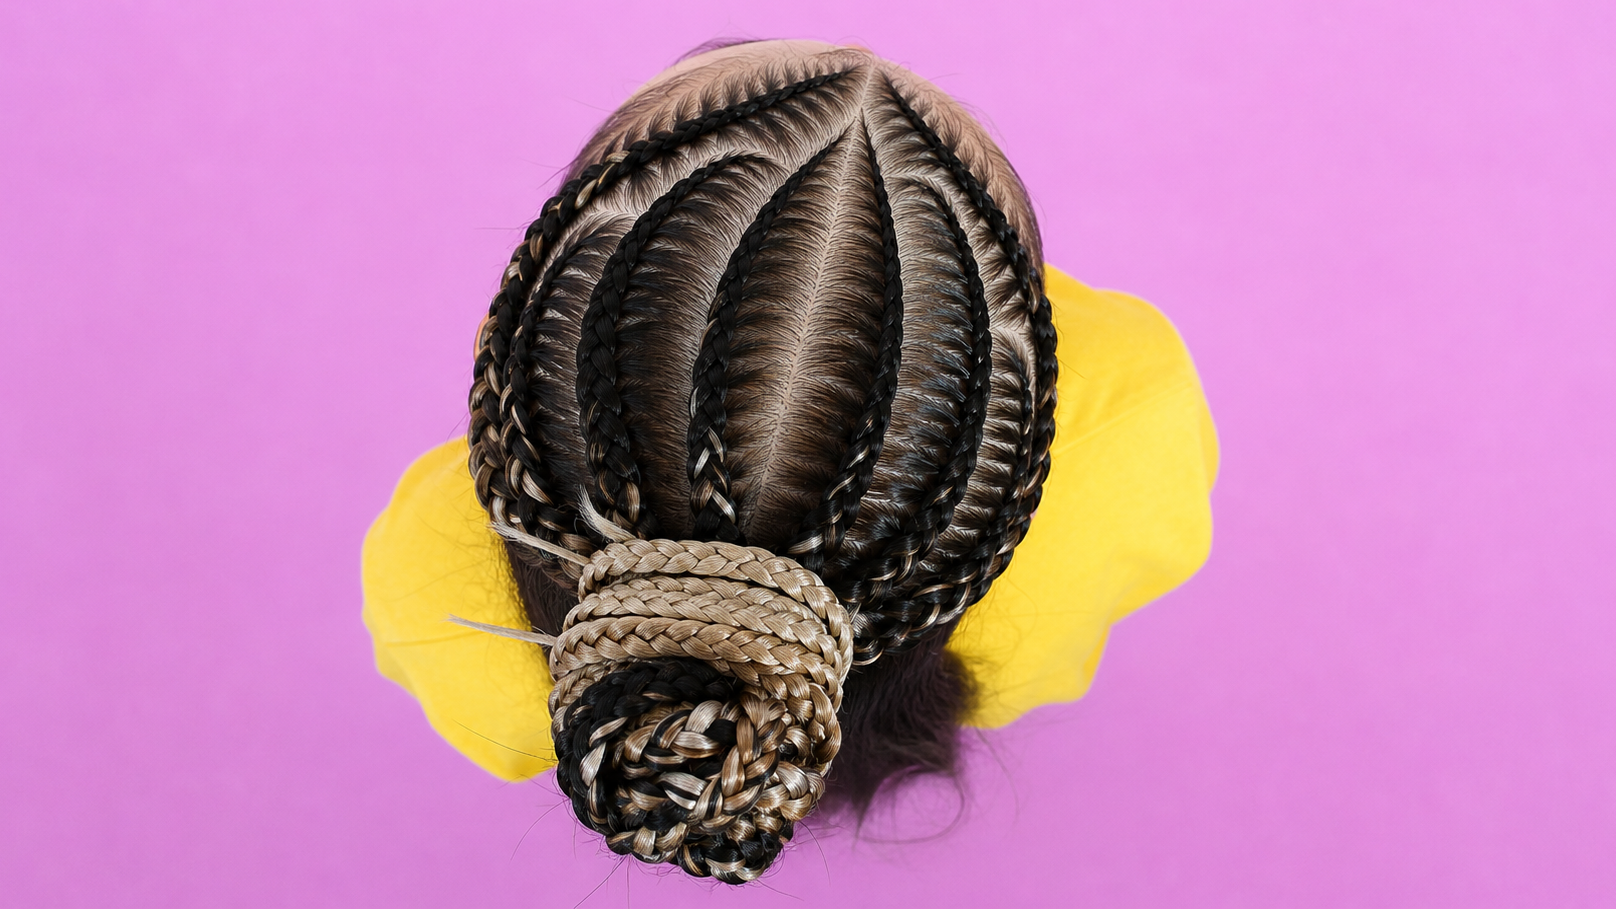
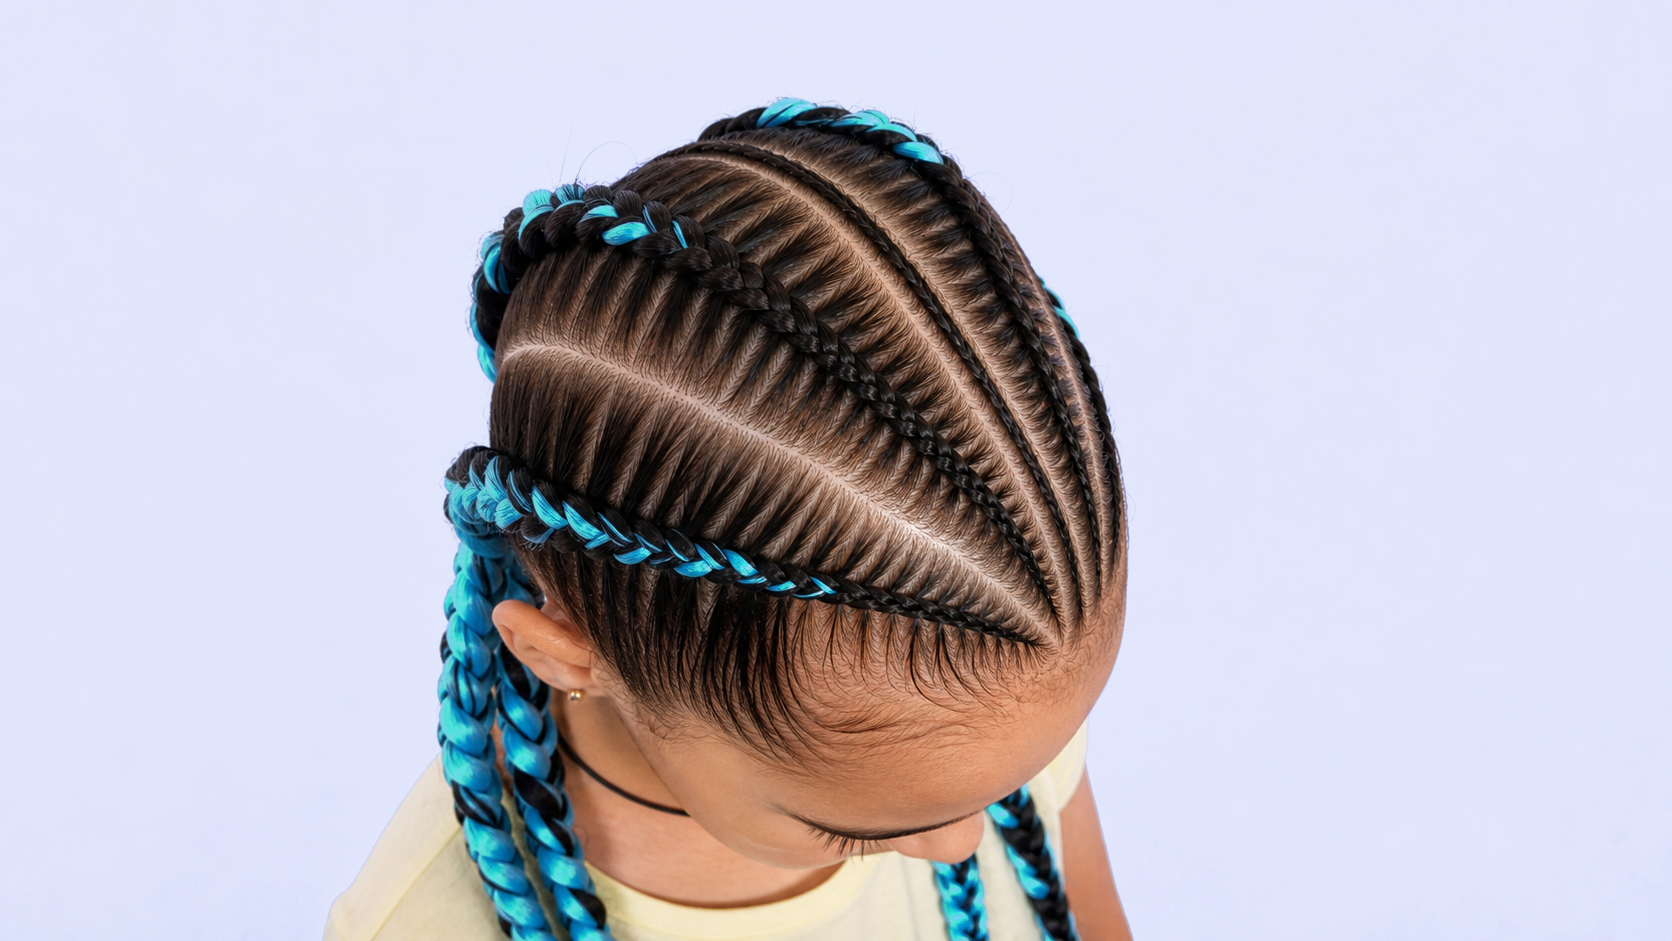
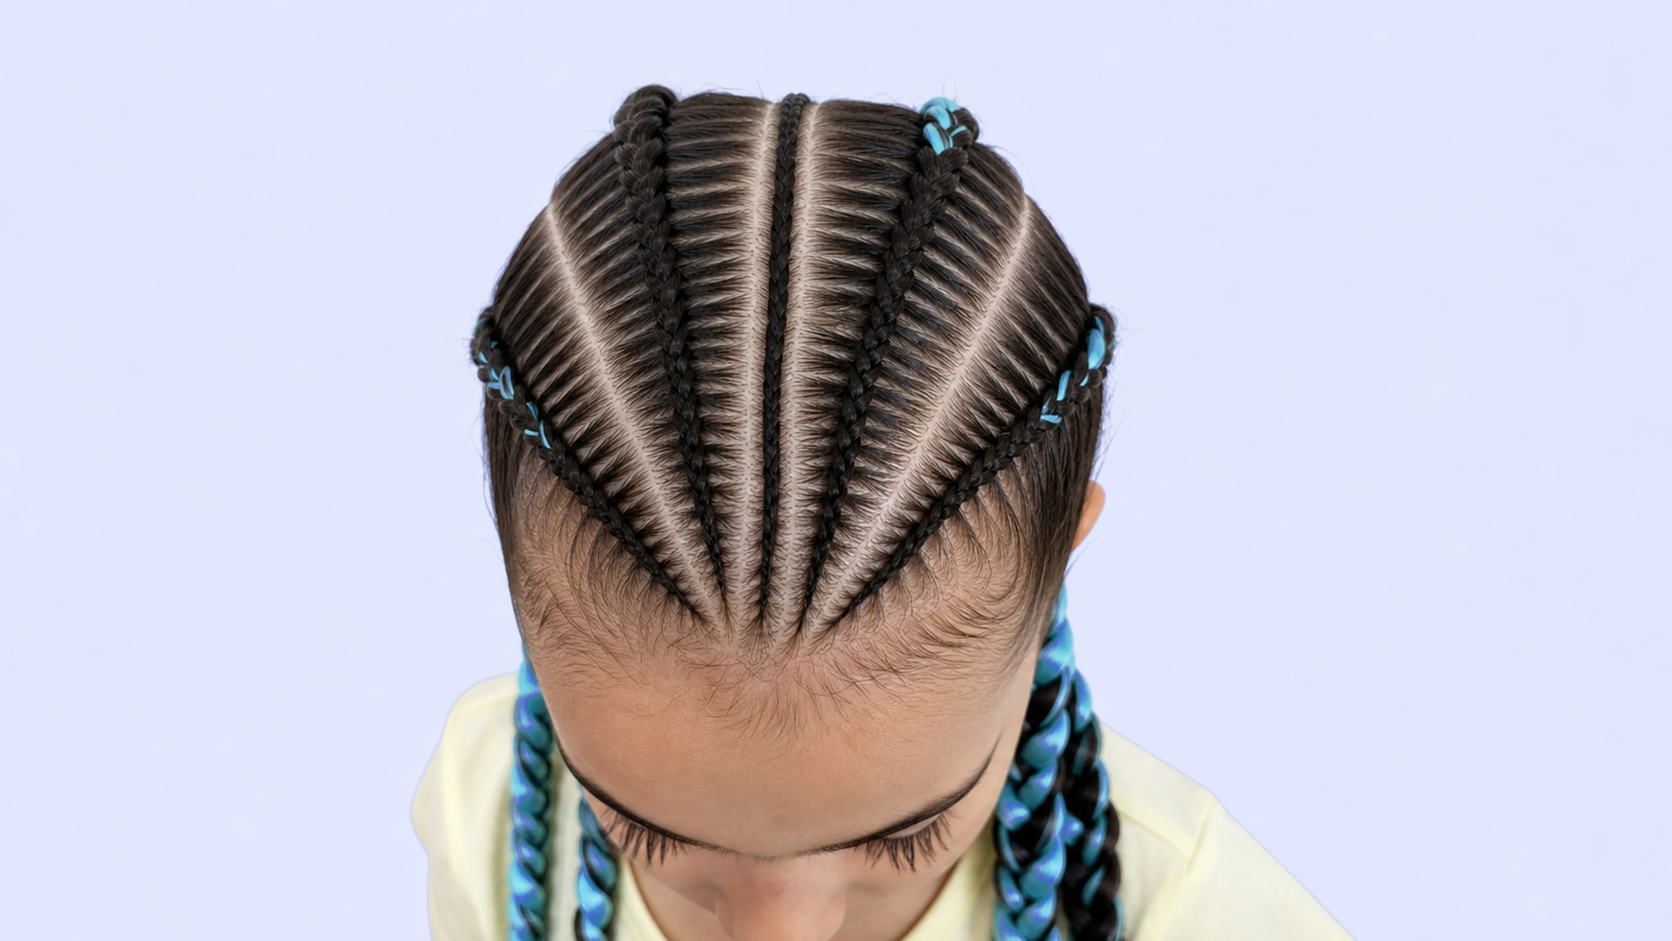
Buildup usually starts when product is placed too heavily at the root. The base of a braid is already an area where natural hair, synthetic hair, scalp oil, sweat, and shed hair can collect during wear. When thick gel is added in large amounts, it can dry into a firm layer around the section. That layer may look clean at first, but over time it can mix with oil, dust, lint, and other products. The root can begin to feel coated or sticky, and the scalp may look dull instead of fresh. This is especially common in styles that stay in for several weeks, such as Box Braids, Knotless Braids, Cornrows, Feed-In Braids, and Senegalese Twists.
Prevent Flakes, Residue, and Product Reactions
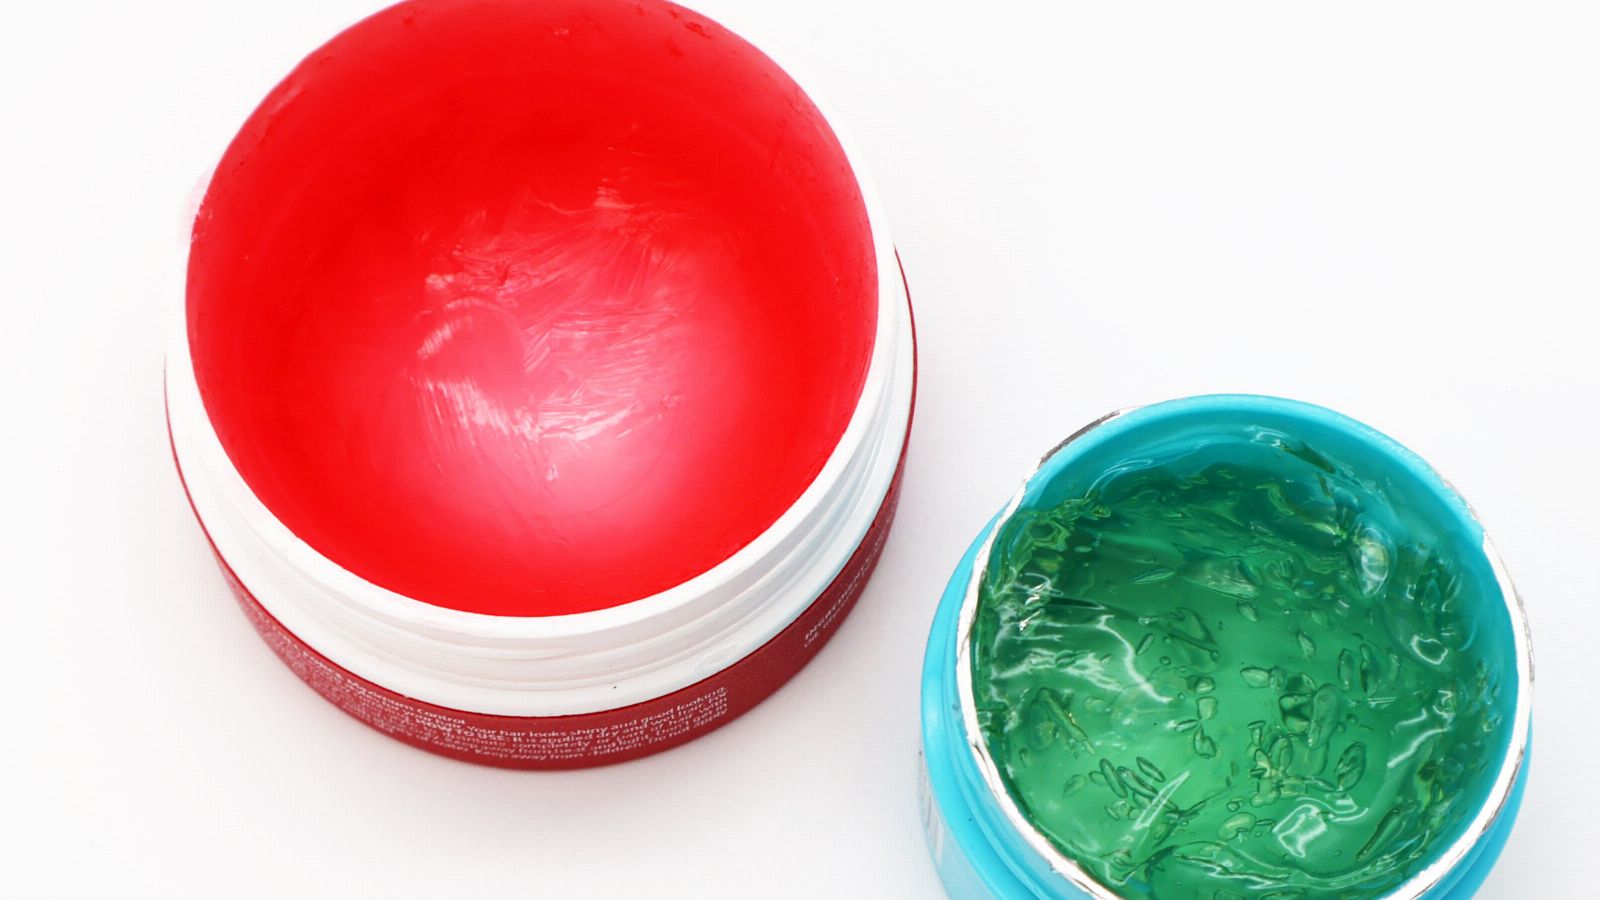
Flaking often happens when gel dries on top of the hair instead of being worked into the section. If the product sits visibly on the surface, it may turn white as it dries, especially when too much is applied or when it is combined with other formulas that do not work well together. Leave-in conditioner, edge control, oil, mousse, and braiding gel can all react differently depending on the brand and ingredients. One product may look smooth by itself but turn cloudy when layered over another. This is why product compatibility matters. A braider should not assume that every gel can be mixed with every leave-in or edge control without testing.
A common mistake is applying gel to every part of the section instead of only where control is needed. Not every strand needs product. Sometimes the part line needs a small amount. Sometimes the short hairs near the root need a light touch. Sometimes the natural hair being tucked into synthetic hair needs just enough grip to stay inside the braid. When gel is spread heavily through the entire section, the hair can become stiff and less flexible. The braid may feel hard instead of smooth, and the client may notice residue sooner. A cleaner approach is to apply less product, comb or smooth it through properly, and add more only if the hair truly needs it.
The hair texture and condition should guide how much gel is used. Coarser, denser, or more textured hair may need more control in certain areas, while fine or silky hair can become greasy or weighed down quickly. Dry hair can absorb product differently from moisturised hair. Chemically straightened or very smooth hair may become slippery if too much product is added. A professional braider adjusts the product amount instead of using the same scoop on every client. The goal is not to make the hair wet and shiny. The goal is to create enough grip and smoothness for the braid to form cleanly without leaving a heavy product trail behind.
Protect the Root, Hairline, and Takedown
Too much gel can also make takedown harder. During wear, shed hair naturally collects near the base of the braid. This is normal. But when heavy product is present, shed hair can stick together more tightly, especially if the client also uses oil, mousse, or scalp sprays on top. By the time the style is ready to come down, the roots may be coated and harder to separate. If the removal is rushed, the client may experience unnecessary breakage. A protective style should be easy enough to remove safely when the time comes. Product overload can work against that goal by turning the root area into a sticky, compacted zone.
The hairline is another place where gel should be used carefully. Many clients want a smooth, finished front, and a little product can help polish the edges. But heavy edge control, repeated brushing, and thick gel around delicate areas can create buildup and friction. If the hairline is already fragile, short, or sensitive, forcing every baby hair into place with product can add stress. A softer finish may be better for the health of the hair. A professional braider should know when a sleek edge is appropriate and when a lighter touch looks cleaner and wears safer.
Test Product Compatibility Before the Full Style
White residue can often be prevented before the braid begins. One simple professional habit is to test products together before using them across the whole head. Mix a small amount of gel with the leave-in or edge control that will be used during the service. If the mixture turns cloudy, pills, separates, or dries white on the hand, it may do the same on the client’s hair. Another habit is to check the braid under strong light before moving on. If product is visible while it is still wet, it may become more visible when it dries. Removing excess early is easier than trying to fix flakes after the style is finished.
The “gel diet” is a useful mindset because it reminds braiders to use product with discipline. It does not mean avoiding gel completely. It means using the smallest effective amount. Start with clean sectioning, good detangling, proper tension, and controlled hand movement. Then add gel only where it supports the technique. If the braid still looks messy, check the cause before adding more product. Is the part uneven? Are the strands unbalanced? Is the hair too dry? Is the synthetic hair not placed correctly? Is the tuck failing? More gel may hide the issue for a short time, but it will not build a cleaner braid.
Teach Clients to Keep Maintenance Light
For clients, product education is also important. If a style was installed with gel, and then the client adds oil, mousse, edge control, shine spray, and scalp products every day, buildup can appear quickly. Clients should be told to keep maintenance light. A braid style does not need to be coated daily to stay fresh. Night protection, gentle scalp care, and controlled refreshing usually do more for the style than heavy product layering. The braider should explain that too much product can make braids look dull, flaky, or older than they are. Clear aftercare helps protect the look of the style and the condition of the natural hair underneath.
Keep the Finish Clean Without Overloading the Hair
A professional finish should be clean, touchable, and intentional. Gel should sharpen the detail, not become the detail. When used correctly, it can help the braid look smooth, control flyaways, and support a polished result. When used heavily, it can create buildup, flakes, stiffness, residue, and a harder takedown. The difference is not only the product brand. It is the braider’s judgment. Better sectioning, better smoothing, better tucking, and better tension usually mean less product is needed. That is the real goal of the gel diet: cleaner technique first, lighter product second, and a finished braid that looks fresh without feeling overloaded.