


The Flawless Tuck: How to Hide Natural Hair Inside Extensions
A clean tuck is one of the details that makes braids look professional instead of unfinished. When natural hair is visible outside the extension hair, the braid can look fuzzy, uneven, or poorly blended, especially when the client’s natural hair is darker, shorter, thicker, or a different texture from the synthetic hair. The tuck is the technique that keeps the natural hair controlled inside the braid or twist so the finished style looks smoother from root to ends. This matters in Box Braids, Knotless Braids, Feed-In Braids, Senegalese Twists, Boho Braids, and any style where added hair is used to create length, color, fullness, or a cleaner finish.
Start the Tuck Before the Braid Moves Down
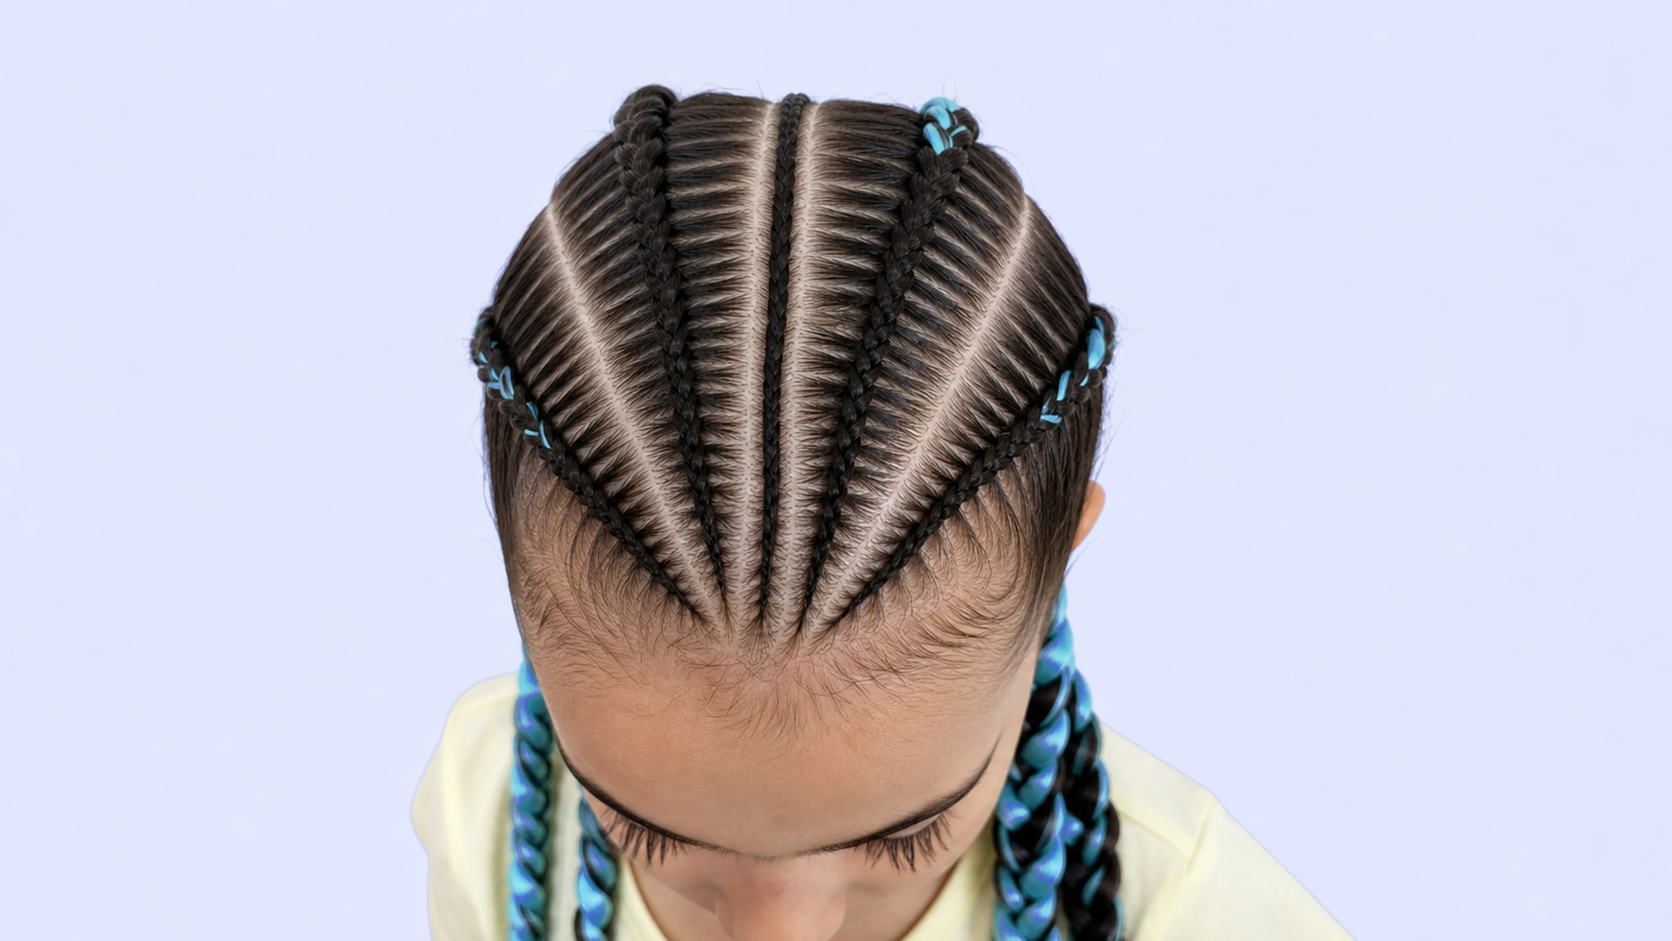
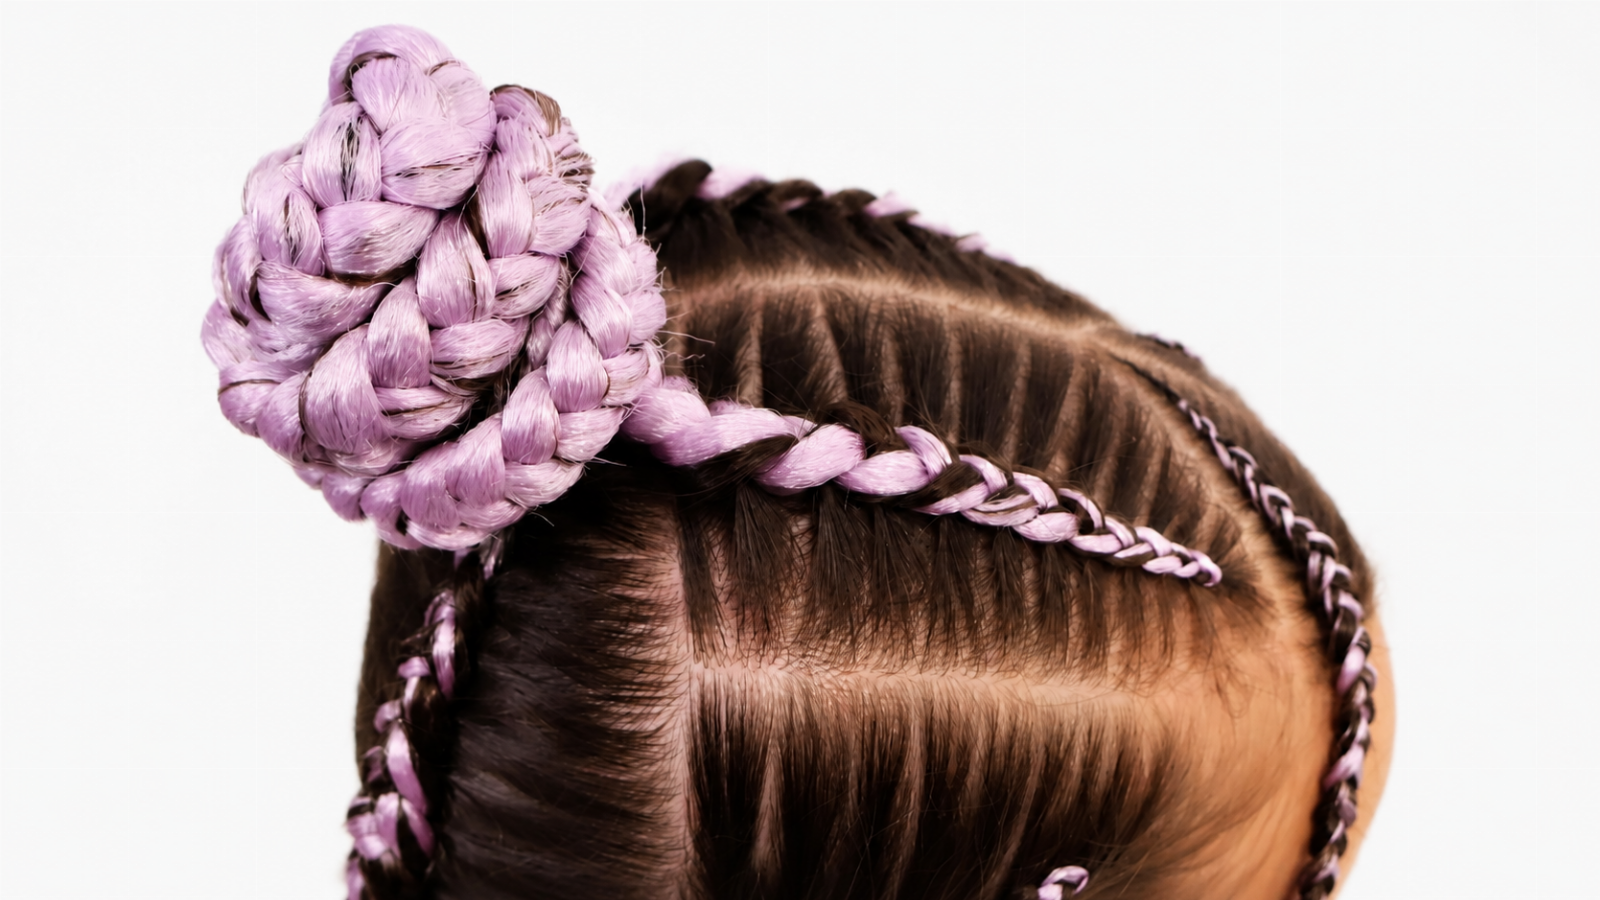
The most important thing to understand is that tucking does not begin halfway down the braid. It begins at the start. If the natural hair is placed on the outside of the working section from the first stitches, it will keep trying to show as the braid moves down. A professional tuck starts by positioning the client’s natural hair inside the extension structure right away. The synthetic hair should wrap and support the natural hair, not sit beside it as a separate piece. When the placement is correct from the beginning, the braid looks more blended, the texture transition is softer, and the natural hair stays protected inside the braid instead of popping out along the surface.
One common mistake is trying to hide natural hair by pulling tighter. That may temporarily smooth the braid, but it does not create a true tuck. It can also create unnecessary tension, especially near the root. A clean tuck is not about force. It is about strand placement, angle, and control. The braider needs to guide the natural hair into the center of the working section and keep the extension hair positioned around it. The braid should feel secure but not stiff. If the natural hair keeps showing, the answer is usually not more tension. The answer is to adjust where the natural hair is sitting inside the braid.
Control Texture, Color, and Extension Coverage
Texture difference is one of the biggest reasons tucking becomes difficult. If the client has natural hair with more volume or curl, and the extension hair is smooth or silky, the natural hair may want to expand outside the braid. If the client has blunt ends, short layers, or a growing-out haircut, the ends may poke through before the braid is finished. This does not mean the braid cannot look clean. It means the braider has to work with smaller movements and more intentional wrapping. The natural hair should be smoothed before each cross, then covered by the synthetic hair as the braid continues. The cleaner the strand placement, the cleaner the tuck.
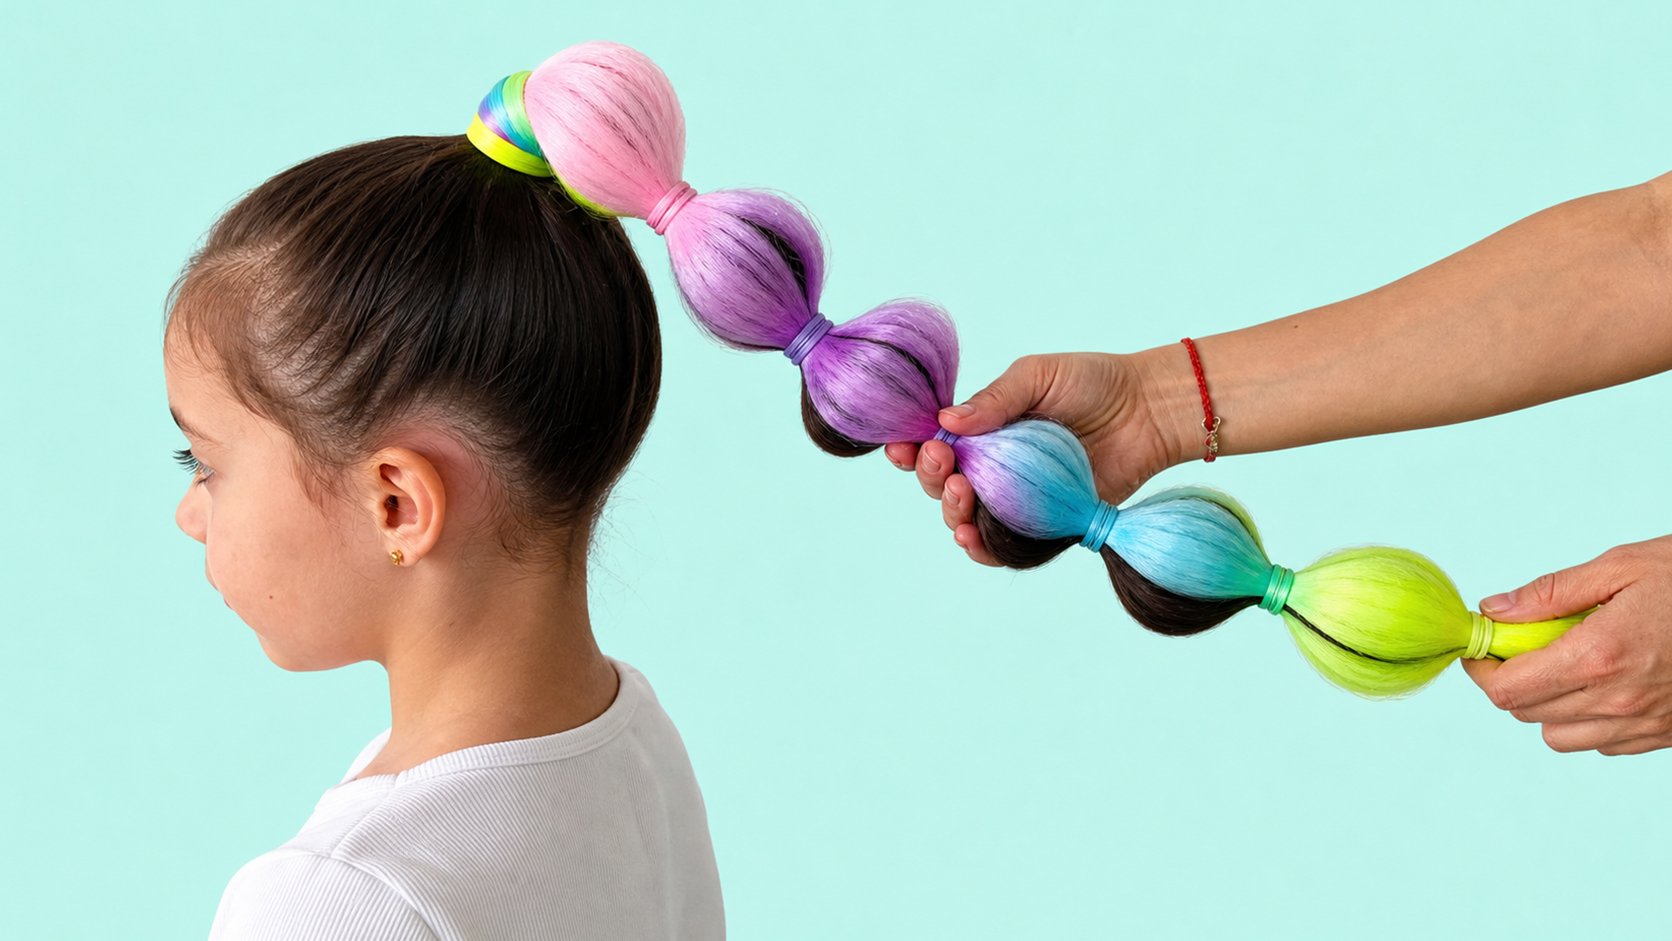
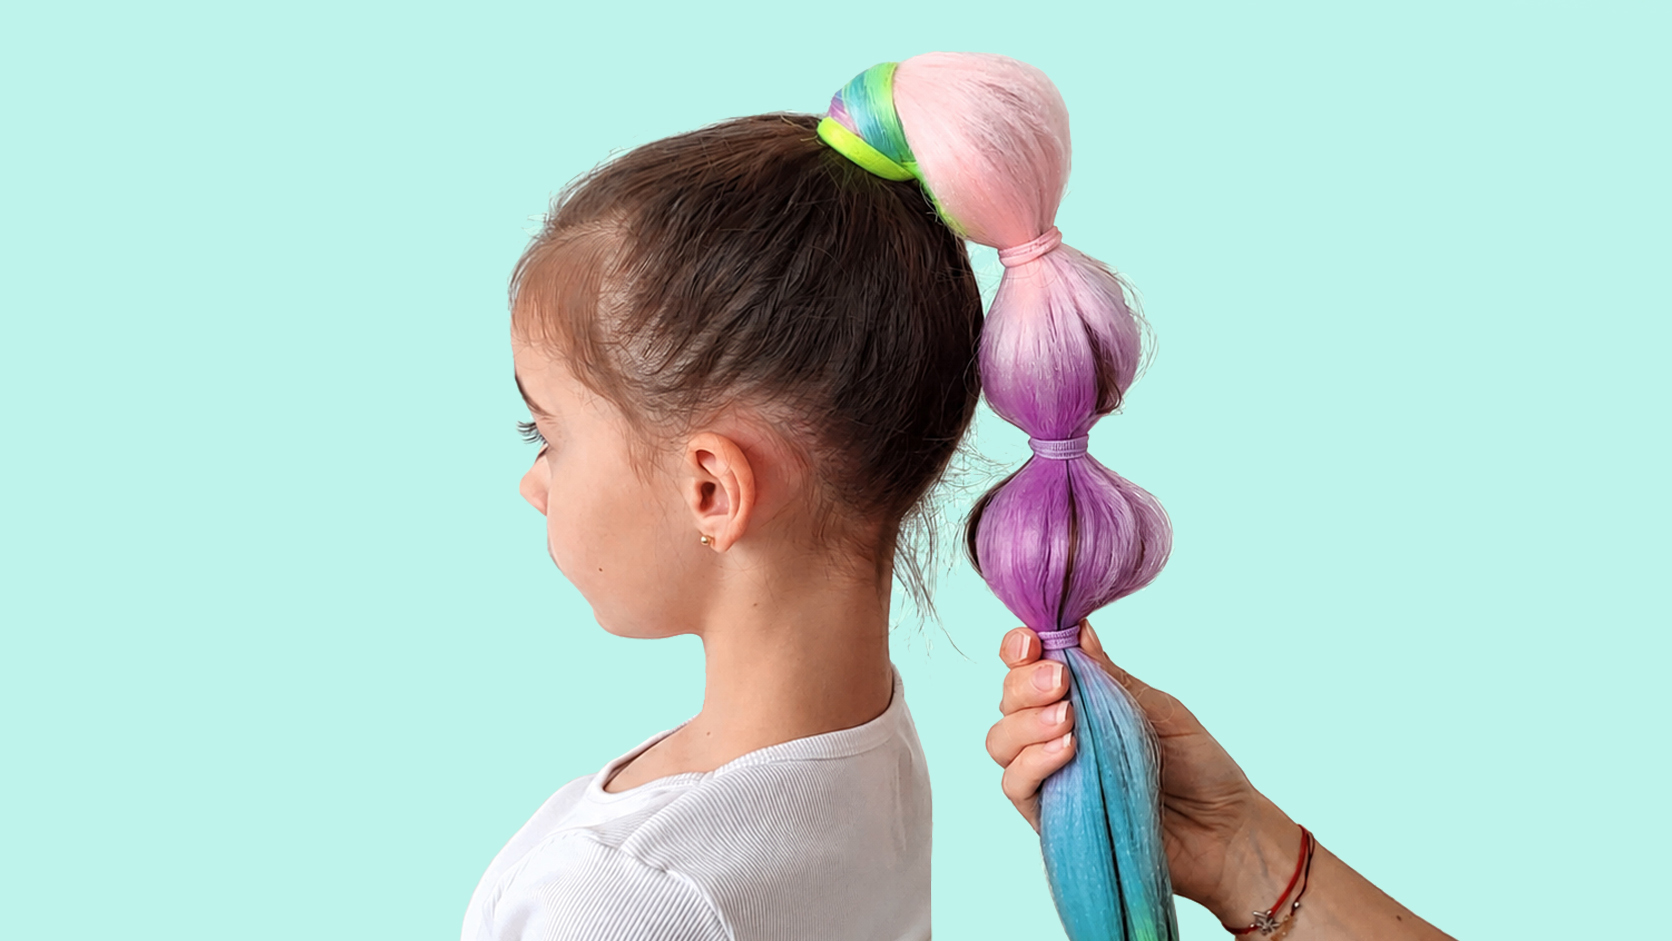
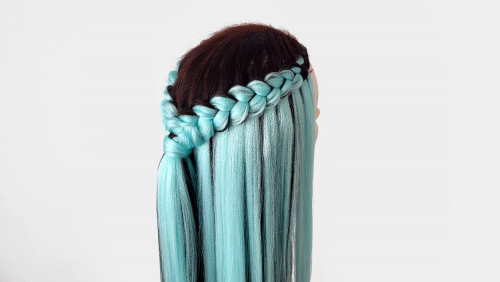
Color contrast makes tucking even more important. Dark natural hair inside blonde, pink, mint, gray, or bright synthetic hair will show quickly if it is not controlled. The first third of the braid is usually where the contrast is most visible because the natural hair is still present and the braid is close to the client’s head. In this area, the braider should slow down and focus on keeping the natural hair covered with the extension hair. A rushed tuck near the root can make the entire braid look less polished, even if the lower length is smooth. When working with high-contrast colors, precision matters more than speed.
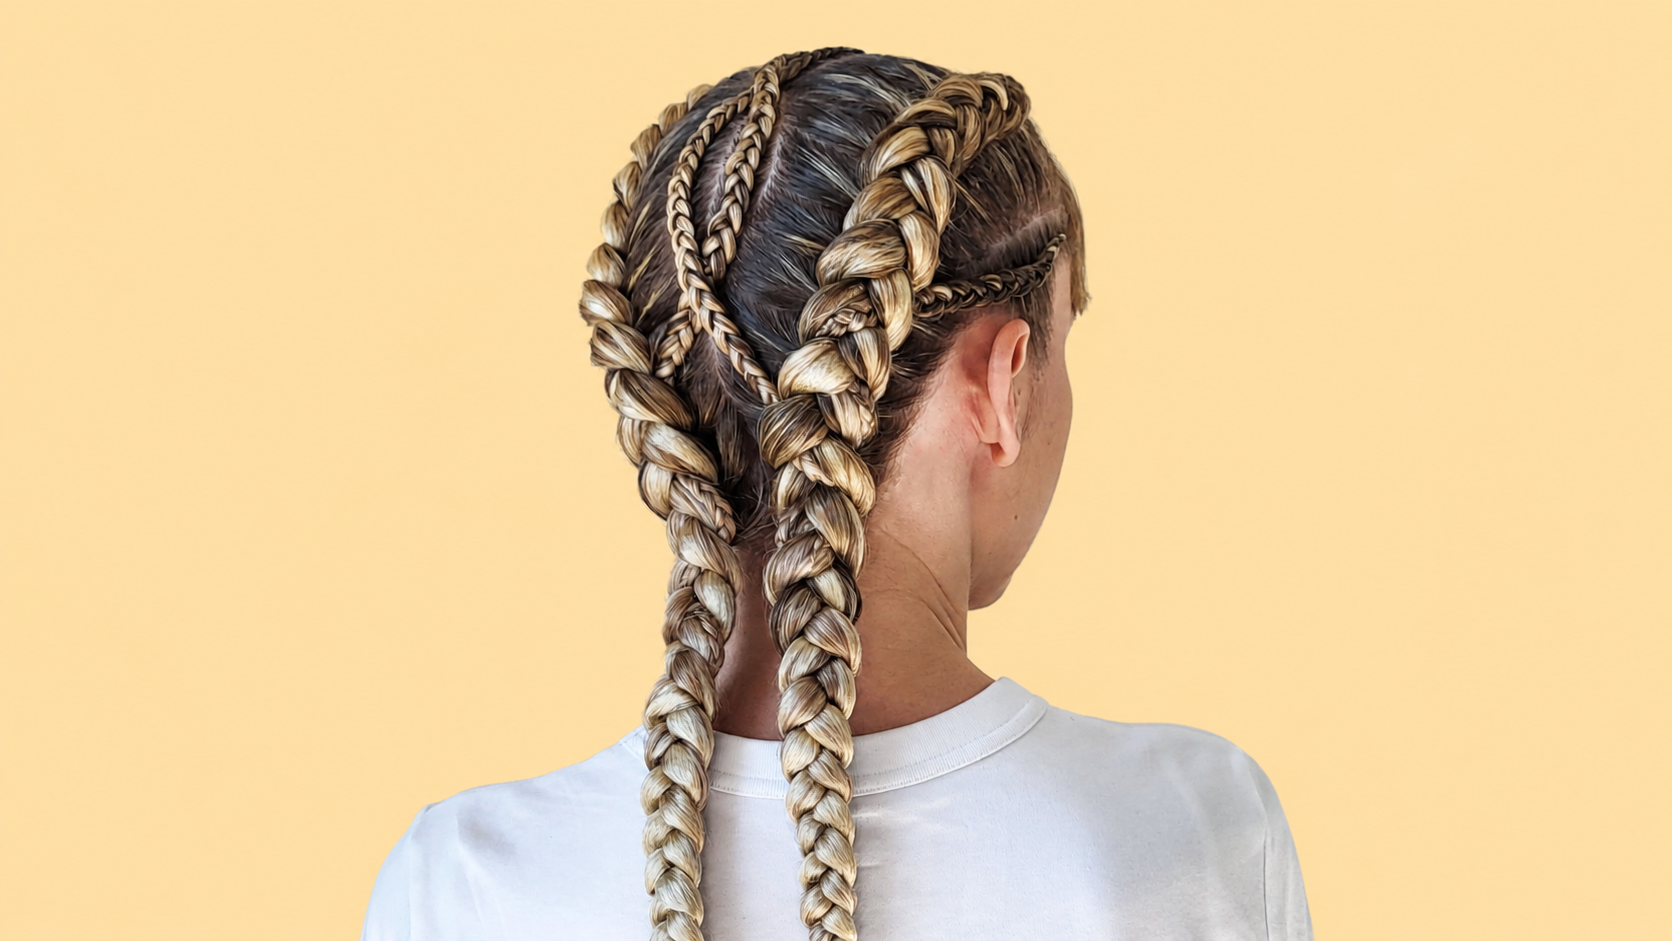
The amount of extension hair also affects how well the natural hair can be hidden. If there is too little synthetic hair, it may not cover the natural strand fully. If there is too much, the braid can become bulky and difficult to control. The right amount depends on the client’s hair density, texture, length, and the desired braid size. In Knotless Braids, the added hair should build gradually so the root stays flat and flexible. In Box Braids, the attachment should provide enough coverage without making the base heavy. In Feed-In Braids, each added piece should support the braid smoothly instead of creating a bump. A flawless tuck depends on balance, not just coverage.
Use Product and Hand Angle with Control
Product can help, but it should be used carefully. A small amount of braiding gel, jam, or light styling product can help smooth short pieces and give the natural hair enough grip to stay inside the braid. But too much product can create buildup, stiffness, flakes, or white residue. Product should be applied lightly to the natural hair that needs control, then combed or smoothed through before braiding. It should not be packed onto the braid as a way to force the hair into place. A professional finish should still feel like hair, not like product holding the entire structure together.
The hand angle is another key part of tucking. If the natural hair keeps appearing on the outside, the braider may be rotating the strand in a way that exposes it. A small shift in hand position can change everything. The extension hair should be placed so it covers the natural hair on the visible side of the braid. As the braid continues, the braider should watch where the natural hair is moving. If it begins to rise to the surface, adjust the angle before the end pops out. This is especially important with shorter natural hair, blunt cuts, and layered hair because those ends can escape quickly.
Protect the Natural Hair During Wear
A good tuck also protects the client’s natural hair during wear. When natural hair is left outside the braid, it can rub against clothing, dry out faster, frizz, or become exposed to more friction. When it is tucked properly, it stays more protected inside the extension hair. This is one reason tucking is important in protective styling. The goal is not only to make the braid look smoother on day one. The goal is to help the style wear better over time and reduce unnecessary exposure of the natural hair. A clean tuck supports both appearance and protection.
For practice, the best method is to work with contrasting colors. Use dark natural hair or a dark training section with light synthetic hair, or use two very different synthetic shades. This makes every mistake visible. If the natural hair shows on the outside, the braider can immediately see where the placement failed. Practice slowly and focus on the first few inches of the braid. That is where the tuck is established. Once the natural hair is controlled at the beginning, the rest of the braid usually becomes easier to manage. If the first inches are messy, the lower braid will often keep showing the same problem.
It is also helpful to check the braid from different angles while working. A tuck may look clean from the top but show natural hair from the side. It may look smooth in the mirror but reveal flyaway ends under brighter light. Professional braiders learn to inspect the braid as it forms instead of waiting until the end. If the natural hair is showing, correct it while there is still enough length to adjust. Waiting too long can make the correction harder because the short end may already be locked into the braid surface. Early correction saves time and gives a cleaner result.
The tuck should never make the braid uncomfortable. If the braider is pulling hard to hide the natural hair, the technique needs to be adjusted. The braid should not feel tight, stiff, or painful just because the natural hair is being covered. A professional tuck is smooth and controlled, not aggressive. The natural hair should be guided inside the extension structure with steady hand movement and appropriate product support. If the client feels pulling or the braid feels heavy at the root, reduce tension, check the amount of added hair, and rebuild the section if needed.
Build a Tuck That Looks Effortless
The strongest tucking technique is quiet. The client should not see where the natural hair ends and the extension hair takes over. The braid should look intentional, balanced, and clean without looking forced. This is the kind of detail clients may not know how to name, but they immediately notice in the finished result. A braid with a good tuck looks smoother, photographs better, and feels more polished. It also shows that the braider understands texture, color, strand placement, and protective styling at a professional level.
A flawless tuck comes from preparation, not panic. Smooth the natural hair, place it inside the extension structure from the beginning, control the hand angle, use product lightly, and correct the placement before the natural ends escape. When these details work together, the braid looks cleaner from root to ends and the natural hair stays better protected during wear. Hiding natural hair inside extensions is not about covering a mistake. It is about building the braid with enough control that the blend looks effortless, even when the technique behind it is highly intentional.