


Seamless Feed-Ins: Where to Add Hair So Your Braids Stay Smooth
Seamless Feed-In Braids are built on timing, placement, and control. The goal is for the braid to grow gradually, without a visible bump, bulky root, or sudden jump in thickness. When feed-in work is done well, the added hair looks like it belongs inside the braid from the beginning. The braid starts clean, builds smoothly, and keeps a natural flow from the root through the length. When the added hair is placed too early, too late, or in pieces that are too large, the braid can look heavy, uneven, or chunky. This is why knowing where to add hair matters just as much as knowing how to braid the pattern.
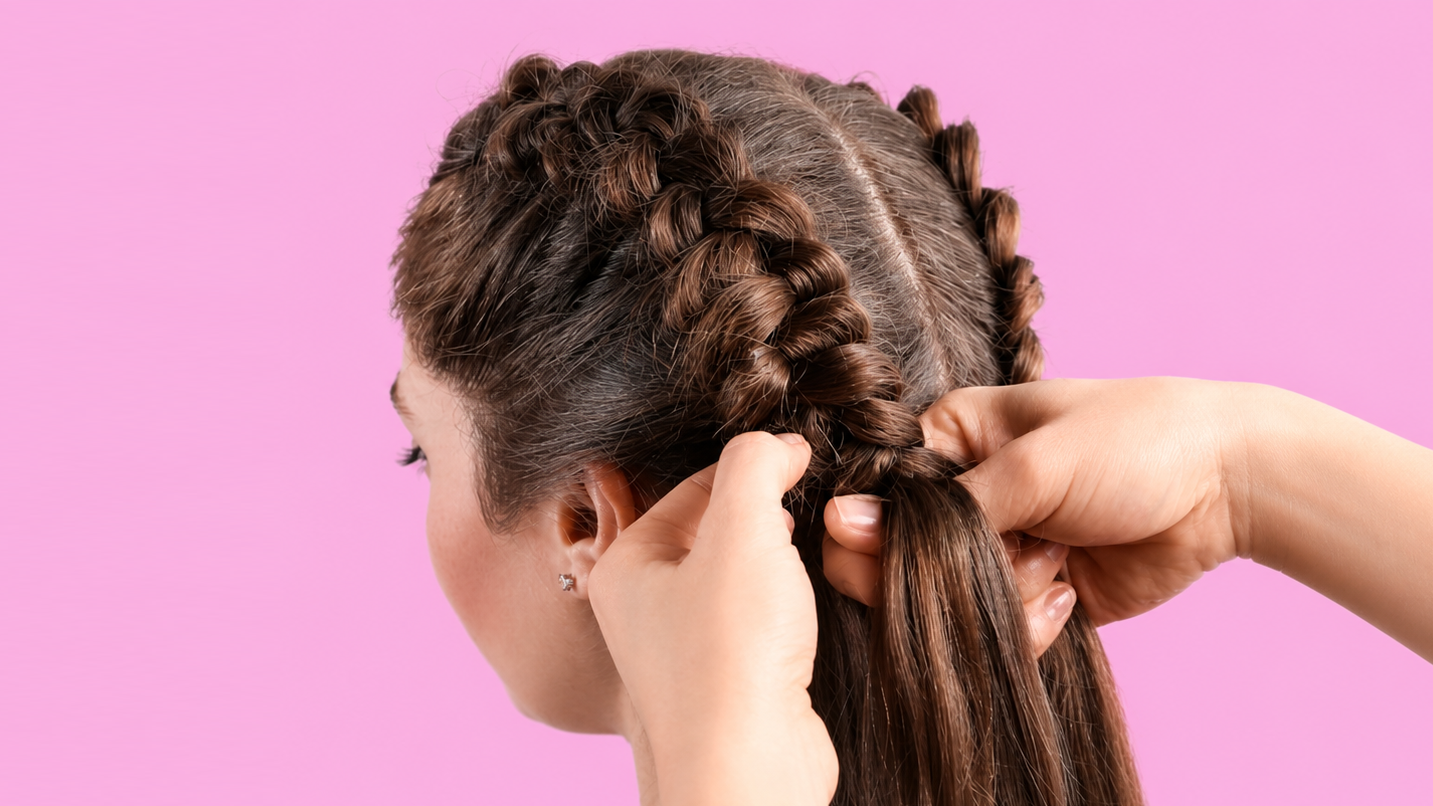
Start with a Clean Feed-In Foundation
The first part of a smooth feed-in is the start. The root should be controlled but not overloaded. Many beginners add too much synthetic hair right at the front because they want the braid to look full quickly. That usually creates a bulky start. A professional feed-in begins with the client’s natural hair or with a very small amount of added hair, depending on the style and the desired look. The first stitches should establish direction, tension, and placement before the braid begins to grow. If the braid does not have a clean foundation, every added piece after that will only make the problem more visible.
The best place to add hair is before the braid looks like it needs help. This may sound simple, but it is one of the most important details in Feed-In Braids. If the braid is already too thin, the next added piece will look obvious because the size change will be sudden. If the hair is added gradually while the braid is still balanced, the transition becomes softer. The braid should increase in fullness over several stitches, not all at once. That gradual build is what creates the smooth, natural-looking effect that clients want when they ask for clean feed-in work.
Control the Size and Placement of Each Added Piece
Piece size is one of the biggest reasons feed-in braids lose their smoothness. A large piece of synthetic hair can save time in the moment, but it usually creates bulk. The added hair may sit on top of the braid instead of blending into the working strand. It can also make one side of the braid thicker than the other, which changes the shape and direction. Smaller pieces give the braider more control. They allow the braid to grow slowly, keep the root flatter, and reduce the chance of visible lumps. The braider should think of each added piece as part of the structure, not just extra hair being inserted for length.
The added hair should be placed into the working strand, not dropped on top of the braid. This is a key difference. If the synthetic hair sits on the outside, it can twist, fold, or create a raised spot. The braider should align the added hair with the strand that will carry it, then cross it into the pattern with steady tension. The piece should feel like it becomes part of the braid immediately. If the braider has to keep stopping to push the added hair into place, the piece may be too large, the angle may be wrong, or the hand position may not be close enough to the scalp.
Hand position affects how clean the feed-in looks. When the hands move too far away from the head, the added hair can pull outward before it is secured. This can create loose roots, gaps, or uneven tension. Keeping the hands close to the working area helps the added hair enter the braid with more control. The movement should be small and steady. The braid should not be pulled tight to hide the added hair. A seamless feed-in comes from clean placement and gradual building, not from using tension to force the material flat.
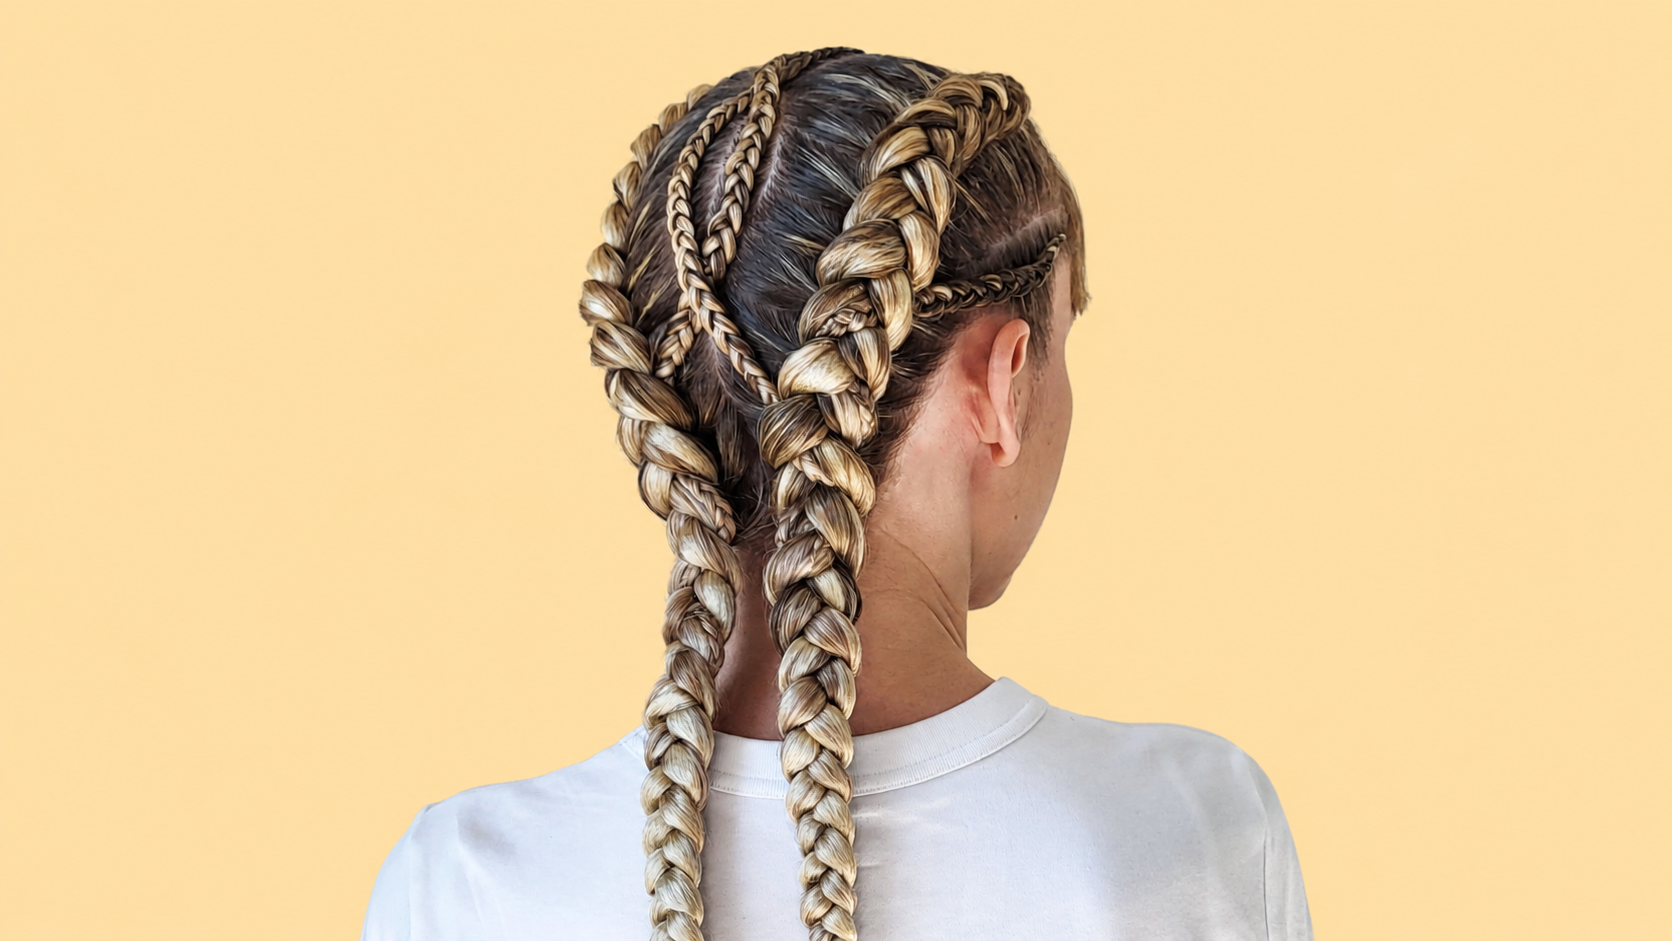
Keep the Direction and Balance Smooth
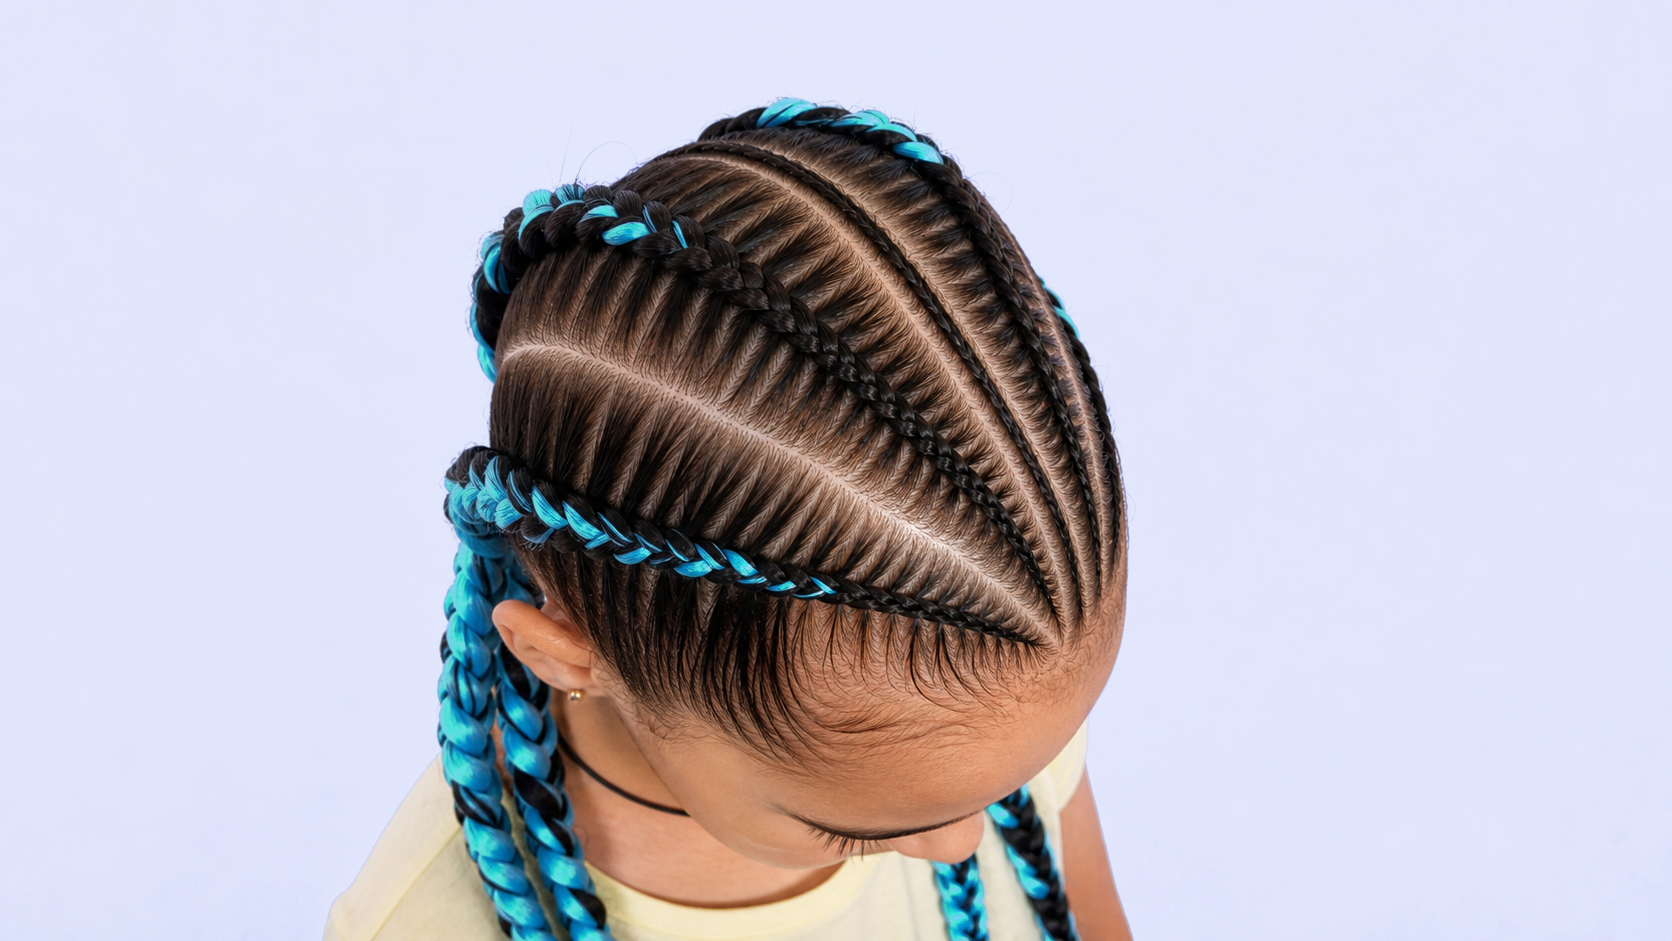
The direction of the added hair also matters. Each piece should follow the direction of the braid. If the braid is moving straight back, the added hair should be placed so it supports that path. If the braid is curved, diagonal, or part of a design, the added hair should follow the same direction without dragging the braid off its line. When added hair is placed at the wrong angle, the braid can start leaning, twisting, or developing a raised edge. This is especially important in Cornrows, Straight-Back Braids, curved Feed-In Braids, and decorative patterns where the braid direction is part of the design.
Another common mistake is adding hair only to one side too often. Feed-in work has to stay balanced. If the braider keeps adding more material into the same working strand, one side of the braid becomes heavier. The braid may still continue, but the shape will start looking uneven. The surface can become bumpy, and the braid may lean toward the heavier side. A professional braider watches the working strands while adding hair. If one section is becoming too full, the next piece should be smaller or placed differently. Smooth feed-ins depend on balance as much as they depend on timing.
Prepare the Synthetic Hair Before Braiding
Prepping the synthetic hair before the braid begins makes the whole process cleaner. The pieces should be separated in advance and arranged by size. The smallest pieces should be ready for the start, and slightly larger pieces can be used as the braid grows. When the braider tries to pull pieces from the pack while working, the size often becomes inconsistent. One piece is too thin, the next is too thick, and the braid loses its gradual build. Pre-loading the hair saves time, but more importantly, it protects the rhythm of the braid. A smooth rhythm creates a smoother finish.
The texture of the synthetic hair can also affect the result. Some braiding hair has more grip, while some is very silky. Pre-stretched hair can help create a cleaner taper and reduce prep time, but it still needs to be separated properly. If the hair is too slippery, the braider may need to slow down and use more controlled hand placement. If the hair is too coarse or tangled, it may create bumps as it enters the braid. A professional feed-in is not only about the technique of adding hair. It is also about choosing and preparing material that works with the style.
Maintain Even Tension Through Every Addition
Tension should stay even from the root through the length. If the braid starts soft and then suddenly becomes tight when the added hair enters, the client may feel pulling and the braid may look compressed. If the braid starts tight and then gets loose, the added hair may not be secure. The pressure should feel steady. The braid should grow in size without changing the comfort level. This is especially important around the hairline and temples, where the braid should stay light and controlled. A smooth feed-in should never require painful tightness to look clean.
For practice, it helps to braid one feed-in slowly and focus only on the placement of each added piece. Do not worry about speed at first. Watch how the braid changes after every addition. If the size jumps suddenly, the piece was too large. If a bump appears, the hair may have folded or sat on top of the strand. If the braid turns, the added hair may be pulling in the wrong direction. This type of practice teaches the braider to read the braid while it is happening. The goal is to catch the problem at the moment it begins, not after the braid is already finished.
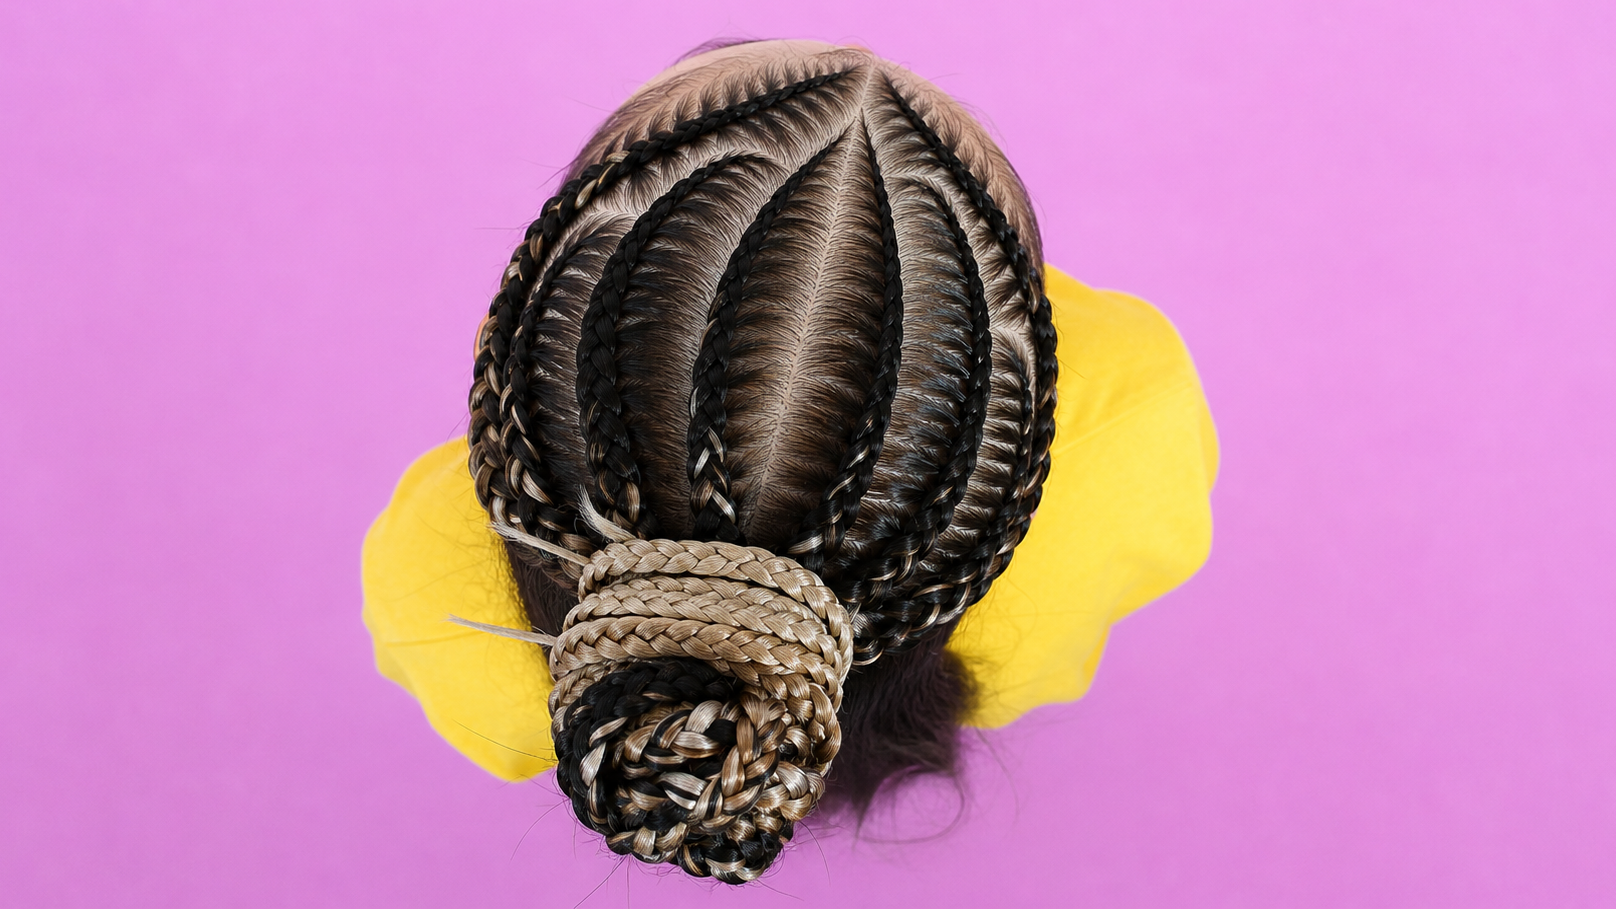
Build Feed-In Braids That Grow Naturally
Seamless feed-in work also improves the final wear of the style. A smoother braid usually feels lighter at the root, photographs better, and looks more polished as it grows. Bulky feed-ins can catch the eye right away and may feel heavier during wear. Cleanly placed additions help the braid keep a more natural shape. They also make the style look more professional from the front, side, and top. Clients may not know exactly why one braid looks smoother than another, but they can see the difference.
The strongest feed-in technique is not about adding the most hair. It is about adding the right amount of hair at the right time, in the right place, with the right tension. The braid should build gradually, the root should stay comfortable, and the added hair should blend into the structure without creating bumps. When a braider learns to control placement this way, Feed-In Braids become cleaner, softer, and more professional. The finished style looks intentional instead of forced, and the client gets the fullness they want without unnecessary bulk at the root.