


How to Prepare Synthetic Hair Before Installation
Preparing synthetic hair before installation is not a small backstage step. It is part of the technique. The way the hair is opened, separated, stretched, mixed, controlled, and placed before the first braid begins affects the entire finished style. Poor preparation can create tangles, bulky roots, uneven braid size, rough ends, flyaways, and unnecessary tension during installation. Good preparation helps the braider work faster, keep the braid size consistent, and create a smoother result from the first section to the final end. In professional braiding, synthetic hair should never be treated like something you simply pull out of the pack and force into the braid. It has to be prepared for the style, the client’s hair, and the method being used.
Inspect the Hair Before Using It
The first step is to inspect the hair before using it. Synthetic hair can vary by brand, texture, density, finish, and fiber quality. Some packs feel soft and smooth, while others feel dry, slippery, coarse, or tangled. Some hair is already pre-stretched, and some needs to be feathered by hand. Some fibers grip well for Feed-In Braids, Knotless Braids, Box Braids, and Senegalese Twists, while others slide too much and make tucking harder. A professional braider should check how the hair behaves before placing it into the client’s head. If the hair tangles while you separate it, it will probably tangle while you braid. If the ends are too blunt, the braid may finish heavy. If the fiber is too silky, the natural hair may be harder to hide inside the extension.
Opening the pack properly matters. Many beginners pull synthetic hair apart too aggressively, which creates knots and uneven pieces before the installation even starts. The hair should be opened with control, shaken gently if needed, and separated in a way that keeps the fibers aligned. If the hair is folded, compressed, or twisted from the package, it should be smoothed before dividing it into sections. Working with messy synthetic hair makes the braider slow down later because the hands have to fight tangles while also trying to control the braid. Clean preparation gives the hands a better rhythm and makes the installation feel more organized.
Separate and Match the Hair to the Style
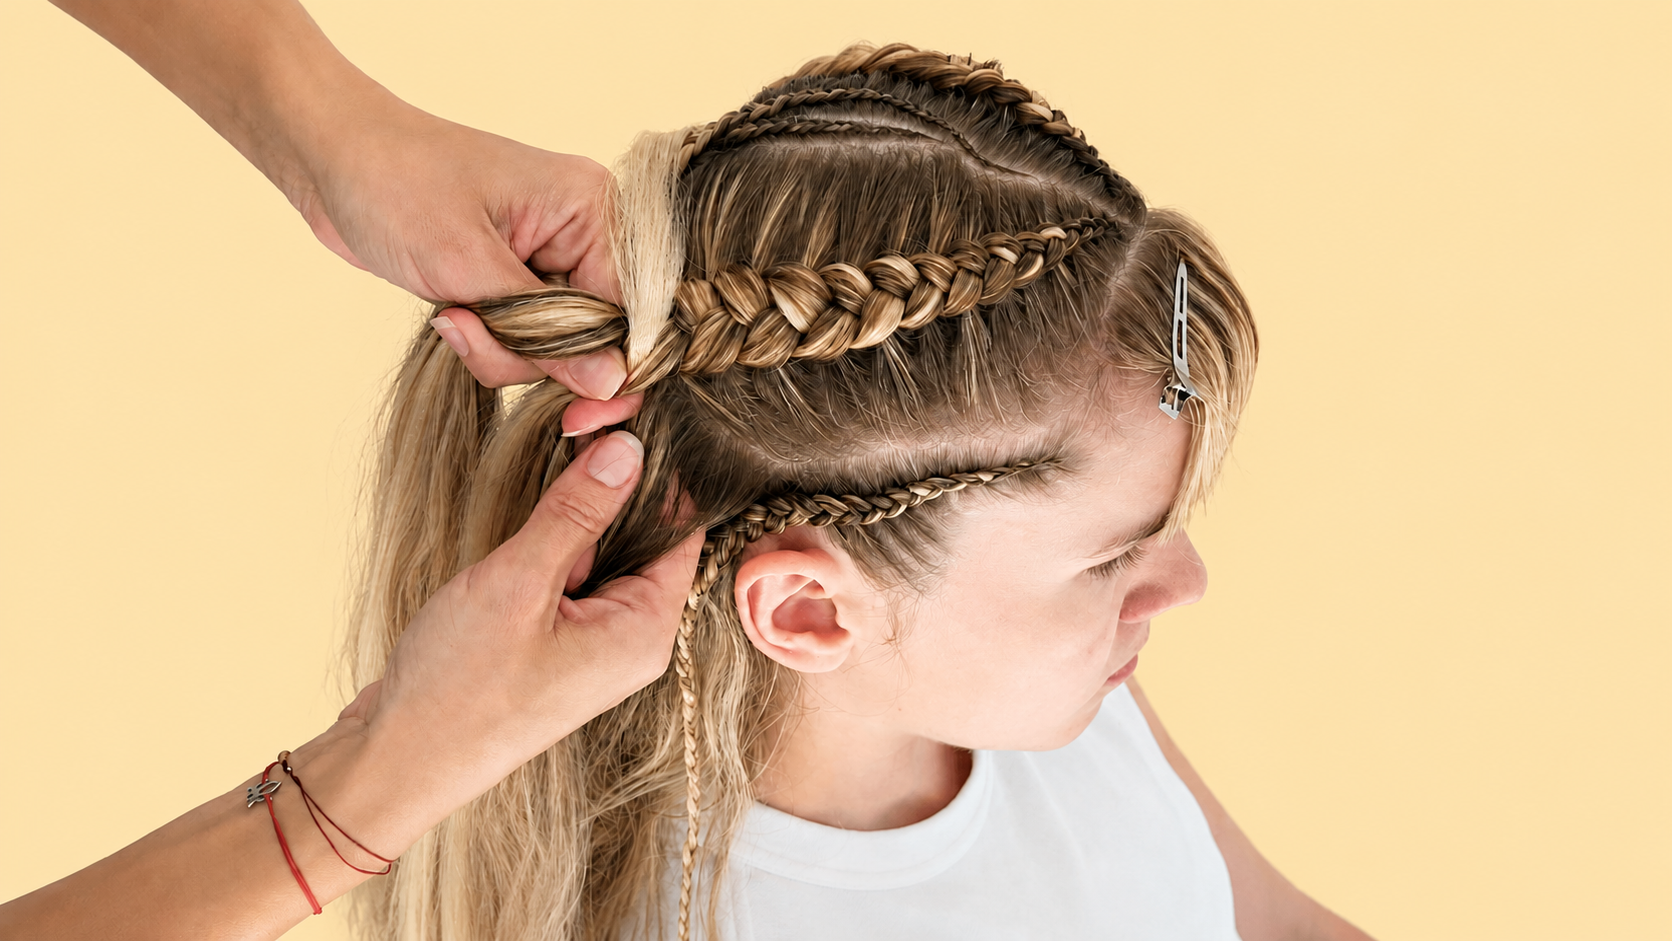
Pre-separating the hair is one of the strongest habits for professional work. If the braider waits until the braid is already started to grab random pieces from the pack, the braid size becomes inconsistent. One piece may be too thin, the next may be too thick, and the finished style can look uneven from row to row. Pre-separating allows the braider to control the size before the service begins. For Feed-In Braids, the smallest pieces should be ready for the start, with slightly larger pieces prepared for the gradual build. For Knotless Braids, the added hair should be organized so the root stays soft and the braid grows naturally. For Box Braids and Twists, each section of synthetic hair should match the planned braid size and the strength of the base.
The amount of synthetic hair should always be matched to the client’s natural hair. A dense, strong section can usually support more material than a fine or fragile section. The hairline, temples, and nape often need lighter pieces than the interior of the head. This is one of the reasons preparation should not be done blindly. If every piece of synthetic hair is exactly the same size, the braider may end up placing too much weight on delicate areas. A professional setup considers where each piece will be used. The goal is not to use the maximum amount of hair. The goal is to use the right amount of hair for clean coverage, comfortable tension, and a balanced finish.
Prepare the Ends, Color, and Texture
Pre-stretched hair can save time, but it still needs attention. Many braiders choose pre-stretched braiding hair because the ends are already tapered and the fiber is easier to finish. This can be very helpful for long Box Braids, Knotless Braids, Feed-In Braids, and styles where smooth ends matter. But ready-to-use does not mean ready-to-grab without planning. The hair still needs to be separated into consistent pieces, checked for tangles, and adjusted for the client’s hair density and braid size. If the pre-stretched hair is too silky, too light, or too bulky for the planned style, the braider may still need to modify the amount or combine it with a different texture.
When the hair is not pre-stretched, feathering or tapering may be needed. Blunt synthetic ends can make braids look heavy and stiff at the bottom. Feathered ends create a softer finish and help the braid narrow more naturally. The goal is to create a gradual shape, not a messy uneven bundle. The braider should stretch and separate the ends carefully so the synthetic hair does not become tangled before installation. This step is especially important when the braid needs a smooth, lightweight finish. A clean taper makes the lower part of the braid look more professional and can also make sealing or finishing easier.
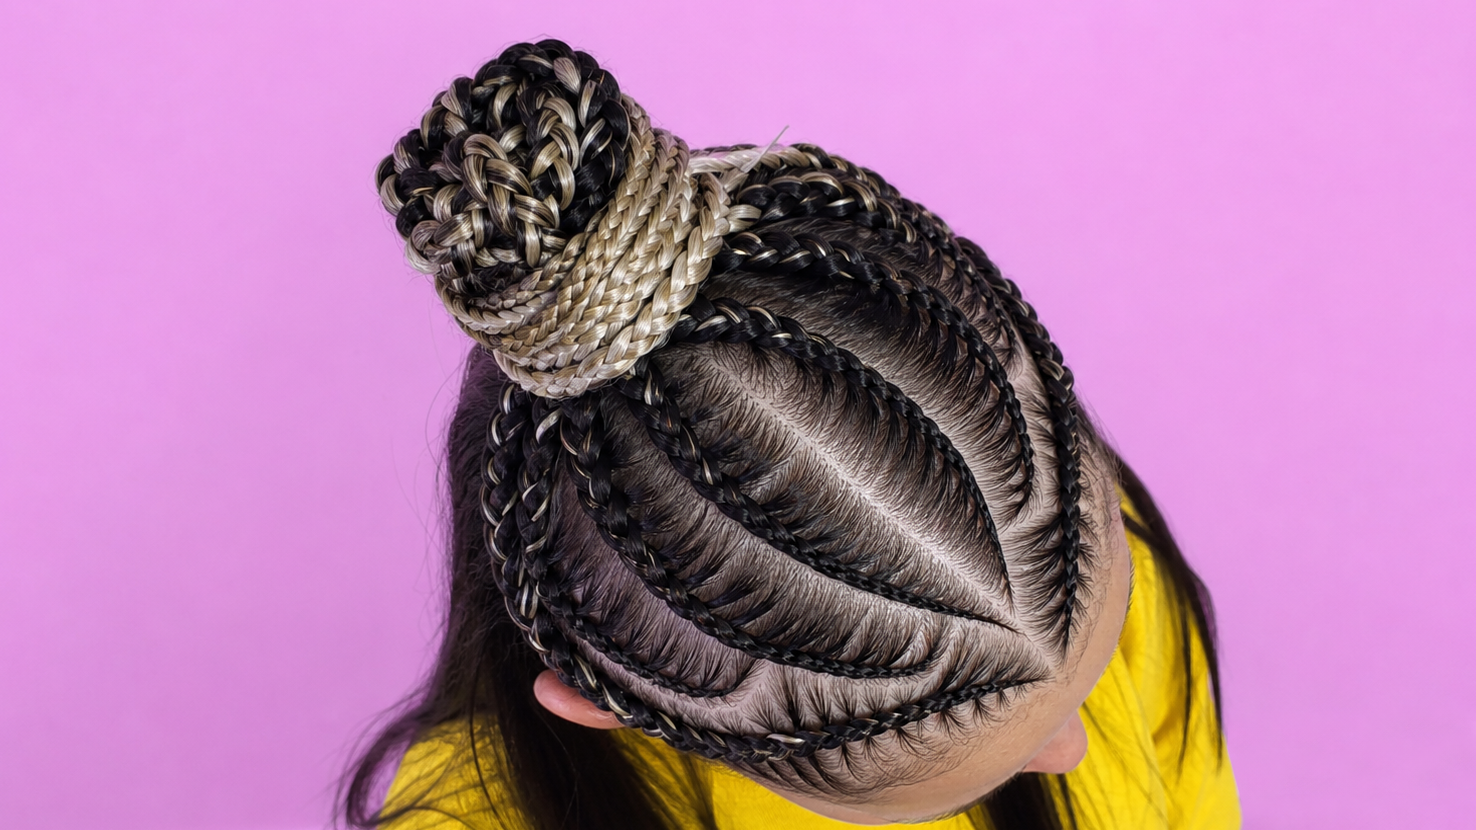
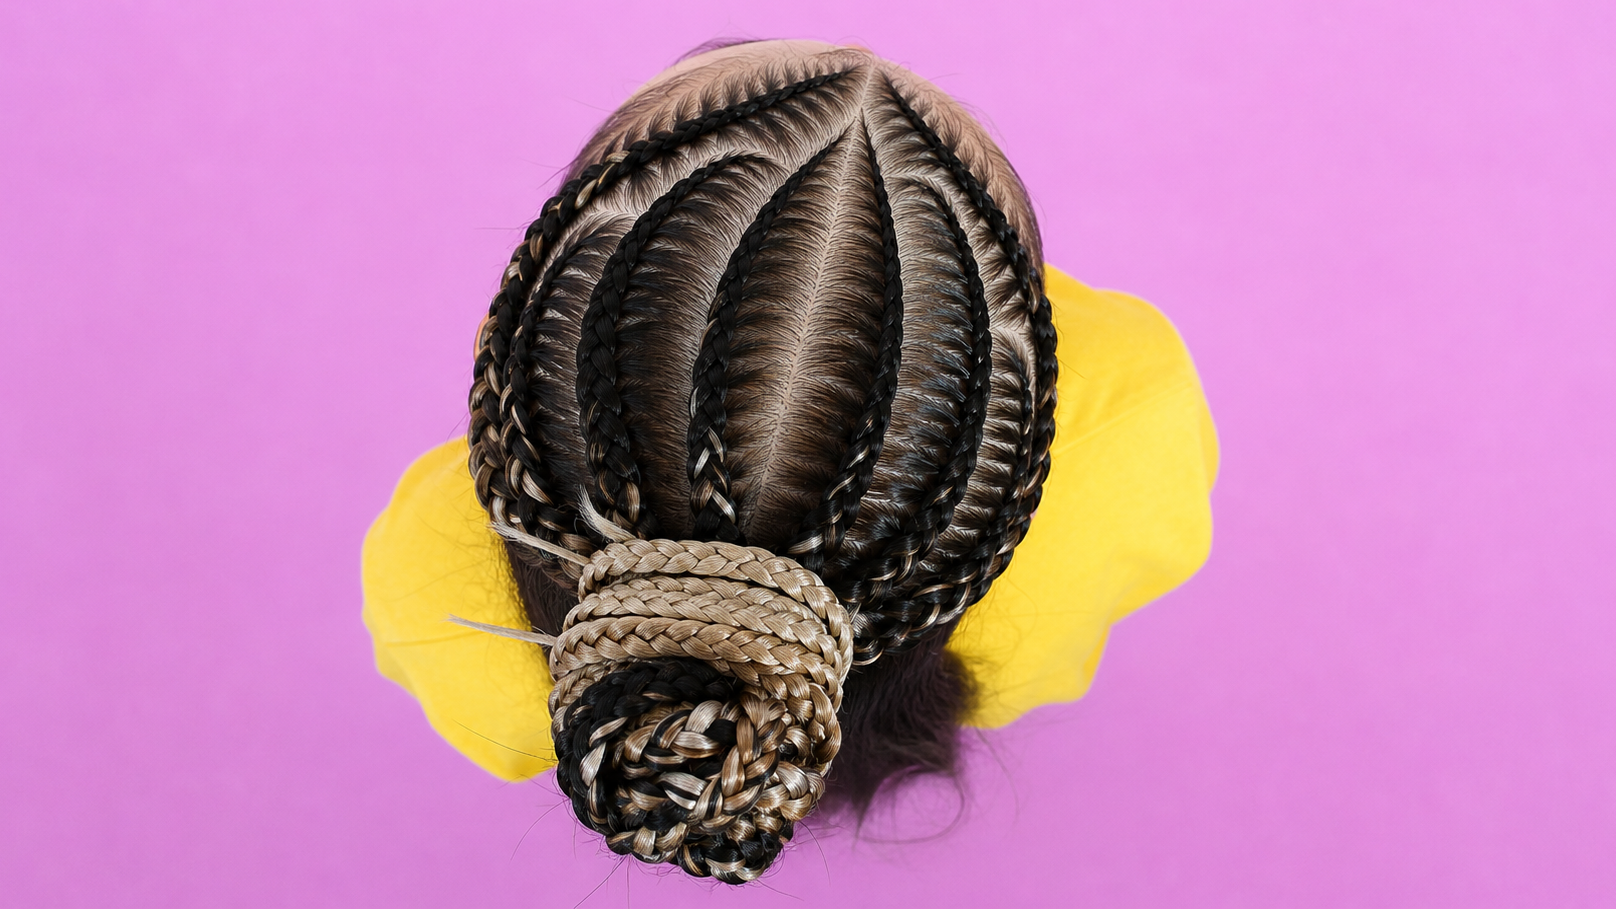
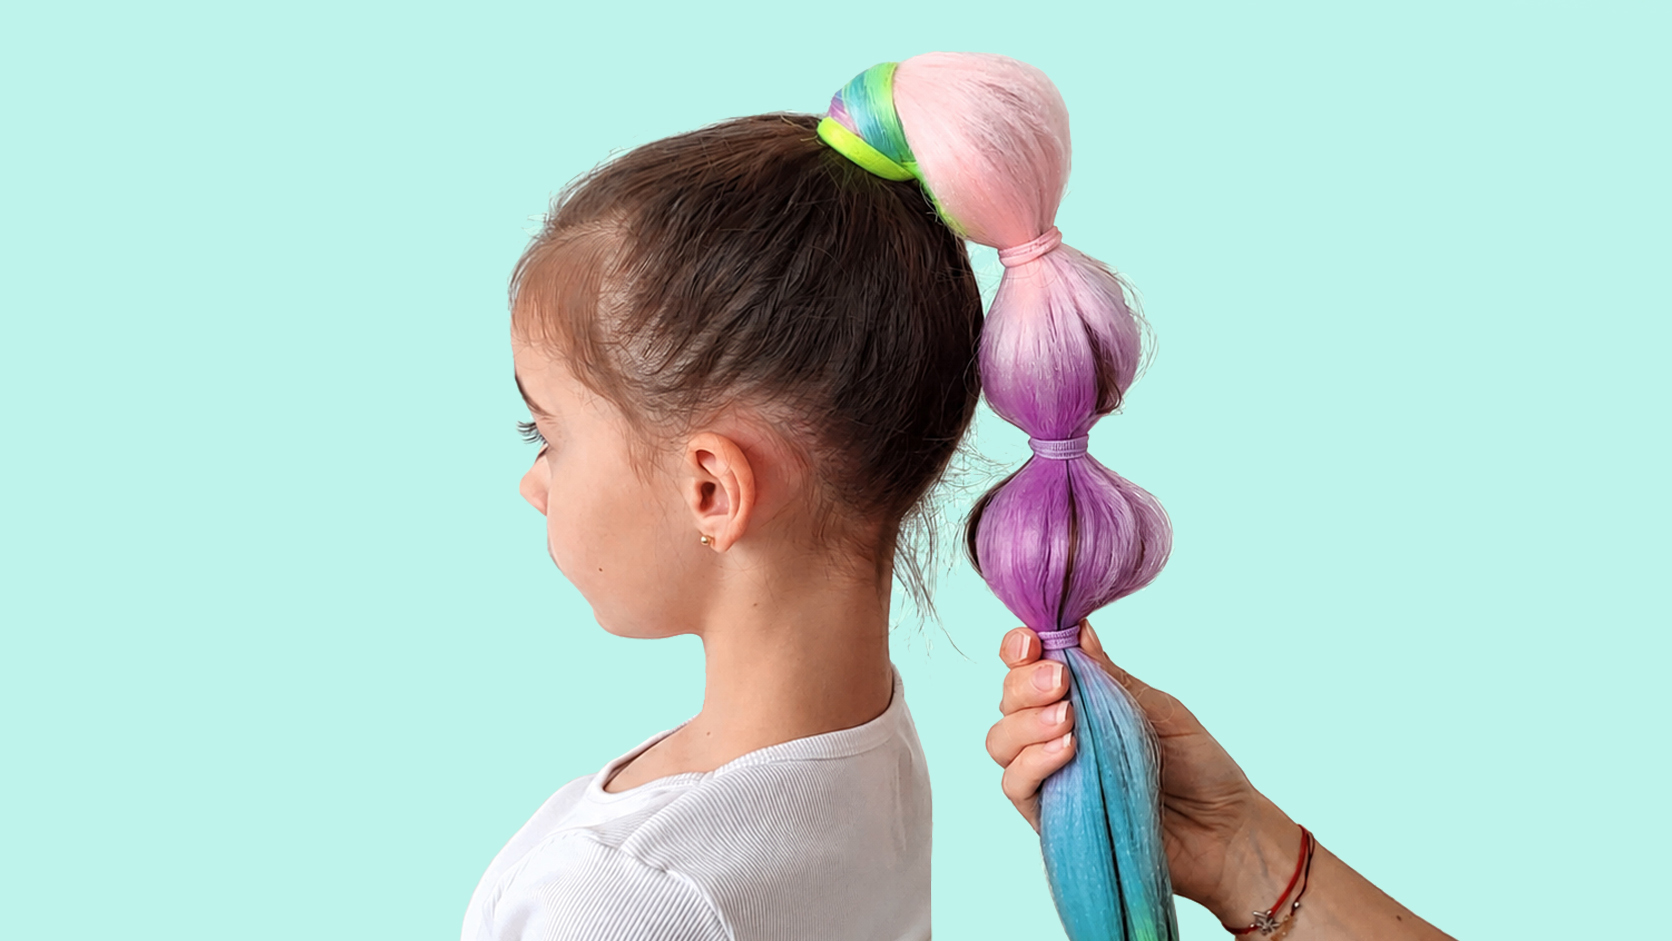
Color preparation is another important part of synthetic hair work. If the style uses one color, the braider still needs to make sure the shade is consistent across packs. If the style uses highlights, ombré, custom blends, or color accents, the hair should be mixed before installation begins. Hand-mixing color during the braid can create uneven placement and slow down the service. A better approach is to prepare the blend in advance, check it under good light, and create a small sample if needed. When the color is planned properly, the finished braids look intentional instead of random. This is especially important with high-contrast shades like blonde, pink, mint, gray, burgundy, or bright accent colors.
The texture of the synthetic hair should support the technique. Smooth fiber may be beautiful for certain looks, but it can be harder to grip in Feed-In Braids or harder to tuck around natural hair with more volume. Textured fiber can create better control, but if it is too rough, it may tangle or create a less polished surface. Curly synthetic hair needs a different preparation process because the curl pattern should be preserved while still being separated enough for installation. For Boho Braids or styles with added curls, the braider should decide where the curl pieces will be placed before starting. If the curls are added randomly, the final style may look uneven or crowded.
Respect Sensitivity and Product Control
Some clients may be sensitive to synthetic hair. If a client has a history of itching, burning, irritation, or discomfort with certain fibers, that should be discussed before installation. The braider should not ignore sensitivity just because the hair looks good in the pack. In some cases, the client may need a different fiber, a cleaner scalp preparation, less product, or a shorter wear time. If the client reports strong irritation during or after installation, the style should be reassessed. Braiders should not diagnose medical conditions, but they should take discomfort seriously and recommend that the client seek professional advice if irritation continues.
Product should be used carefully when preparing synthetic hair. Some braiders add mousse, oil, spray, or gel to make the fiber feel smoother, but too much product can make the hair slippery, sticky, or heavy. It can also create buildup once the hair is installed. In most cases, synthetic hair should be prepared mechanically first: opened, aligned, separated, tapered, and organized. Product should only be added when it supports the technique, not as a way to hide poor prep. If the hair is tangling badly, the issue may be fiber quality or handling, not a lack of product.
Organize the Workstation for Consistent Installation
A clean workstation makes synthetic hair preparation easier. Pre-loaded hair on a rack, table, or organized setup helps the braider maintain rhythm during the service. When the pieces are ready, the braider can focus on sectioning, tension, and placement instead of stopping to pull hair from the pack every few seconds. This is especially useful for Feed-In Braids, where the timing of each added piece affects how seamless the braid looks. It also helps with large full-head services because the braid size stays more consistent from the first row to the last. Good preparation saves time because it removes chaos from the middle of the install.
Preparing synthetic hair also helps with client comfort. When hair is separated unevenly, the braider may accidentally create heavy braids in some areas and lighter braids in others. When the hair is tangled, the braider may pull more during installation. When the pieces are too large, the root can become bulky and uncomfortable. Good prep reduces these problems. It allows the braid to be built with cleaner tension, smoother blending, and better weight control. The client may not see every preparation step, but they feel the difference when the style is lighter, smoother, and easier to wear.
Prepare Synthetic Hair with Intention
Professional preparation is about intention. Decide the style, choose the right fiber, check the texture, separate the correct amount, taper the ends if needed, plan the color, organize the pieces, and keep the material clean and controlled before it touches the client’s hair. When synthetic hair is prepared properly, installation becomes smoother and the finished braids look more polished. The root sits cleaner, the length feels more balanced, the color placement looks more intentional, and the braid is easier to finish. Strong synthetic hair preparation is not extra work. It is the reason the braid can look clean, feel comfortable, and hold its shape from installation to takedown.