


Box Braids vs. Knotless Braids: What Braiders Should Explain to Clients
Clients often ask for Box Braids or Knotless Braids based on a photo, a trend, or what they have seen online, but many do not fully understand the technical difference between the two methods. From the outside, both styles can look similar: long braids, clean parts, added synthetic hair, and a polished protective look. The real difference is at the root, and that difference affects how the style feels, moves, wears, and should be maintained. A professional braider should be able to explain this clearly before the appointment begins. The consultation should not be only about price, length, and color. It should help the client understand which method fits their hair density, scalp sensitivity, desired fullness, lifestyle, and comfort level.
Explain the Root Difference First
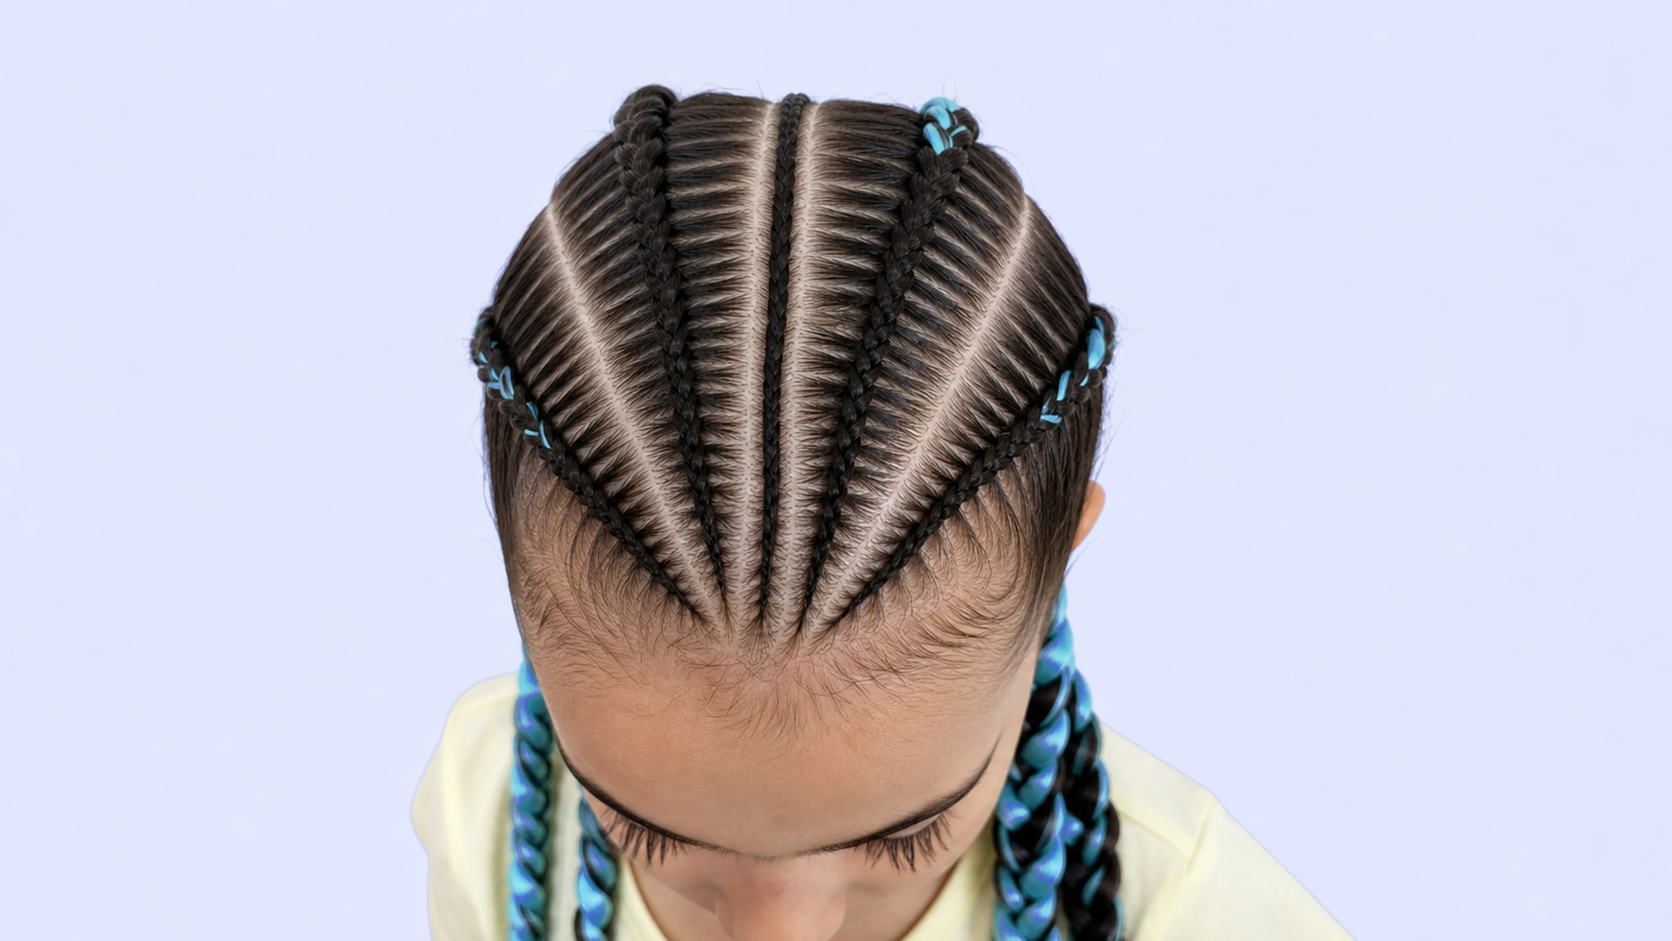
Classic Box Braids usually begin with synthetic hair attached at the base of the natural hair. This creates a more defined root and often gives the braid structure from the very beginning. Depending on the attachment method, Box Braids can look fuller at the root and can create a stronger visual shape right away. Many clients like this because the style feels bold, traditional, and very complete from the first row. But that structure also means the braider has to be careful with section size, amount of added hair, and tension. If too much synthetic hair is attached to a small base, the braid can feel heavy or tight. A clean attachment should feel secure, not painful or bulky.
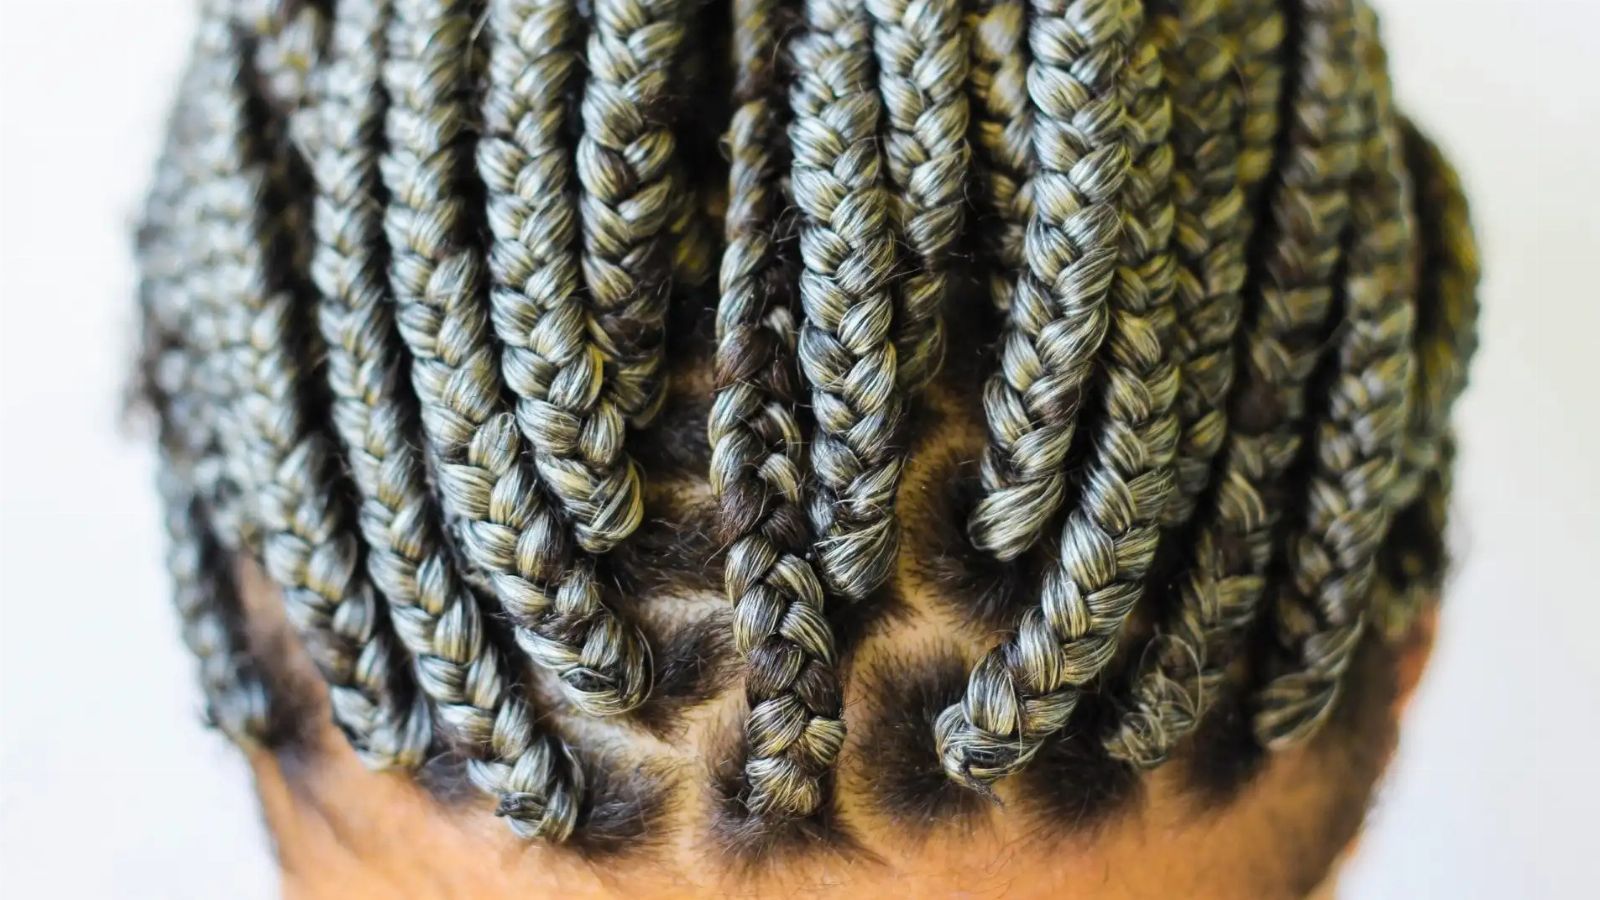
Knotless Braids are built differently. The braid begins with the client’s natural hair, and synthetic hair is added gradually through a Feed-In technique. This usually creates a flatter, softer root with more flexibility. Many clients choose Knotless Braids because they want a lighter feel, less bulk at the scalp, and a more natural-looking start. When done well, the braid appears to grow from the scalp instead of starting with a visible attachment. But Knotless Braids are not automatically lightweight just because they are knotless. If the braider adds too much hair too early, makes the braids too long, or overloads small sections, the style can still become heavy and uncomfortable.
The biggest point clients need to understand is that “knotless” does not automatically mean safer, and “box braids” do not automatically mean damaging. Both styles can be installed beautifully and comfortably when the braider uses the right sectioning, balanced tension, and appropriate extension weight. Both styles can also create problems if they are too tight, too heavy, or left in too long. The method matters, but the technique matters more. A professional explanation should move the client away from simple labels and toward real factors: base size, hair density, braid length, material amount, scalp comfort, and aftercare.
Compare Feel, Fullness, and Installation Time
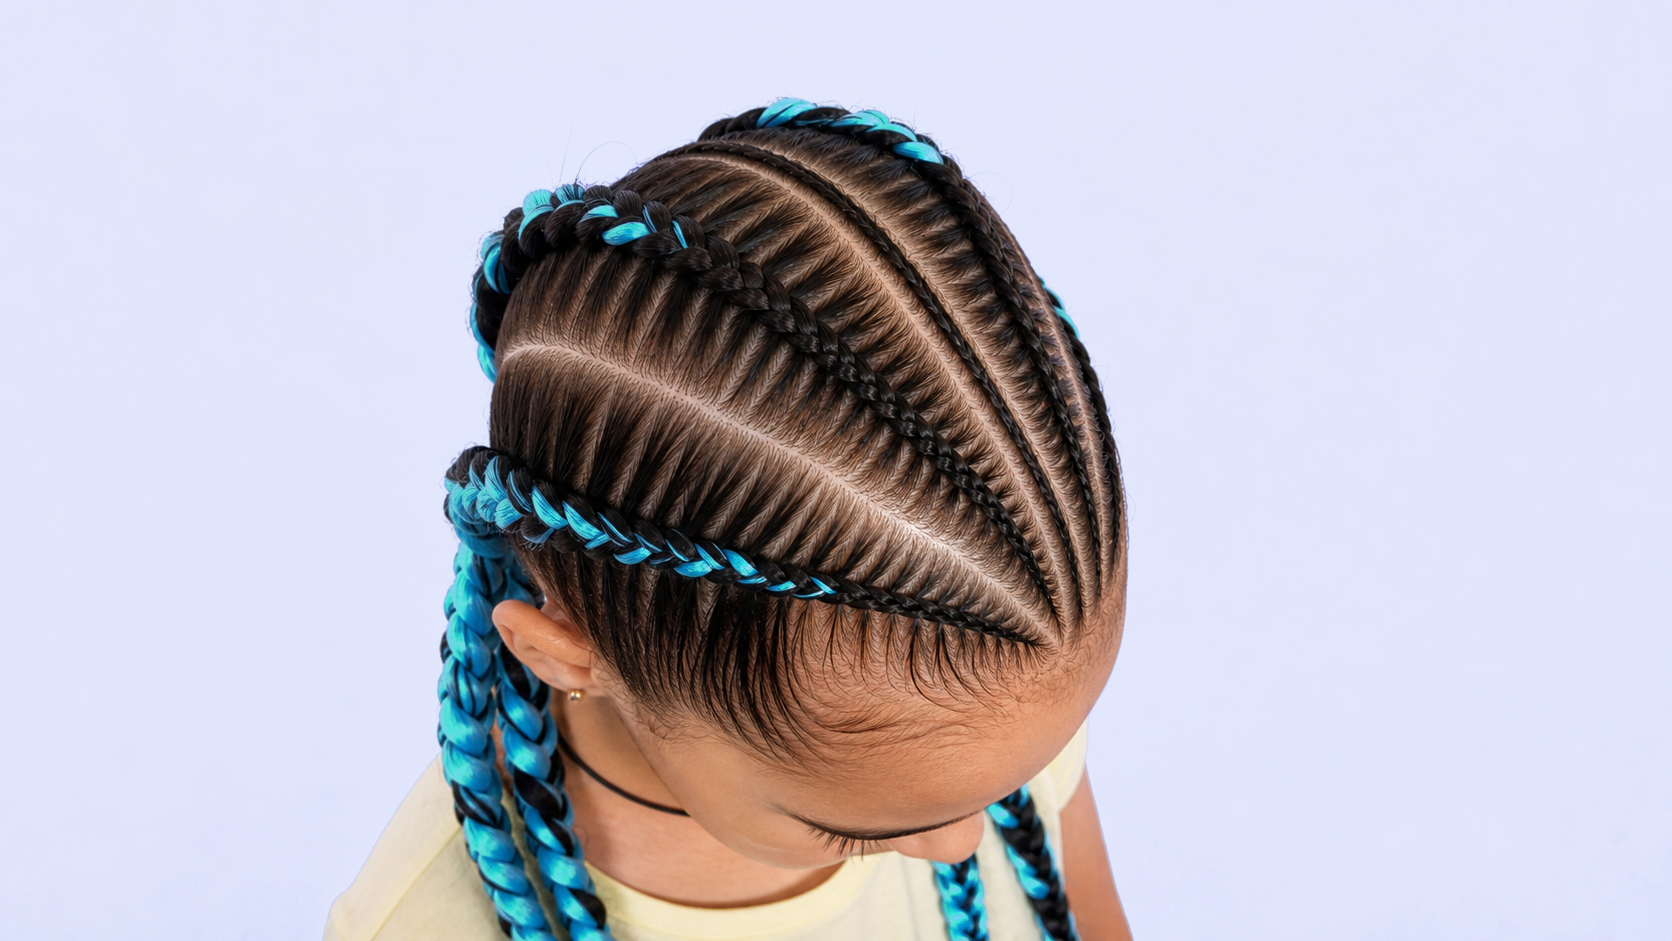
Root feel is one of the easiest differences for clients to understand. Box Braids often feel more structured at the base because the added hair is attached early. Some clients like that anchored feeling because it makes the braid feel full and defined. Other clients may find it heavier, especially if they have a sensitive scalp or fine hair. Knotless Braids usually feel softer at the root because the braid starts with natural hair and builds gradually. This can make them more comfortable for clients who dislike bulky roots or tight starts. During consultation, it helps to explain that the softer root does not mean the braid is loose. It means the weight is introduced differently.
Fullness is another major difference. Box Braids can create a fuller look from the start because the extension hair is present at the root. This can be a good choice for clients who want a bold, dense, traditional braid look. Knotless Braids tend to sit flatter at the scalp, which can look more natural and feel more flexible, but the style may appear less full at the root depending on the client’s density and the braid size. Some clients love that flatter look. Others expect the same fullness they see in classic Box Braids and may feel surprised if the root looks softer. The braider should explain this before starting so the client’s expectations match the technique.
Installation time can also differ. Knotless Braids often take longer because the braider has to add hair gradually and carefully. Each braid requires controlled Feed-In placement so the root stays smooth and the braid builds evenly. Box Braids may be faster depending on the method, braid size, and stylist’s technique, but they still require clean sectioning and careful attachment. Clients should understand that a longer service is not always a negative thing. Sometimes extra time is what creates a softer root, better blending, and a more comfortable finish. A rushed Knotless Braid can lose the very benefits the client is paying for.
Choose the Method Based on Hair Density and Hairline Strength
Hair density should guide the recommendation. A client with dense, strong hair may be able to wear either style comfortably, depending on the desired look. A client with fine hair, low density, fragile edges, or a sensitive scalp may need a lighter approach, smaller amounts of synthetic hair, or a shorter length. Knotless Braids may be a good option for some sensitive clients because the start can be softer, but only if the braider keeps the weight controlled. Box Braids can also work when the base is sized correctly and the attachment is not too heavy. The professional decision should come from reading the client’s actual hair, not from assuming one method is always better.
The hairline is especially important in both styles. Around the edges, temples, and nape, the natural hair is often more delicate. With Box Braids, the braider should avoid attaching a heavy braid to a tiny edge section. With Knotless Braids, the braider should avoid adding too much hair too quickly near the front. In both cases, the first priority is protecting the hairline. A clean finish should not require forcing every baby hair into the braid or pulling the perimeter tight. Sometimes the best recommendation is to use less added hair around the edges, leave fragile hairs out, or adjust the braid direction so the style feels more comfortable during wear.
Discuss Movement, Maintenance, and Cost Clearly
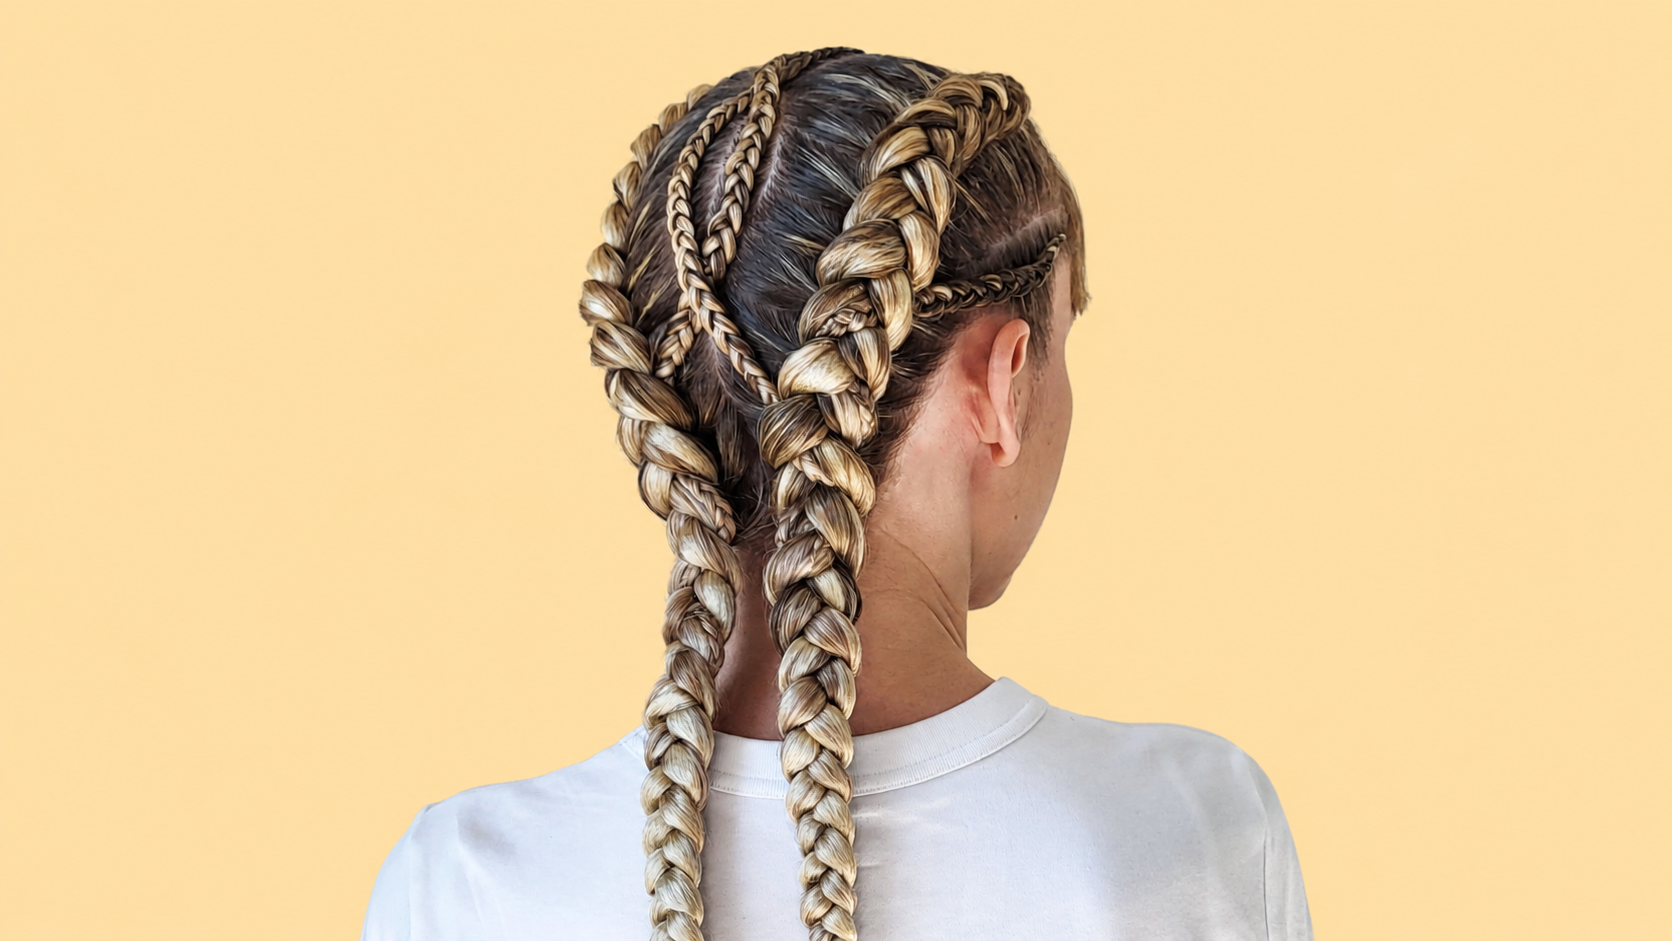
Clients should also understand how each style moves. Box Braids may feel more structured, especially when they are freshly installed. Depending on the size and amount of hair used, they can feel fuller and slightly more weighted at the root. Knotless Braids usually have more movement because the start is flatter and the braid hangs more naturally from the client’s own hair. This flexibility is one reason many clients like them for everyday wear. But movement still depends on weight. Very long or dense Knotless Braids can feel heavy even with a soft root. A professional braider should explain that the final feel comes from length, thickness, and material amount, not only the installation method.
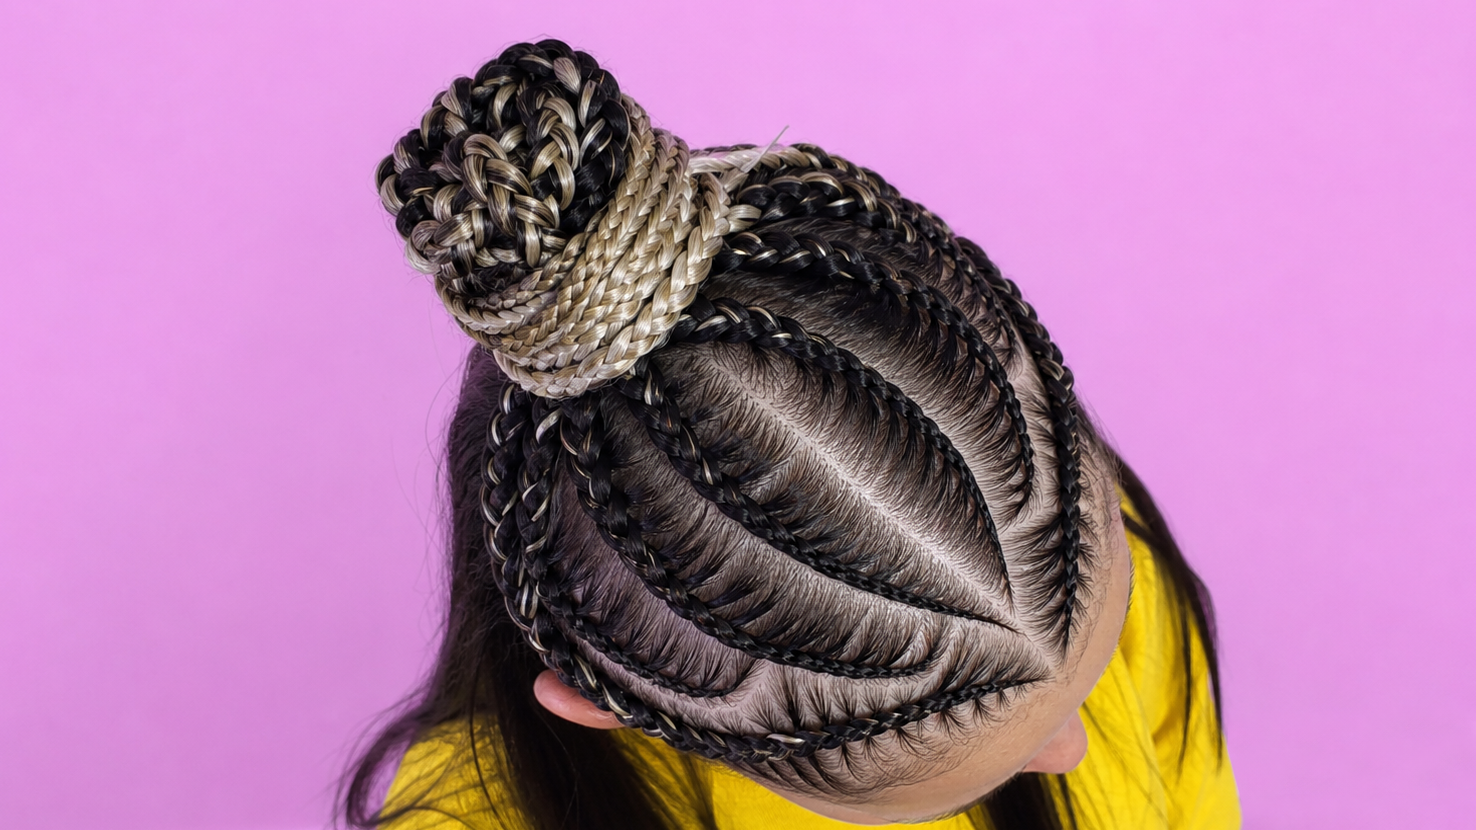
Maintenance and wear time should be discussed honestly. Both Box Braids and Knotless Braids need scalp care, night protection, gentle styling, and safe takedown. Clients should avoid constantly pulling fresh braids into tight ponytails or high buns, especially during the first few days. They should also understand that leaving any braid style in too long can create buildup, tangling, and difficult removal. Knotless Braids may feel softer, but they still need care. Box Braids may feel more structured, but they still need a realistic wear-time plan. A protective style only stays protective when it is maintained and removed properly.
Cost can be part of the conversation, but it should be tied to technique, not only time. Knotless Braids may cost more because the Feed-In work requires more control and often more time. Box Braids may vary depending on size, length, parting, and attachment method. A client should understand what they are paying for: clean sectioning, balanced weight, comfortable tension, smooth blending, and a finished style that works for their hair. When the braider explains the technical value, the service feels more professional and the client is less likely to compare prices without understanding the difference in work.
Give a Realistic Recommendation During Consultation
A strong consultation should include a realistic recommendation. If a client brings a photo of very long, small Knotless Braids but has fragile edges and low-density hair, the braider should explain why a lighter size or shorter length may be better. If a client wants full classic Box Braids but has a sensitive scalp, the braider can recommend a softer attachment, larger bases, or less added hair. The goal is not to talk the client out of what they want. The goal is to create the closest beautiful version that their hair can support comfortably. This is where professional trust is built.
The best way to explain the difference is simple: Box Braids usually give more structure at the root, while Knotless Braids usually give a softer, flatter start. Box Braids can look fuller right away, while Knotless Braids can feel more flexible and natural at the scalp. Both can be clean, beautiful, and protective when installed correctly. Both can cause discomfort if they are too tight, too heavy, or poorly planned. A professional braider should help the client choose based on hair condition, desired look, lifestyle, comfort, and safe wear, not only based on what is trending.
Help Clients Choose the Style Their Hair Can Support
When clients understand the difference, they make better choices and have better expectations. They know why one style may take longer, why one may feel lighter, why one may look fuller, and why the braider may recommend changing the length or size. This kind of education is part of professional service. It shows that the braider is not just installing a style, but building a look that respects the client’s hair. Box Braids and Knotless Braids are both powerful, versatile braid styles. The right choice is the one that delivers the look the client wants while keeping the natural hair supported, comfortable, and protected through the full wear cycle.