


Tension Tuning: How to Adjust Your Grip for Sensitive Scalps
Sensitive scalps require a different level of control from the braider. The goal is not to make the braid loose or unfinished. The goal is to create a clean, secure braid without using pressure that feels sharp, tight, or uncomfortable for the client. This is where tension tuning becomes a real professional skill. A braider has to understand how to adjust the grip, the hand position, the amount of added hair, the braid direction, and the rhythm of the movement so the style still looks polished while the scalp stays comfortable. A sensitive scalp does not mean the client cannot wear braids. It means the technique has to be more thoughtful.
Build Control Without Aggressive Pressure
The first mistake many braiders make is assuming that a softer grip will automatically create a loose braid. That is not true. A braid can be soft on the scalp and still be clean at the root. The difference is in how the hair is controlled. If the base is clear, the section is balanced, and the hands stay close to the working area, the braid can sit neatly without aggressive pulling. Tightness often comes from trying to force the braid into place. Good tension comes from guiding the hair into the pattern with steady pressure. When the hands are calm and the movement is smaller, the braid usually looks cleaner and feels better.
Before braiding a sensitive scalp, the braider should look at the hair and scalp carefully. Some clients have tenderness around the hairline, temples, crown, or nape. Others may have a sensitive scalp overall, especially after chemical services, tight previous styles, postpartum shedding, dryness, irritation, or long-term tension from protective styles. The braider does not need to diagnose anything, but they do need to observe. If the scalp looks red, flaky, irritated, sore, or visibly stressed, the style plan should be adjusted. In some cases, a lower-tension style or a break from braiding may be the more responsible choice.
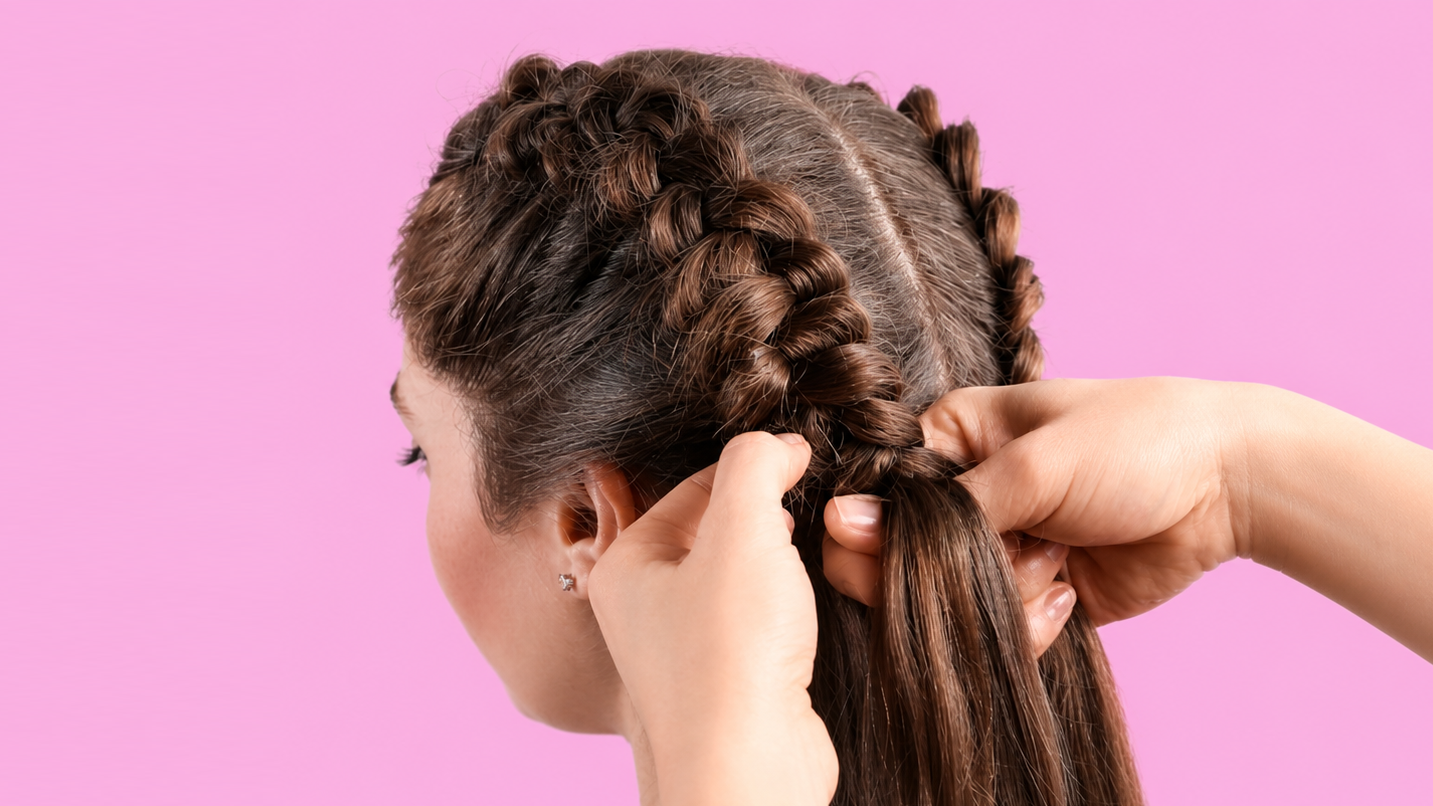
Tension tuning starts with the first stitches. The first movements of the braid set the feeling for the whole style. If the braid starts too tight, the client may feel discomfort immediately, especially when the braid is close to the hairline or scalp. A better method is to create a stable base with controlled, even pressure. The fingers should hold the sections firmly enough to keep the pattern organized, but not so firmly that the scalp moves with every cross. The braid should feel like it is being built on the section, not pulled out of the scalp. This difference is subtle, but it changes the entire experience for the client.
Adjust Hand Position, Grip, and Added Hair
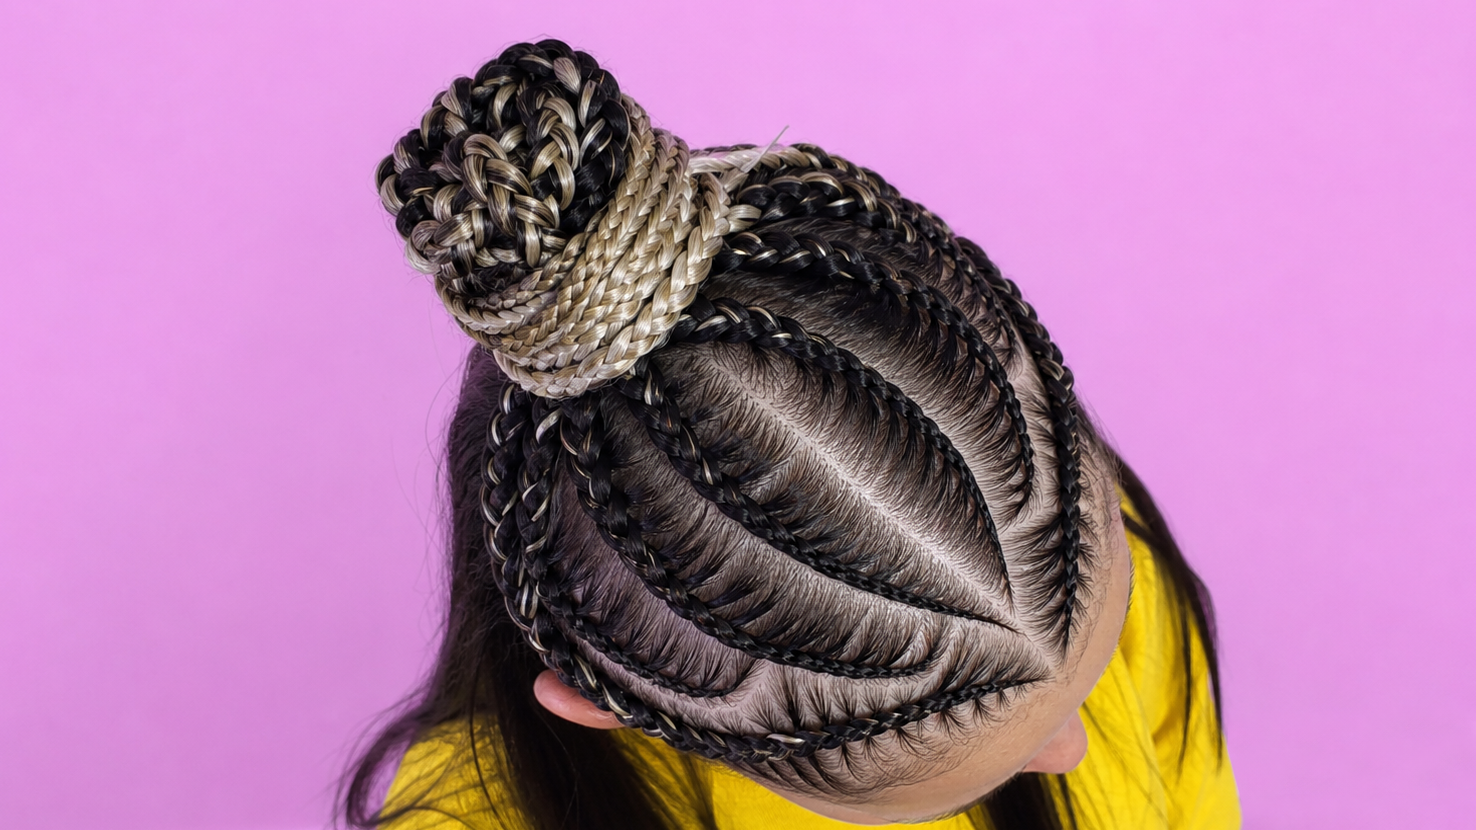
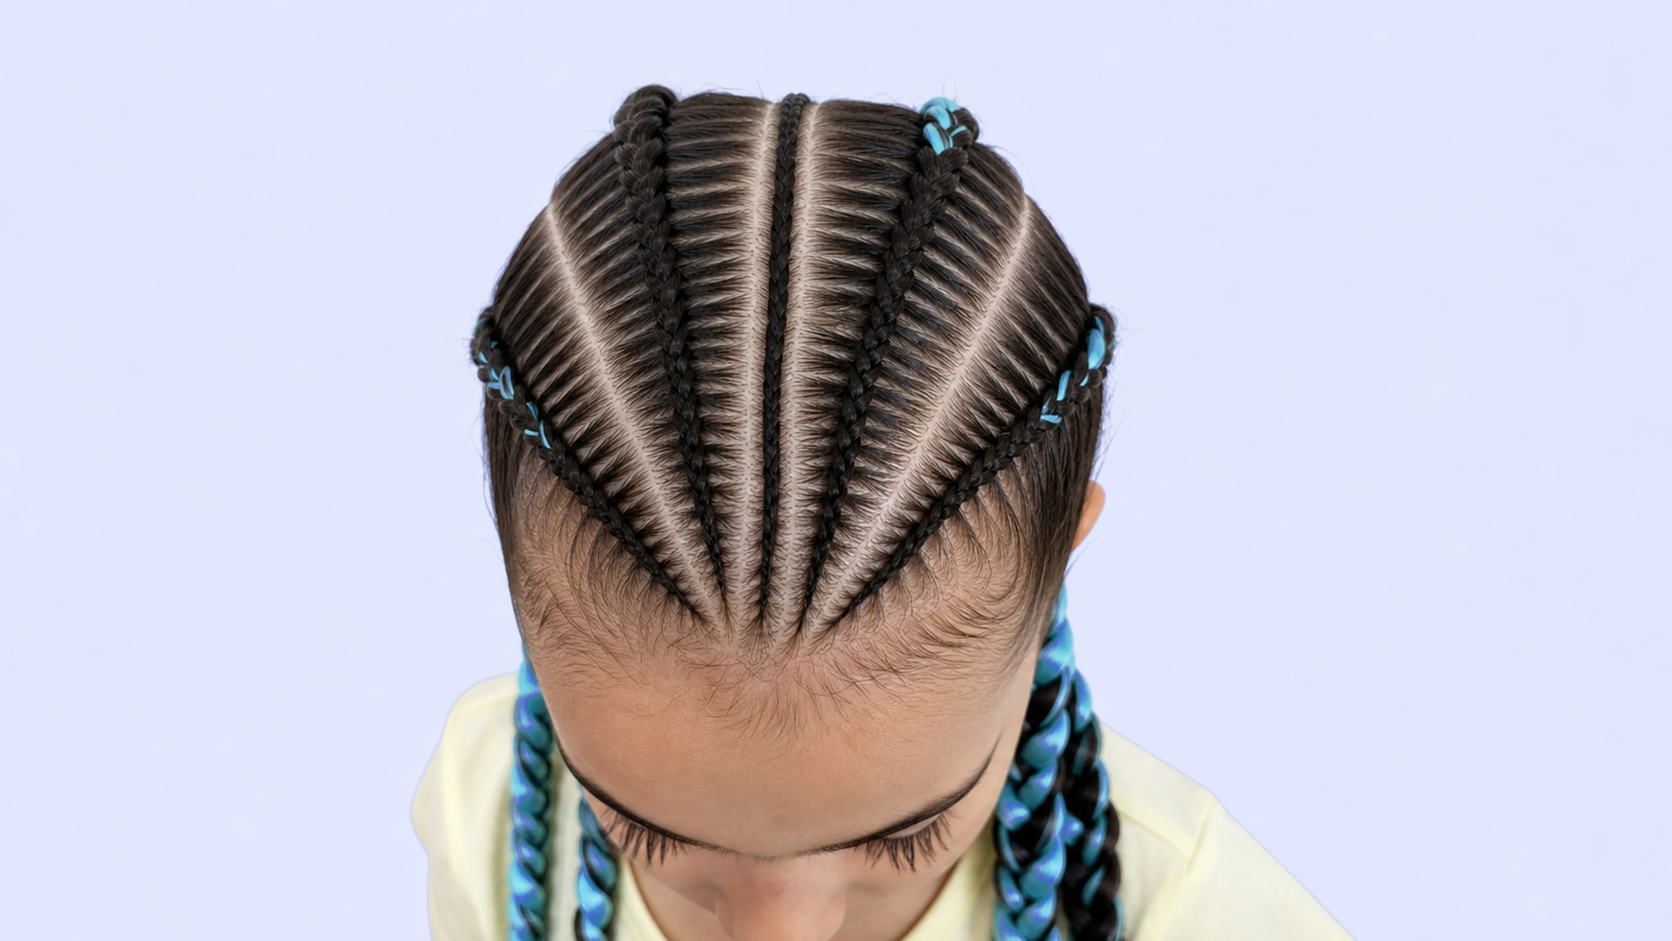
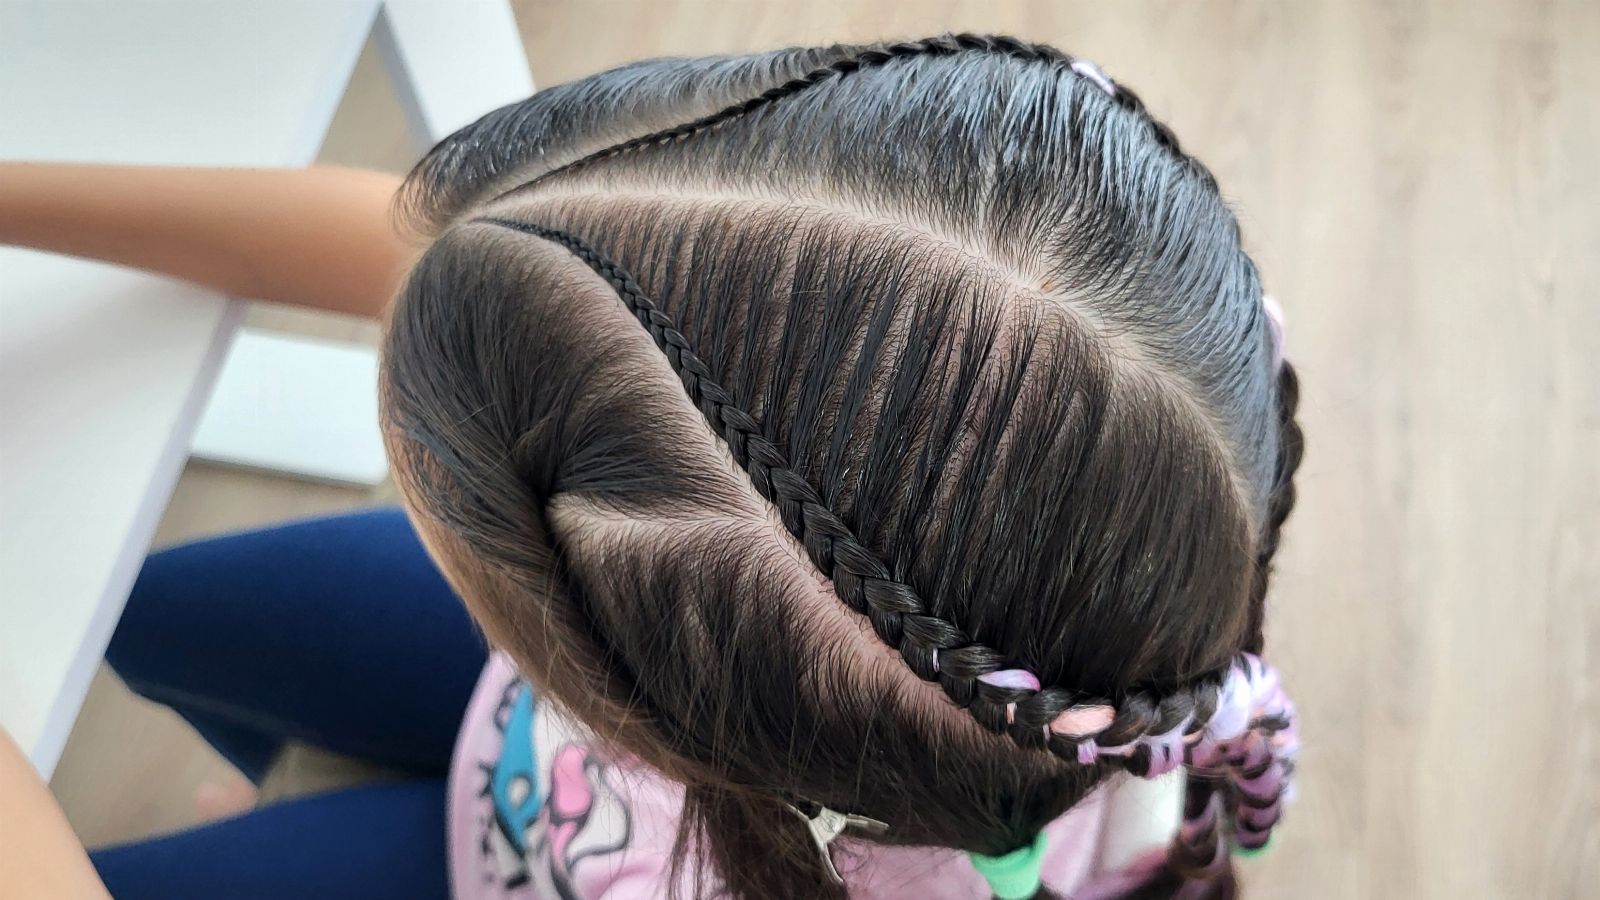
Hand position matters a lot with sensitive scalps. When the hands move too far away from the head, the hair stretches before it crosses into the braid. That stretching creates extra pulling, even if the braider does not mean to braid tightly. Keeping the hands closer to the scalp helps reduce that pull. The fingers should work in smaller, more controlled movements, especially near the root. This is important in Cornrows, Feed-In Braids, French Braids, Dutch Braids, and any braid that sits close to the scalp. A close hand position gives the braider more control without needing to increase pressure.
The grip should also stay flexible. A stiff grip creates stiff tension. If the braider squeezes the hair too hard, the hands lose sensitivity and the client feels more pulling. A tuned grip feels controlled but responsive. The braider can feel when the strand is slipping, when the section is too tight, or when the braid direction is creating stress. This is why professional hand control is not about holding the hair as hard as possible. It is about holding the hair clearly enough to manage the pattern while still allowing the hair to move through the braid naturally.
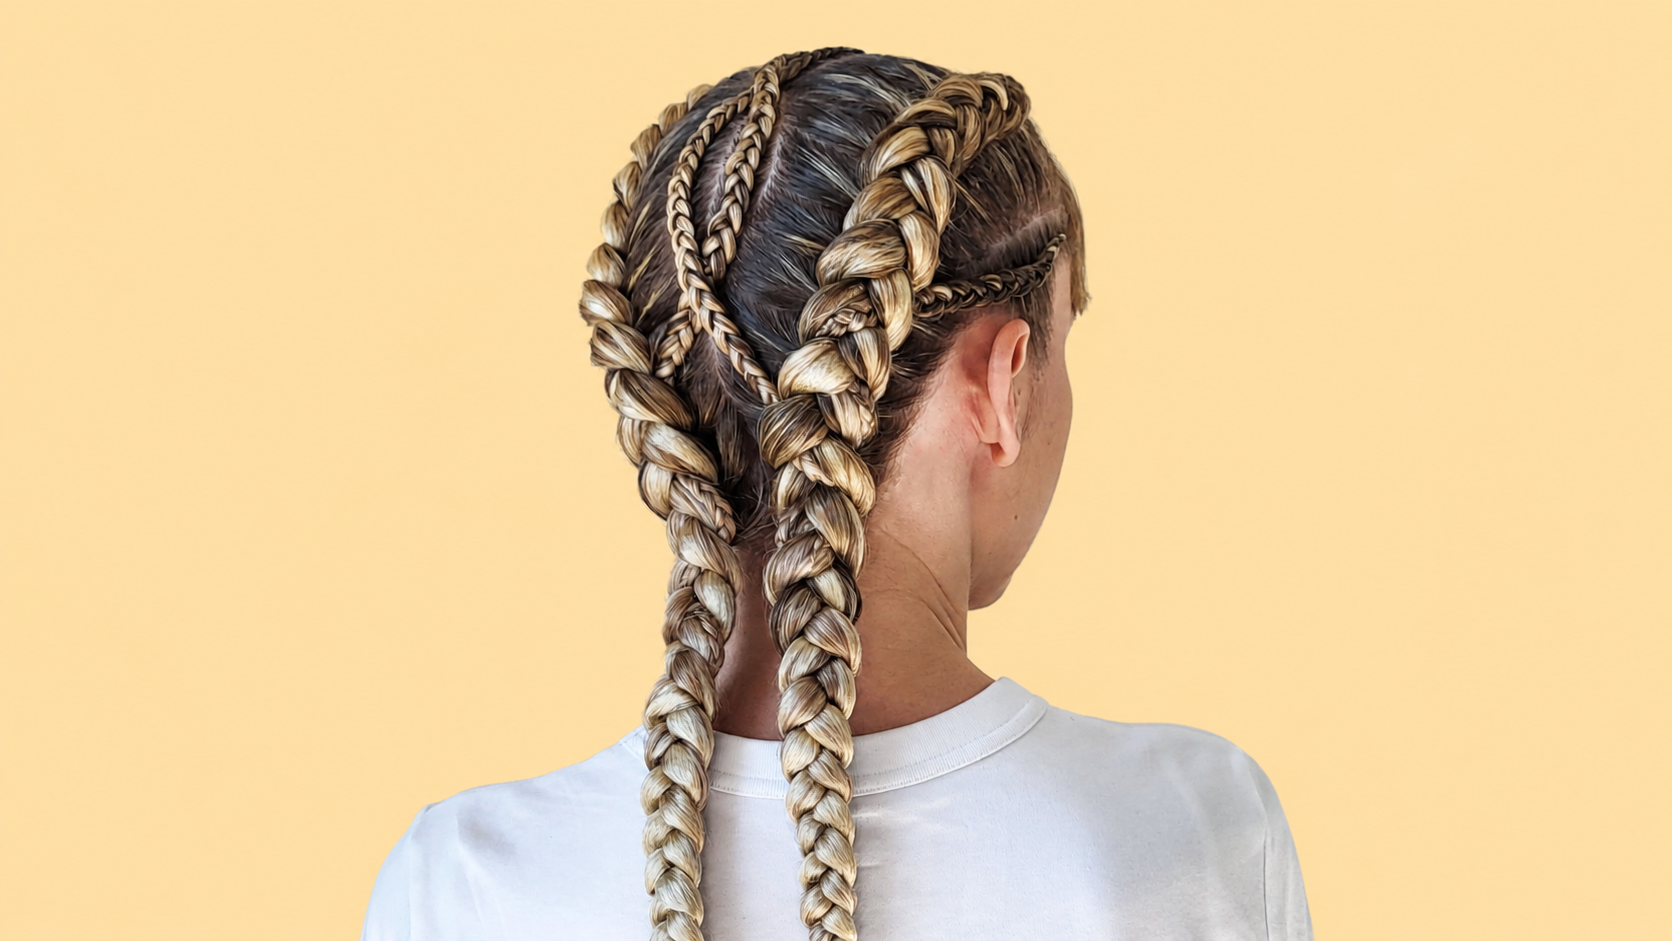
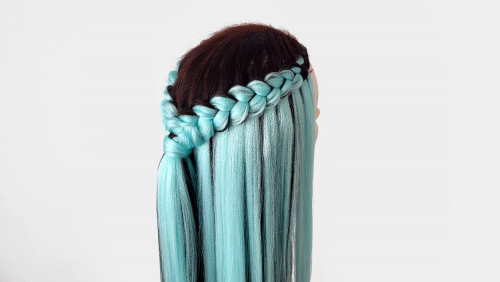
Added hair must be handled carefully on sensitive scalps. Synthetic hair increases weight, and weight increases the amount of force the natural hair has to carry. If the first added piece is too large, the braid can feel heavy at the root right away. For sensitive clients, added hair should be introduced gradually and in smaller pieces. In Feed-In Braids, the start should be soft and light. In Knotless Braids, the braid should build slowly after the natural hair has created a stable base. In Box Braids or Senegalese Twists, the amount of extension hair should match the strength of the section. More hair does not always create a better result. Sometimes it only creates more tension.
Follow the Growth Direction and Client Feedback
The direction of the braid can also make the scalp feel more or less sensitive. Hair does not grow in one perfect direction across the whole head. Around the hairline, temples, nape, and crown, growth patterns may shift. If the braid is pulled against the natural direction, the client may feel tightness even when the braid looks normal. A small change in angle can make a big difference. The braider should follow the natural fall of the hair where possible and avoid forcing the strand into a direction that creates unnecessary stress. This is especially important for clients who already say they are tender-headed or sensitive during styling.
Checking in with the client is part of the technique. Many clients are used to sitting through discomfort because they think braids are supposed to hurt. A professional braider should make it easy for the client to speak up. Instead of asking only, “Is this okay?” ask more specific questions: does it feel secure or tight? Is it pulling at the front? Do you feel pressure in this section? This helps the client describe the feeling more clearly. If the client says it feels tight, burning, sharp, or uncomfortable, the braid should be adjusted immediately. It is better to redo one braid than to finish a style the client cannot comfortably wear.
There are also visual signs that tension needs to be tuned down. If the skin around the braid looks shiny, stretched, red, or raised, the grip may be too tight or the section may be carrying too much weight. If small bumps appear near the base, especially around the hairline or temples, the braid should not be ignored. These signs are feedback. The answer is not to cover them with product or tell the client to wait. The answer is to reduce tension, remove weight, change direction, or rebuild the section. Clean work should not create visible stress on the scalp.
Practice Tension That Feels Secure, Not Tight
Product should not be used to force control on a sensitive scalp. Heavy gel, edge control, mousse, and repeated brushing can add irritation, especially around delicate areas. Product can help smooth hair and support the braid, but it should be used lightly. If the hair needs too much product to stay in place, the sectioning or technique may need adjustment. A sensitive scalp often does better with clean, controlled preparation and less product buildup. The braid should be organized by the hands first, with product used only as support.
For practice, braiders can train tension tuning by braiding the same section with three different pressure levels: too loose, too tight, and controlled. This helps the hands learn the difference. The controlled version should stay close to the scalp, keep the pattern clean, and still allow the section to feel comfortable. Practicing this on a mannequin head can help build rhythm, but practicing with real client feedback is also important because a mannequin cannot tell you when the scalp feels pulled. Over time, the braider learns to feel when the grip is doing too much.
In professional work, tension tuning is not only about comfort. It also improves the final look. When the braid is built with balanced pressure, the surface looks smoother, the root sits cleaner, and the style moves better. Overly tight braids can look harsh, stiff, or stretched. Tuned tension creates a softer, cleaner result that still feels secure. This is especially valuable for clients who want protective styles but have sensitive edges, fine hair, or a history of discomfort with braids. A braider who can adjust tension well can serve more clients safely and confidently.
Raise the Quality of the Service Through Tension Tuning
The strongest approach is to treat sensitive scalps with respect from the beginning. Read the scalp, choose the right section size, keep the hands close, use smaller movements, reduce extension weight, follow the growth direction, and check comfort early. Tension tuning is not about lowering the quality of the braid. It is about raising the quality of the service. A professional braid should look clean, feel secure, and allow the client to leave the chair without pain. When a braider understands how to tune the grip, the work becomes more comfortable, more precise, and more trusted.