


Custom Blends: How to Hand-Mix Braiding Hair for Ombré and Highlights
Custom blending is one of the easiest ways to make braiding hair look more expensive, more personal, and more intentional. A good color blend can turn a simple braid style into a signature look, especially when the client wants Ombré, soft highlights, lowlights, face-framing color, or a shade that is not available straight from the pack. But hand-mixing braiding hair is not just about putting two colors together and hoping they look pretty. The blend has to support the style, the client’s natural hair color, the braid size, the placement, and the final movement of the hair. When color is mixed without a plan, the result can look striped, patchy, or disconnected from the client’s roots. When it is done well, the color looks dimensional and polished from every angle.
Plan the Color Effect Before Mixing
The first step is deciding what kind of blend the style actually needs. Ombré and highlights are not the same thing. Ombré creates a gradual shift from one color to another, usually darker near the root and lighter toward the ends. Highlights create lighter pieces throughout the braid, usually in a more scattered or dimensional way. A soft color blend can make the hair look natural, while a bold blend can create a festival or editorial effect. Before opening the packs, the braider should know the goal. Is the client asking for a natural sun-kissed effect, a visible color pop, a soft transition, or a high-contrast statement? The answer changes how the colors should be mixed.
Root color is one of the most important decisions. If the client wants the finished style to look natural, the color near the root should usually connect to the client’s natural hair or chosen base shade. This helps the braid look blended instead of placed on top of the head. If the root color is too different from the natural hair, the start of the braid can look harsh unless the contrast is intentional. For clients with dark natural hair, adding blonde, platinum, pastel, gray, mint, pink, or burgundy too close to the root needs extra control. The braider may choose to keep the first section darker, then gradually introduce the lighter or brighter shade as the braid builds.
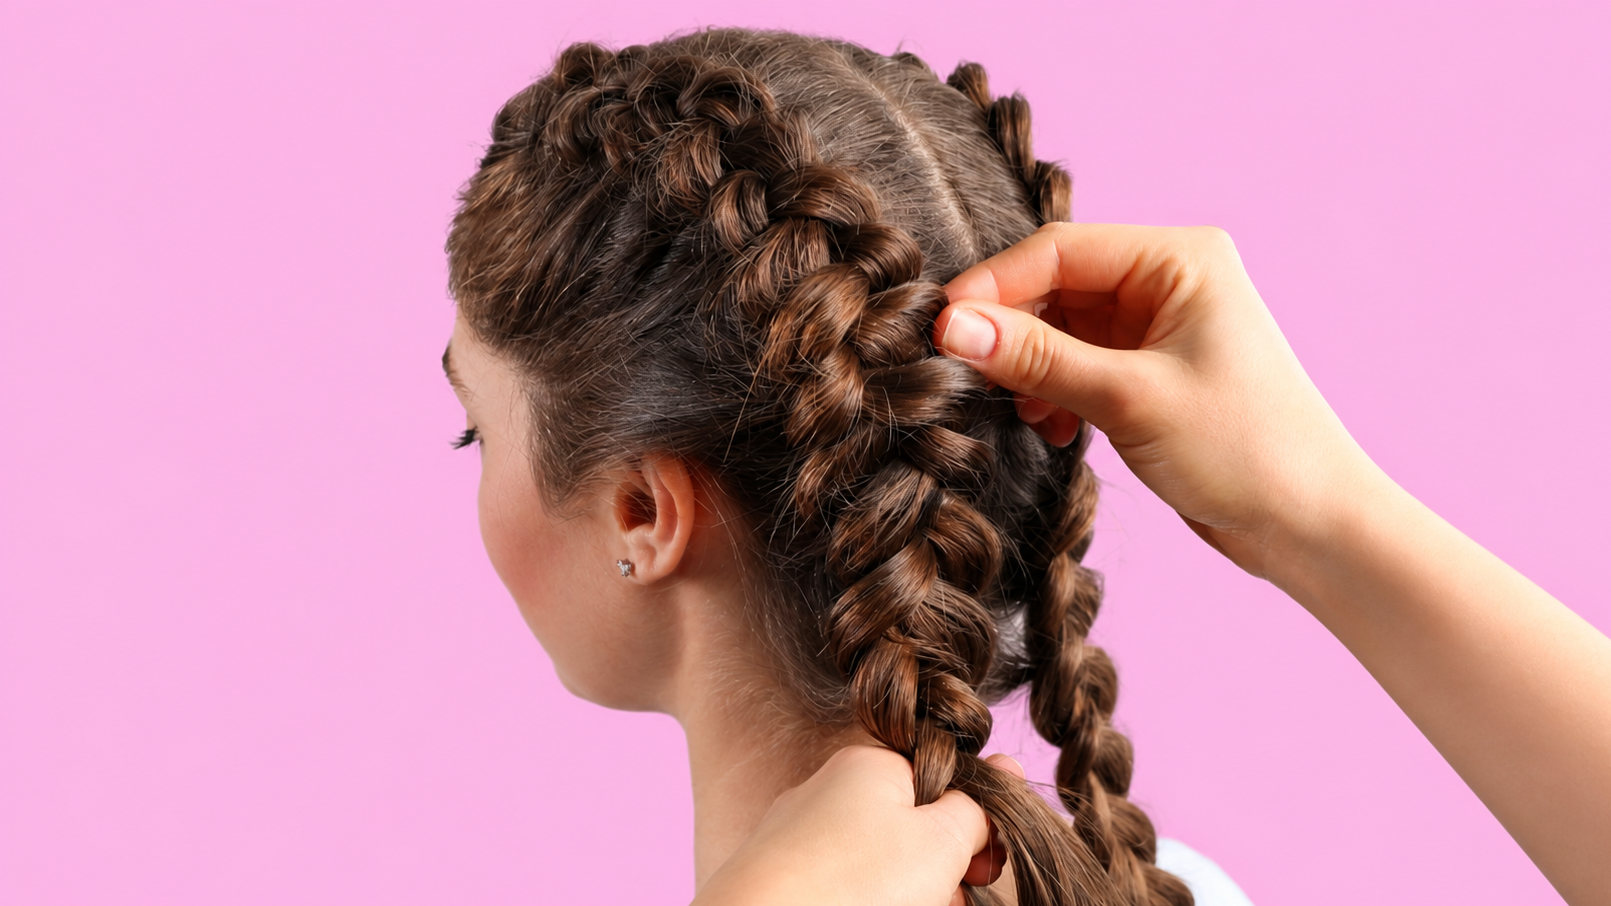
Mix Thin Layers for a Softer Blend
When hand-mixing braiding hair, the biggest mistake is mixing large chunks together. Two thick pieces twisted around each other usually create stripes, not a blend. A better method is to work in thin layers. Pull small amounts from each color, stack them lightly, stretch them together, and repeat until the colors are distributed in a controlled way. The goal is not to make the colors disappear completely. The goal is to create movement. A good blend should still show dimension, but the color changes should feel intentional. If the blend looks too blocky in the hand, it will usually look even more obvious once it is braided.
The amount of accent color matters. A small amount of bright or light synthetic hair can dominate the whole braid if it sits on the outside strand. This is especially true with high-contrast shades. A few pieces of platinum, pink, green, or burgundy can look very strong once the braid is finished. The braider should start with less accent color than expected, then add more if needed. It is easier to build color gradually than to remove a shade after the blend has already been installed. Professional color blending is about control, not using every color at full strength.
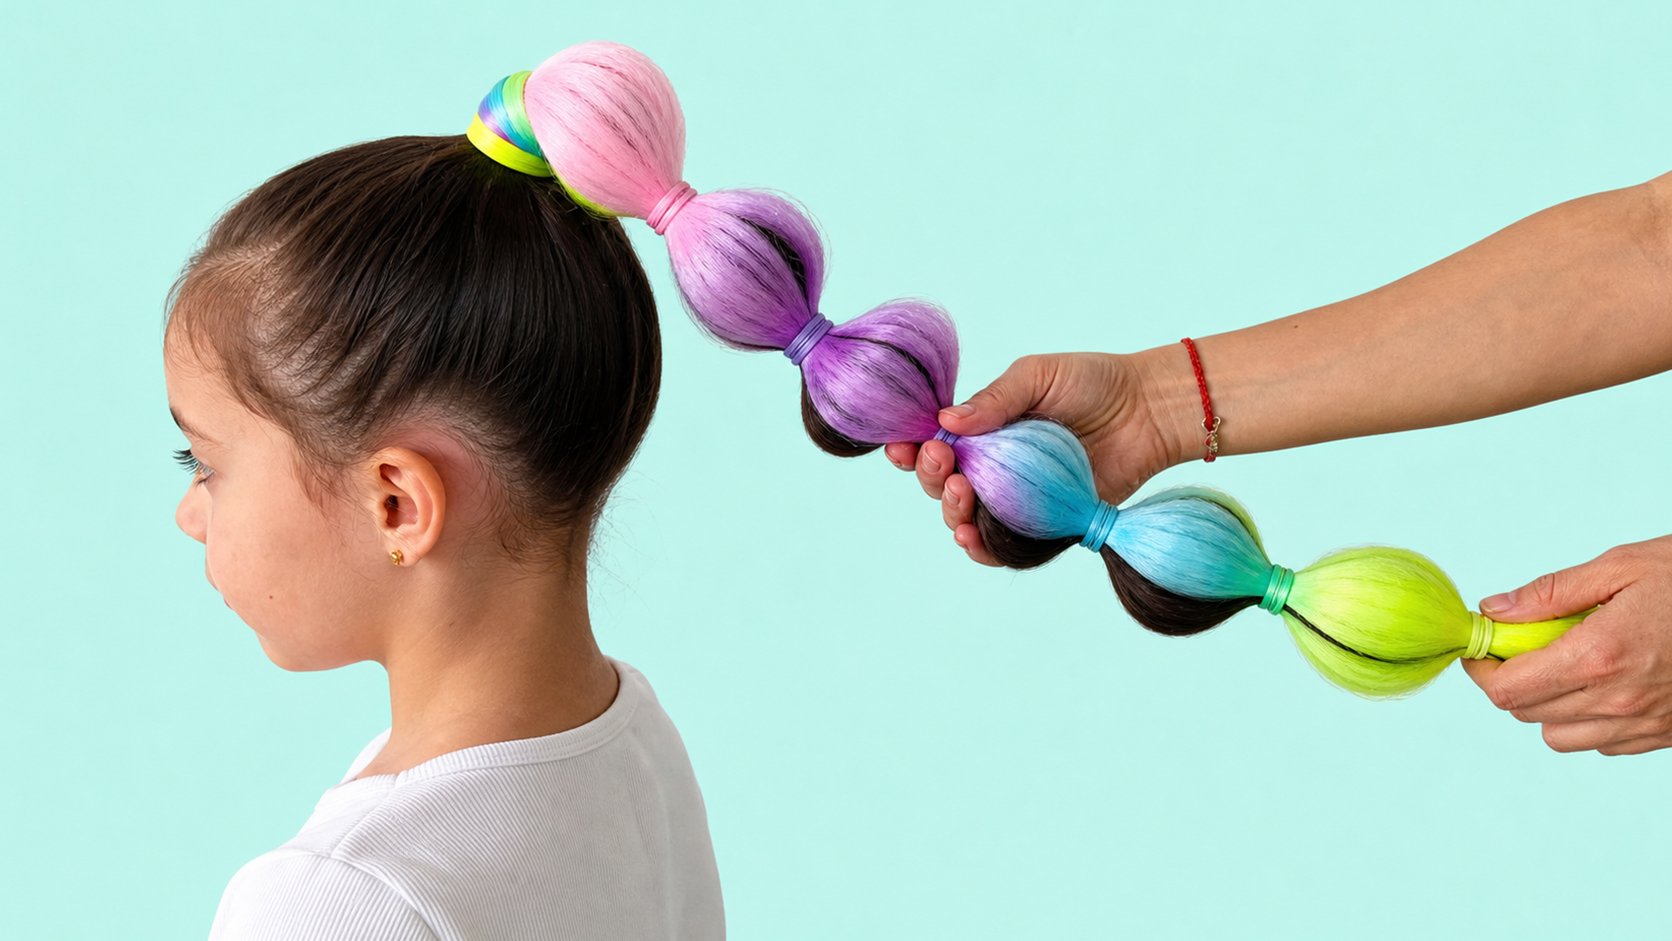
Build Ombré and Highlight Placement with Intention
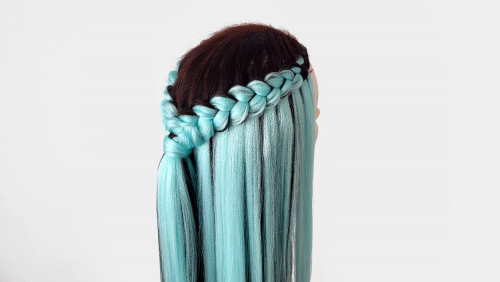
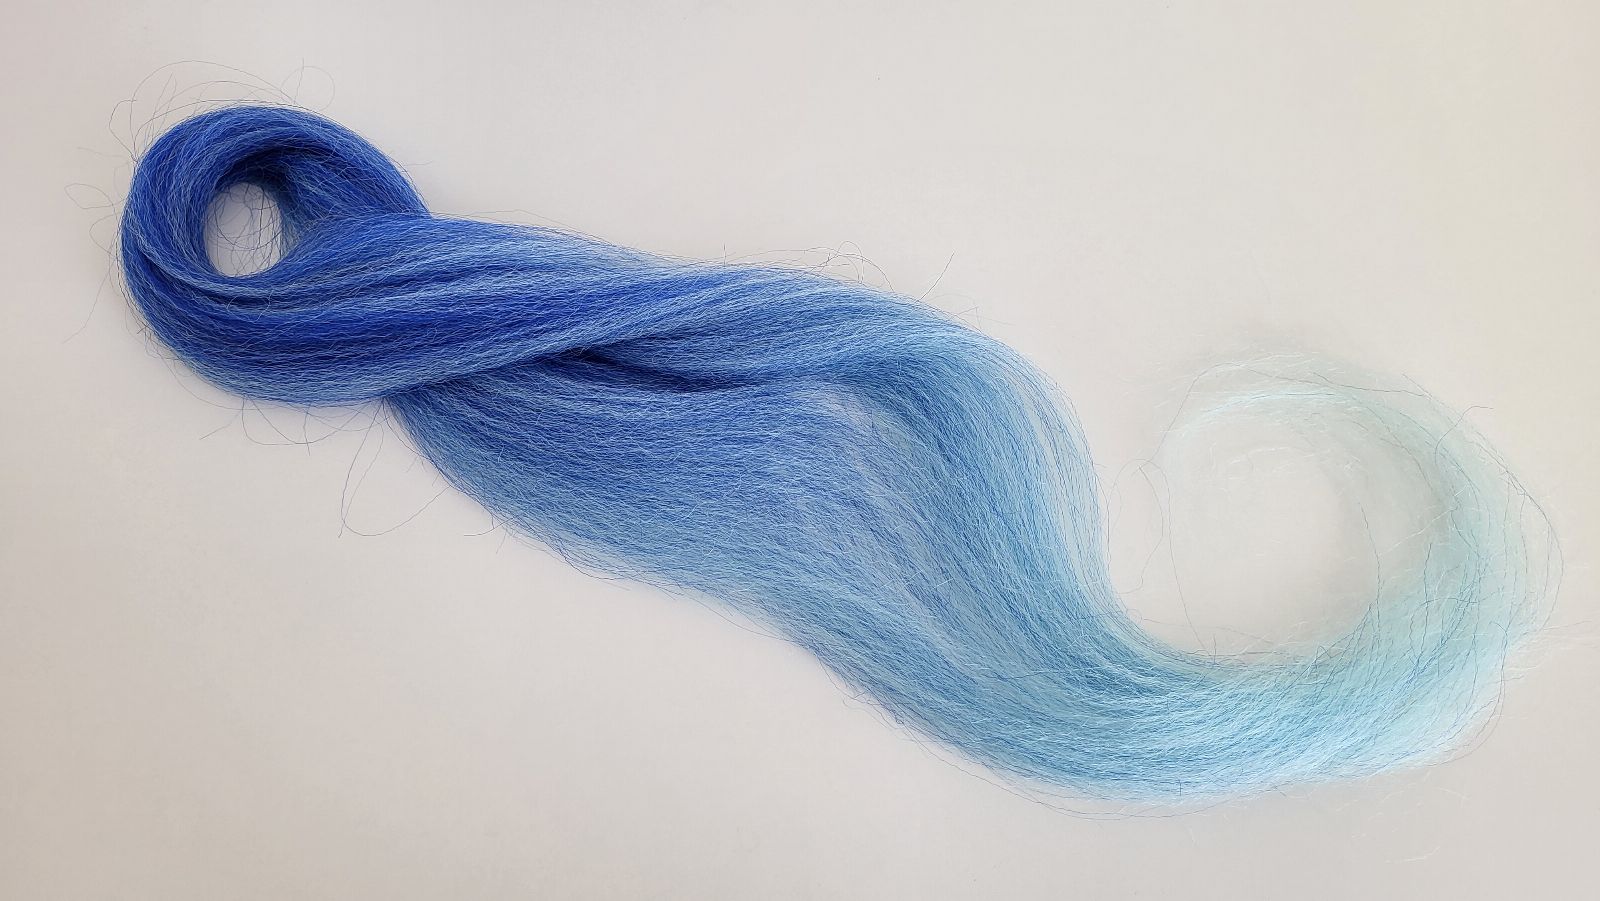
For Ombré effects, the transition has to be planned before installation. If the braider wants a darker root and lighter ends, the darker color should carry the top portion of the braid, and the lighter shade should appear gradually as the braid moves down. This can be done by preparing sections with different color ratios: more dark hair at the top, more mixed hair through the middle, and more light hair toward the ends. The transition should not feel like a hard line unless the client specifically wants a bold dip-dye look. A soft Ombré needs a middle zone where the colors overlap enough to look smooth.
Highlights require a different approach. Instead of creating one large gradient, the braider places lighter or brighter strands throughout the working hair. The placement should match the way the braid will be seen. Color around the face is more noticeable than color in the interior. Color on the outside of a braid is more visible than color hidden inside the working section. If the client wants a subtle result, the highlight shade should be mixed lightly and distributed through the braid. If the client wants a stronger look, the accent pieces can be placed more intentionally in visible areas. The braider should think about the final style, not just the bundle in the hand.
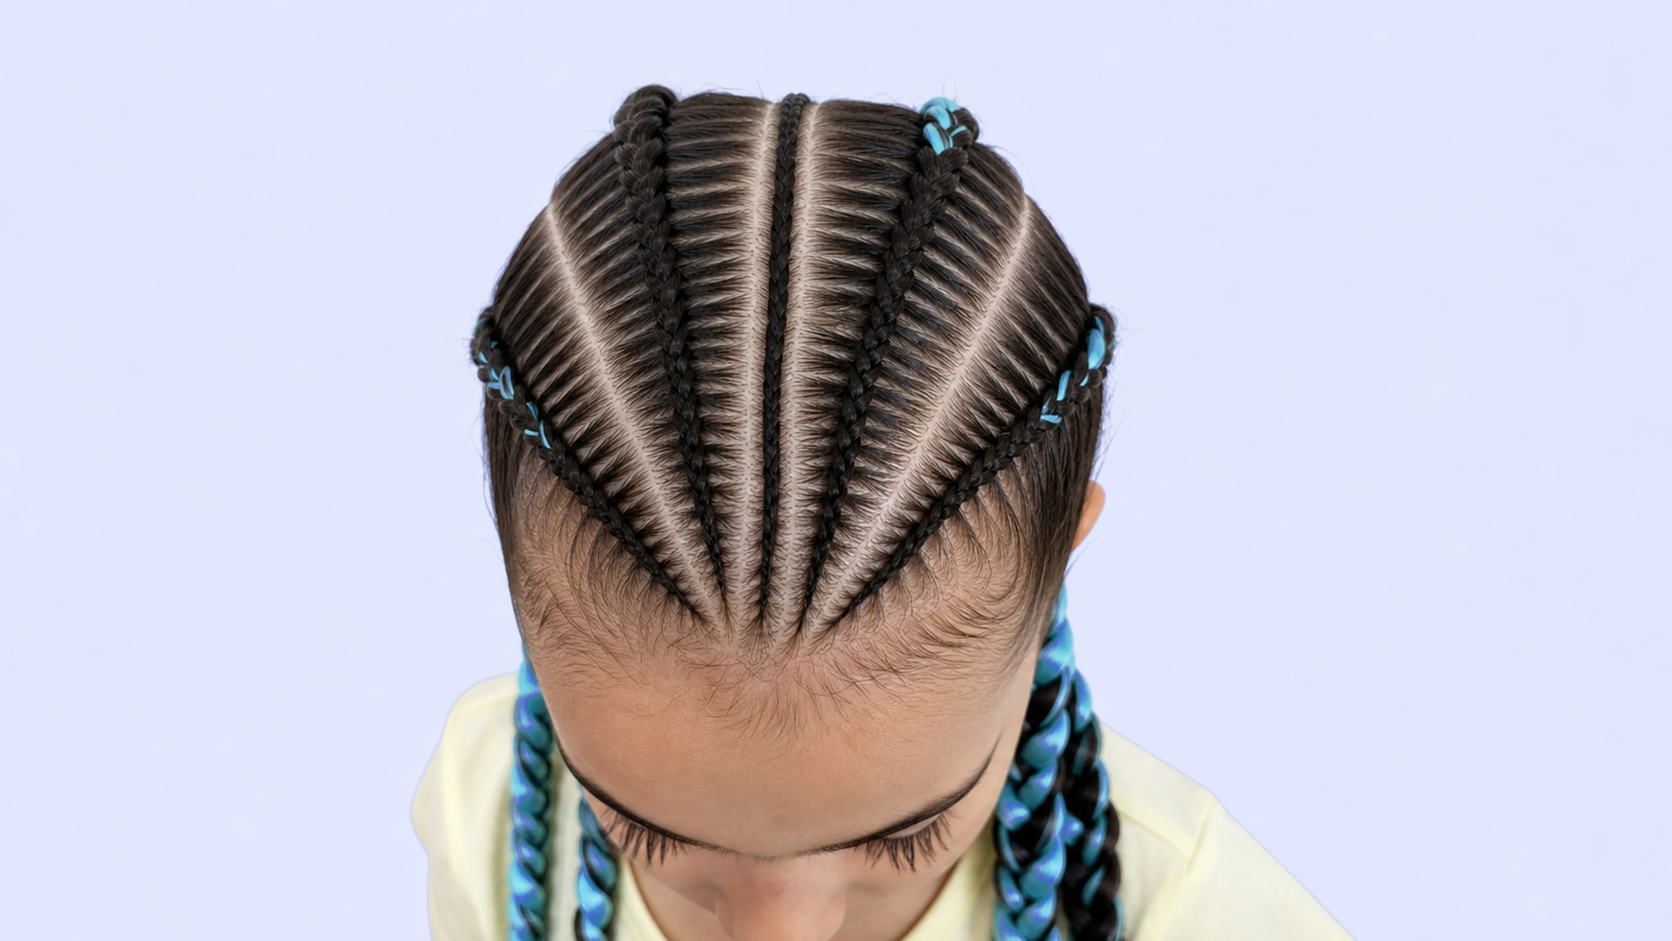
Match Color Placement to Braid Size and Texture
Braid size changes how color reads. In smaller braids, a color blend can look more detailed because each braid shows less hair at once. In larger braids, color placement becomes more obvious, and uneven mixing can look chunky. For Box Braids and Knotless Braids, the braider should keep the pieces consistent so the color does not look random from one braid to the next. For Feed-In Braids or Cornrows with added color, the placement needs to follow the direction of the braid so the color does not interrupt the pattern. For Boho Braids, curls can also carry accent color, which means the braid and the loose pieces should be planned together.
Texture also affects blending. Two synthetic hair colors may not feel the same even if they come from the same brand. One shade may be softer, silkier, more crimped, or more slippery than another. If the textures do not match, the blend can separate while braiding. Before mixing a full set, the braider should test how the fibers behave together. Pull them through the hands, stretch them, and make a small sample braid if needed. A beautiful color is not enough if the fibers do not work well together. The blend has to braid smoothly, tuck natural hair properly, and hold its shape during wear.
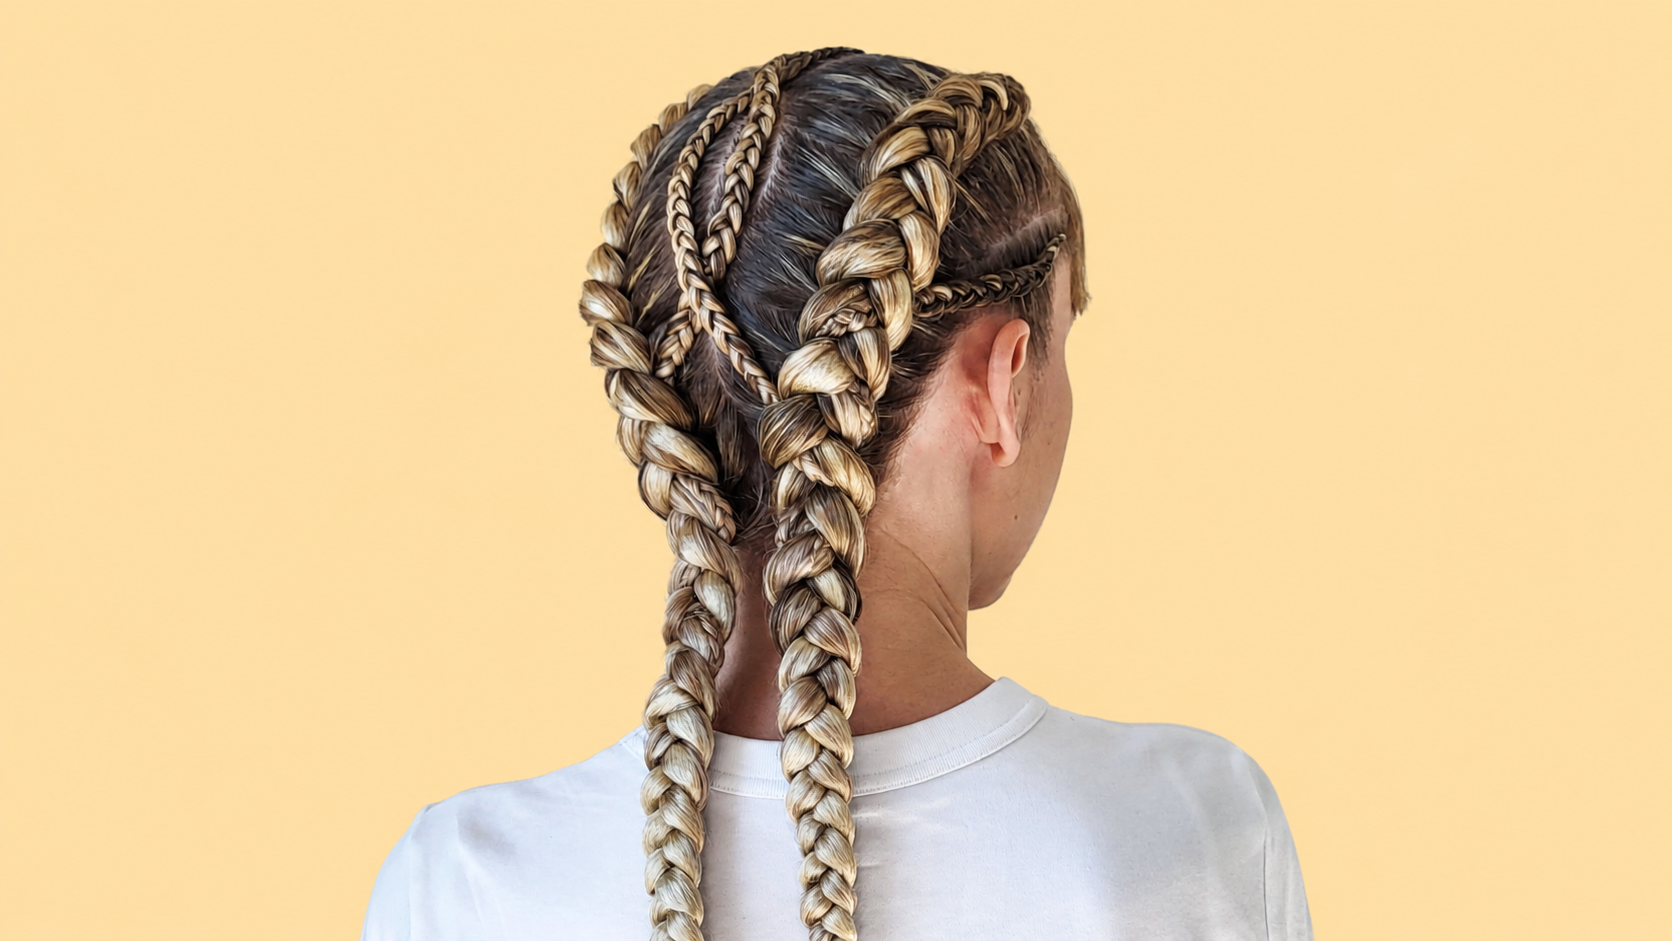
Keep the Blend Consistent Across the Style
Custom blending also needs consistency. If the first row has one color ratio and the second row has a completely different ratio, the finished style may look uneven unless that variation is intentional. A professional braider should create a basic formula for the blend. It does not have to be complicated. It can be as simple as one part dark brown, one part honey blonde, and a small amount of light blonde for brightness. The important thing is to repeat the same idea across the style. If the client wants more brightness around the face or more depth underneath, that should be planned as a placement choice, not an accident.
Lighting is important when choosing and mixing colors. Synthetic hair can look different under salon lighting, natural daylight, bathroom lighting, or phone camera flash. A blend that looks soft indoors may look much brighter outside. Before committing to the full install, it helps to check the color near the client’s face and natural hair. Skin tone, root color, and the client’s personal style all affect whether the blend feels flattering. A shade that looks beautiful in the pack may not be the best choice once it is placed next to the client. Professional color work includes that visual check before the full head begins.
Prepare the Color Blend Before Installation
Preparation makes the blending process cleaner. The braider should open the hair, separate the colors, remove tangles, and organize the pieces before starting the install. If the blend is being created during the braid, the service can slow down, and the color ratios can become inconsistent. Pre-mixing enough hair for at least one row helps the braider maintain rhythm. For larger styles, it may be helpful to prepare bundles by section: front, sides, crown, and back. This keeps the color balanced and prevents the braider from running out of a specific shade halfway through the style.
When working with high-contrast blends, tucking becomes even more important. If the client’s natural hair is dark and the extension blend is light, the natural hair can show through the braid if it is not placed correctly. The braider needs to keep the natural hair inside the synthetic hair structure and use the color placement to cover it. This is especially important in the first few inches of the braid, where the natural hair is still present. A beautiful custom blend can lose its polish if the tuck is not clean. Color and technique have to work together.
A custom blend should also be realistic for maintenance. Very light, bright, or pastel synthetic shades may show frizz, product residue, lint, or natural hair flyaways more quickly than darker shades. The client should know how to care for the style: avoid heavy product, protect the braids at night, keep the scalp clean, and be gentle when refreshing the surface. If loose curls are added, the curl color and placement should also be considered because curls can make the blend look softer or more dramatic. A good consultation explains not only how the color will look on day one, but how it may wear over time.
Practice Ratios Before the Full Service
For practice, the best exercise is to create three sample braids with the same colors but different ratios. One can be mostly base color with a small highlight, one can be evenly mixed, and one can be more dramatic with stronger contrast. This shows the braider how much color is actually needed to create the desired effect. Many beginners use too much accent color because it looks small in the hand, then realize it looks much brighter once braided. Sample braids build better judgment and help the braider show clients realistic options before the full service.
Create Custom Blends That Look Intentional
The strongest custom blends look intentional, not accidental. The colors support the client’s root shade, the braid style, the placement, and the overall finish. The transition feels smooth when it should be soft, and bold when it is meant to be dramatic. The blend is consistent enough to look professional but dimensional enough to feel custom. Hand-mixing braiding hair is a creative skill, but it is also a technical one. It requires planning, controlled ratios, texture awareness, clean tucking, and an understanding of how color moves through a braid. When those details come together, Ombré and highlighted braids look polished, personal, and ready for real salon work.