


Why Your Braids Look Messy — and How to Fix It
Why Your Braids Look Messy — and How to Fix It
Messy braids usually do not happen by accident. Most of the time, the braid is showing exactly what went wrong earlier in the process: the part was not clean enough, the sections were not balanced, the hands changed tension, or the hair was not controlled before the first stitch. A braid can look messy even when the pattern is technically correct, because clean braiding is not only about knowing which strand crosses where. It is about preparation, direction, tension, strand control, and the ability to notice small problems before they become visible through the whole style. That is why fixing messy braids starts before the braid looks messy.
Start with the Foundation
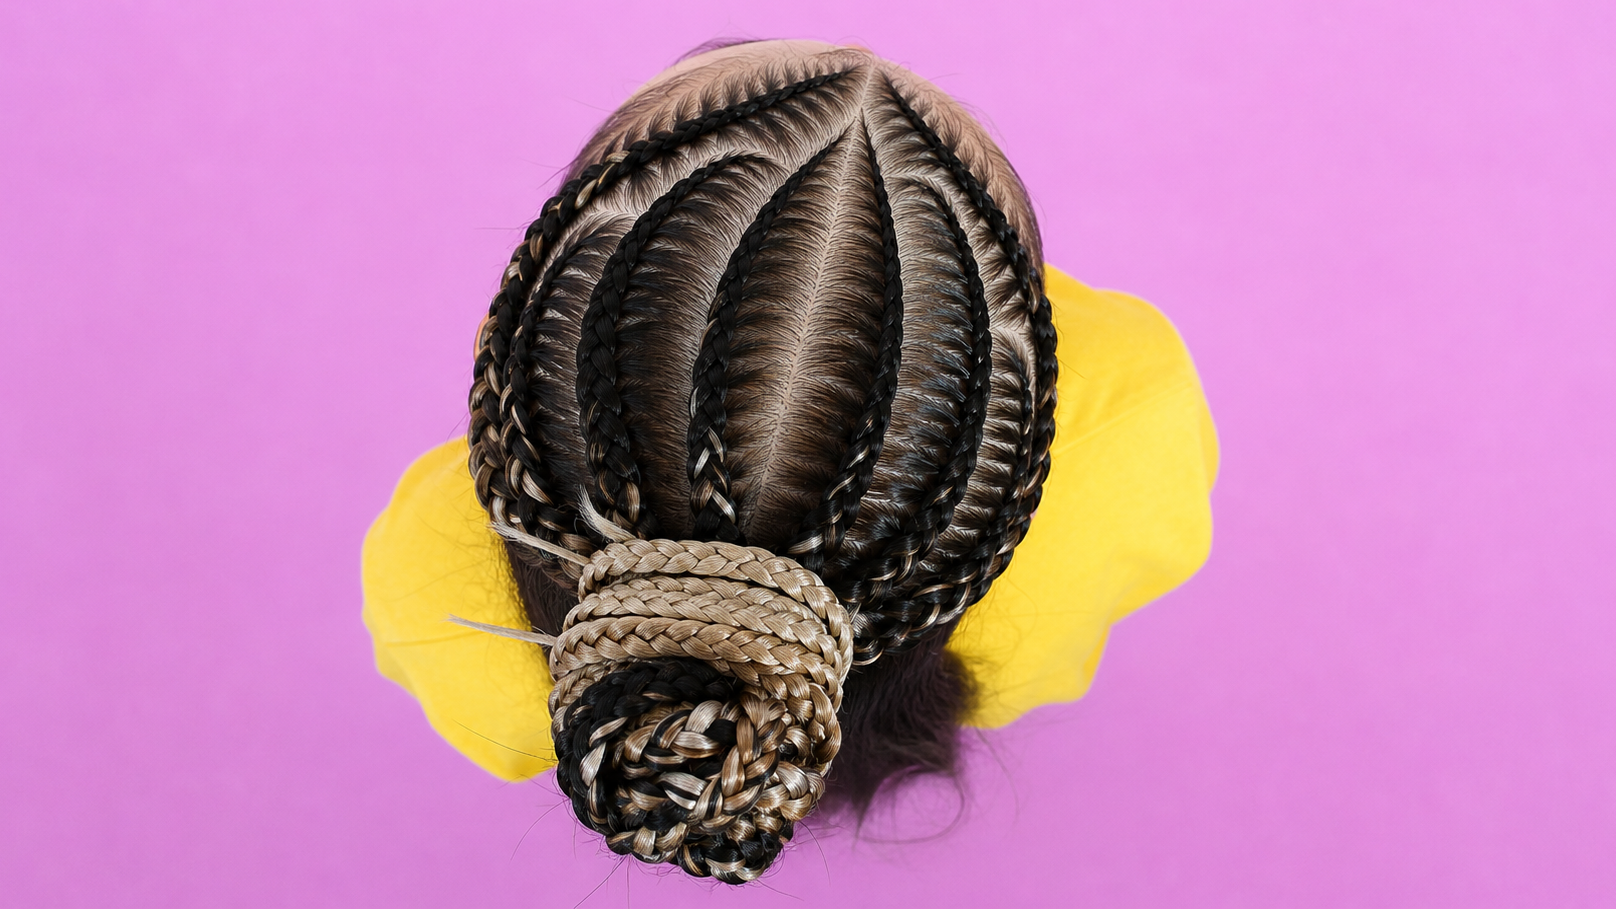
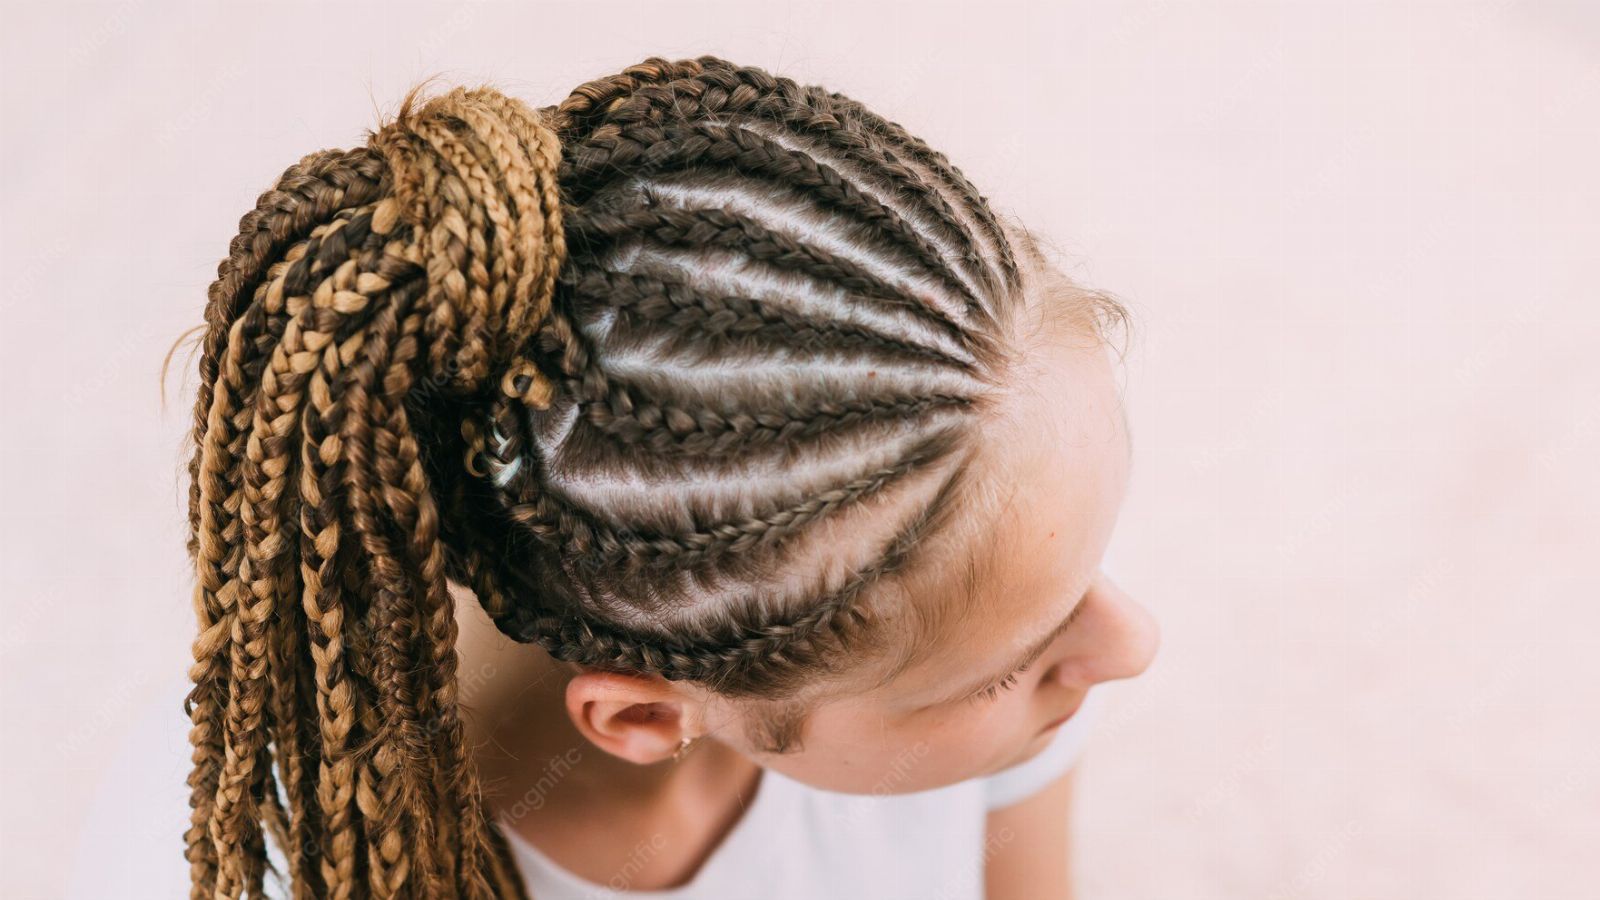
The first place to look is the section. If the base is uneven, the braid has to fight the shape underneath it. A section that is too wide on one side, too narrow on the other, or not properly separated from the surrounding hair will usually create a braid that looks crooked, bulky, or loose in places. Clean parting gives the braid a clear foundation. It tells the hair where to go and gives the hands a stable shape to work with. When the part is rushed, the braid may still hold, but it will not look polished. This is especially obvious in French Braids, Dutch Braids, Cornrows, Box Braids, and any style where the scalp pattern or base placement is visible.
Another common reason braids look messy is uneven strand size. When one strand becomes thinner and another becomes heavier, the braid loses balance. The pattern may continue, but the finished shape starts to look inconsistent. This often happens when the braider is focused on moving quickly instead of checking the working sections. In pickup braids, the mistake usually comes from taking more hair from one side than the other. In braids with synthetic hair, it can happen when added hair is placed too heavily into one working strand. The fix is not to pull harder. The fix is to pause early, compare the sections, and rebalance before the braid travels too far.
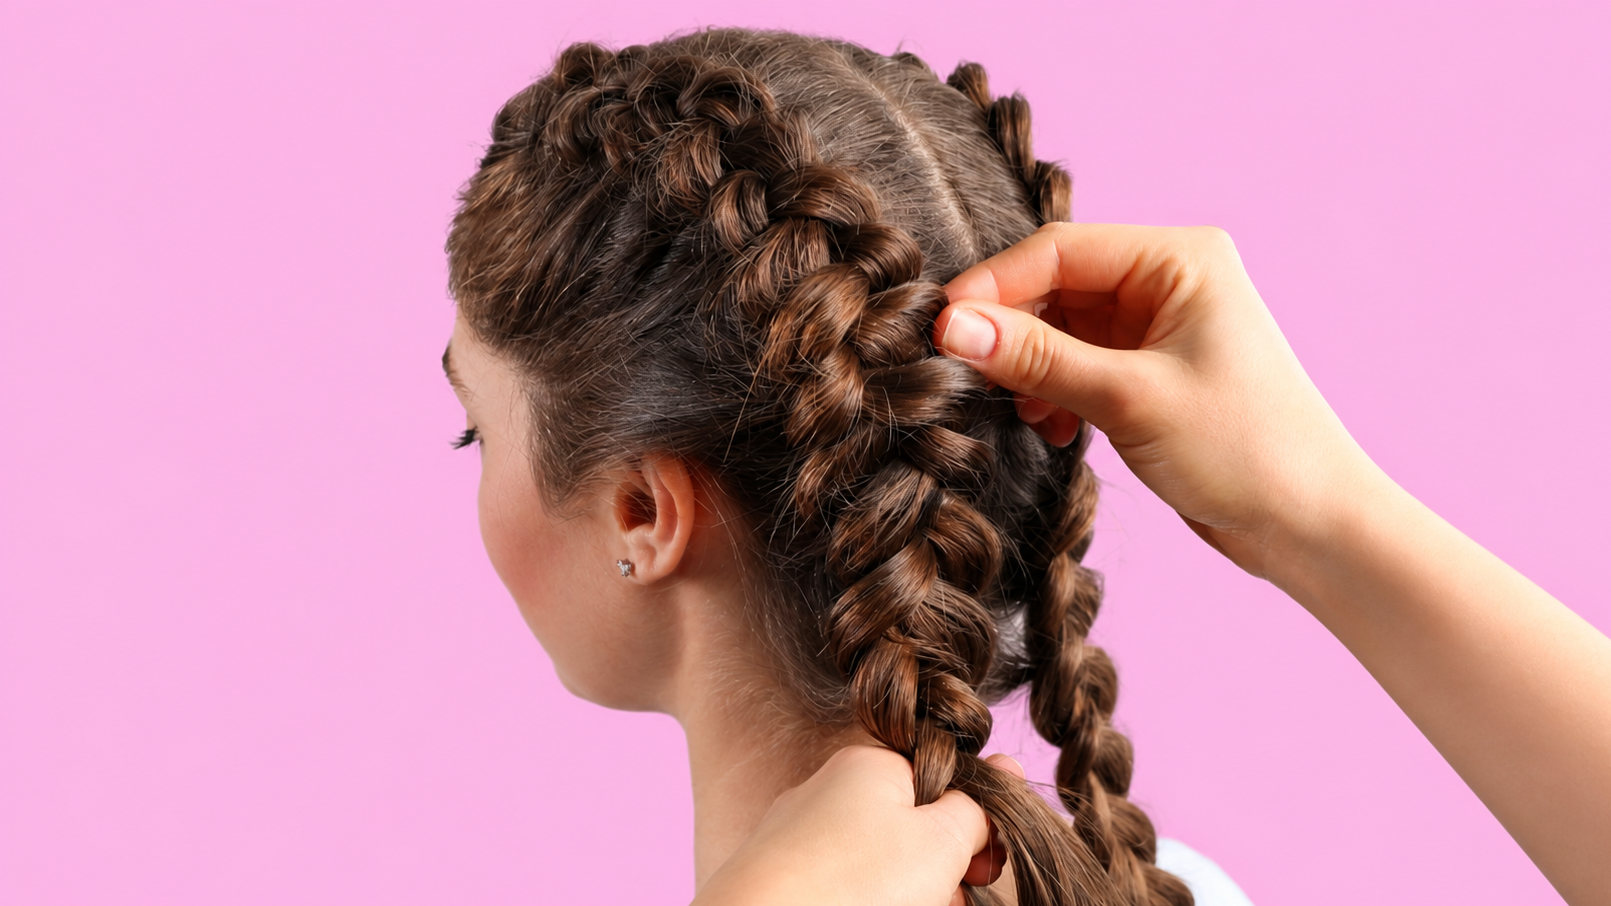
Messy roots often come from weak control at the start. The first few stitches decide the direction, tension, and shape of the braid. If the start is loose, twisted, or pulled toward the wrong side, the rest of the braid will usually follow that mistake. A clean start does not need to be painfully tight. It needs to be organized. The hair should be combed in the direction it will be braided, the base should be clear, and the hands should stay close enough to guide the pattern without lifting the hair away from the scalp. When the hands move too far out, the root can puff, the braid can turn, and the finished style loses that clean, professional look.
Control Product, Flyaways, and Tension
Product can help, but it cannot replace technique. Many beginners try to fix messy braids by adding more gel, more edge control, or more mousse. Product may smooth flyaways for a moment, but it will not correct poor sectioning, uneven tension, or weak strand placement. Too much product can create a different problem: buildup, flakes, white residue, stiffness, or hair that becomes too slippery to control. A professional approach is to use product with purpose. Apply a small amount where the hair needs grip or smoothing, comb it through, and then braid with clean hands and controlled tension. The product should support the work, not become the work.
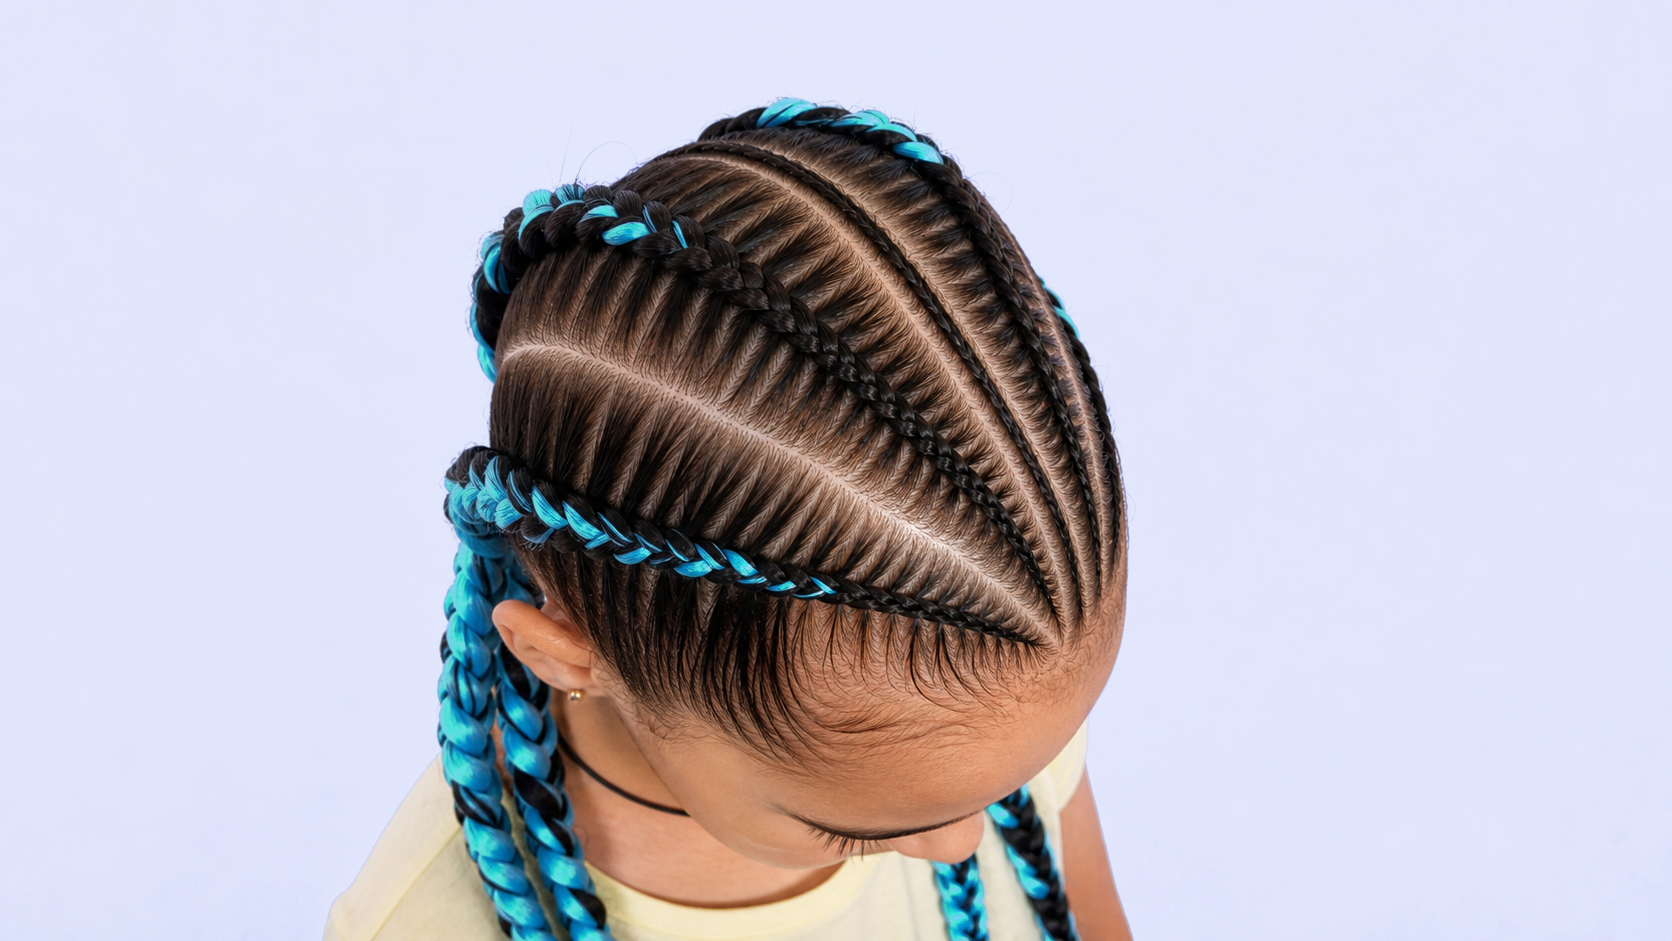
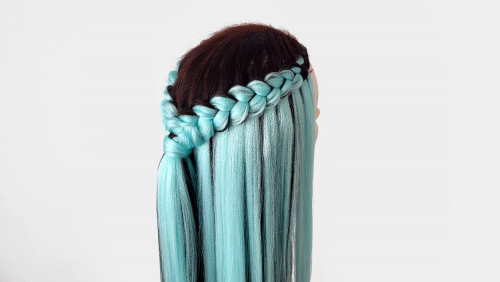
Flyaways are another reason a braid can look unfinished. Some flyaways come from short layers, blunt ends, dry hair, or natural texture that is not being tucked into the braid properly. Before braiding, the hair should be detangled and lightly controlled so shorter pieces can move into the section instead of sitting on the outside. When using Kanekalon or other synthetic hair, the natural hair needs to be placed inside the extension structure from the beginning. If the natural hair starts outside the braid, it will keep escaping down the length. A cleaner tuck creates a smoother finish and makes the braid look more intentional.
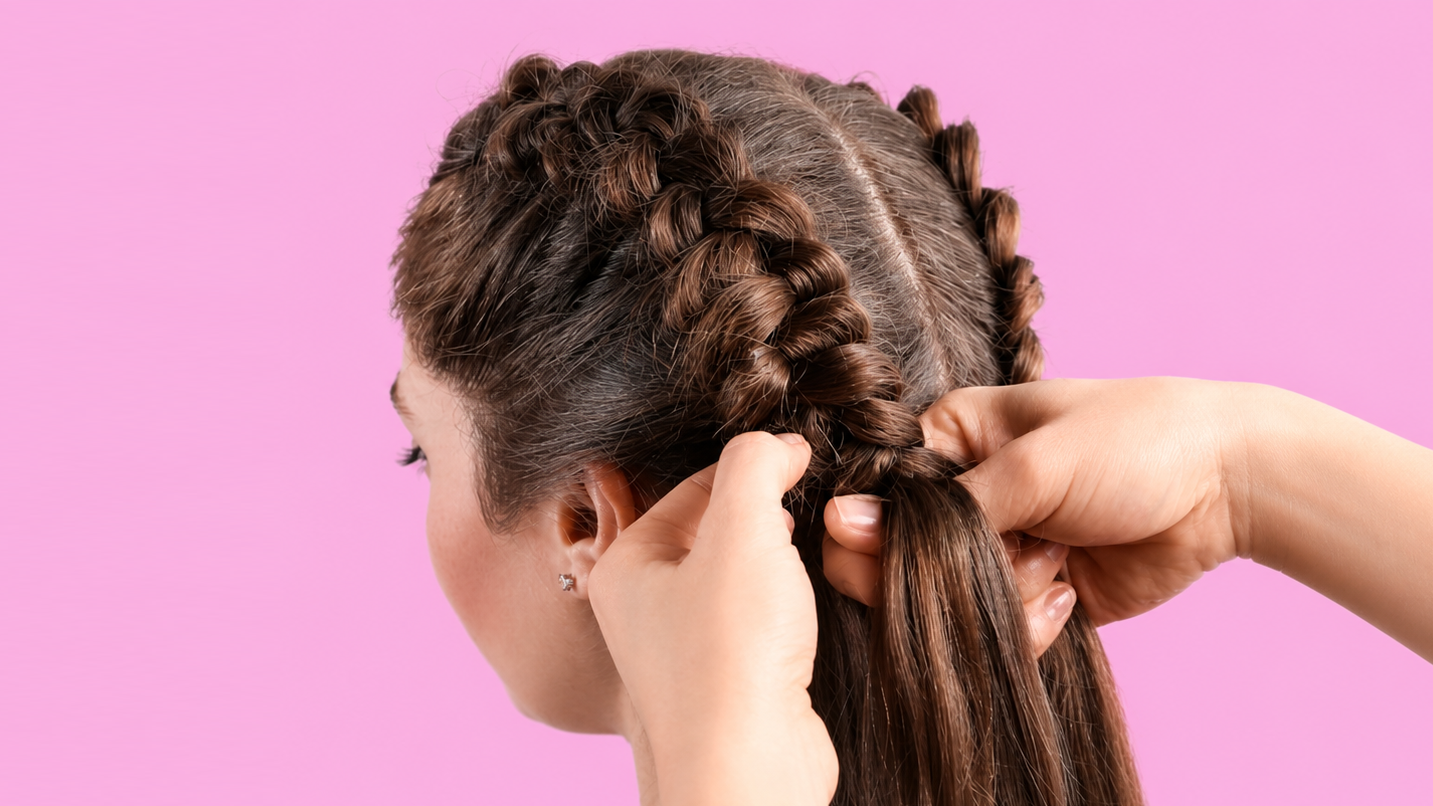
Tension also plays a major role. A braid can look messy when the tension changes from stitch to stitch. If the first part of the braid is tight, the middle is loose, and the end is pulled again, the braid will not have a consistent rhythm. Balanced tension gives the braid a smooth surface and a steady shape. This does not mean tight braiding. Tightness and control are not the same thing. A braid should feel secure because the sectioning, hand movement, and strand placement are working together. If the braid only looks neat when the scalp is being pulled hard, the technique needs to be corrected.
Check and Correct While You Braid
One of the best ways to fix messy braids is to stop checking only the finished braid and start checking the braid while it is happening. After the first inch, look at the direction. Is the braid centered on the section? Are the strands still even? Is one side getting heavier? Is the root sitting flat? Are flyaways showing already? These small checks save time. It is much easier to correct a braid early than to finish the whole row and realize the shape has been drifting from the beginning. Professional braiders do not wait until the end to judge the work. They read the braid as they build it.
For practice, the most useful exercise is to braid the same simple pattern three times and compare the results. Do not change the hairstyle. Do not add a new technique. Keep the braid simple and look for one improvement at a time. On the first attempt, check the parting. On the second, focus on strand size. On the third, focus on tension and hand position. This kind of practice trains the eye and the hands together. It also helps the braider understand whether the problem is coming from the base, the movement, the product, the pickup size, or the finish.
Messy braids are not a sign that someone cannot learn. They are a sign that the braid needs a more specific correction. If the root looks bulky, check the start and the direction of the hands. If the braid looks fuzzy, check smoothing, product amount, and flyaway control. If the braid curves, check the section and pickup balance. If the braid feels tight but still looks messy, the tension is being used in the wrong way. Once the braider learns to connect each visual problem to a technical cause, fixing braids becomes much easier.
The professional goal is not to make every braid look frozen or overly perfect. The goal is to make the braid look clean, balanced, intentional, and comfortable to wear. A good braid should have a clear base, even strand movement, controlled tension, and a finish that still looks natural. When these elements work together, the style looks more polished from every angle and holds up better after the client leaves the chair. Clean braiding is not about hiding mistakes at the end. It is about building the braid correctly from the first section to the final stitch.