


How to Create a Natural-Looking Start for Knotless Braids
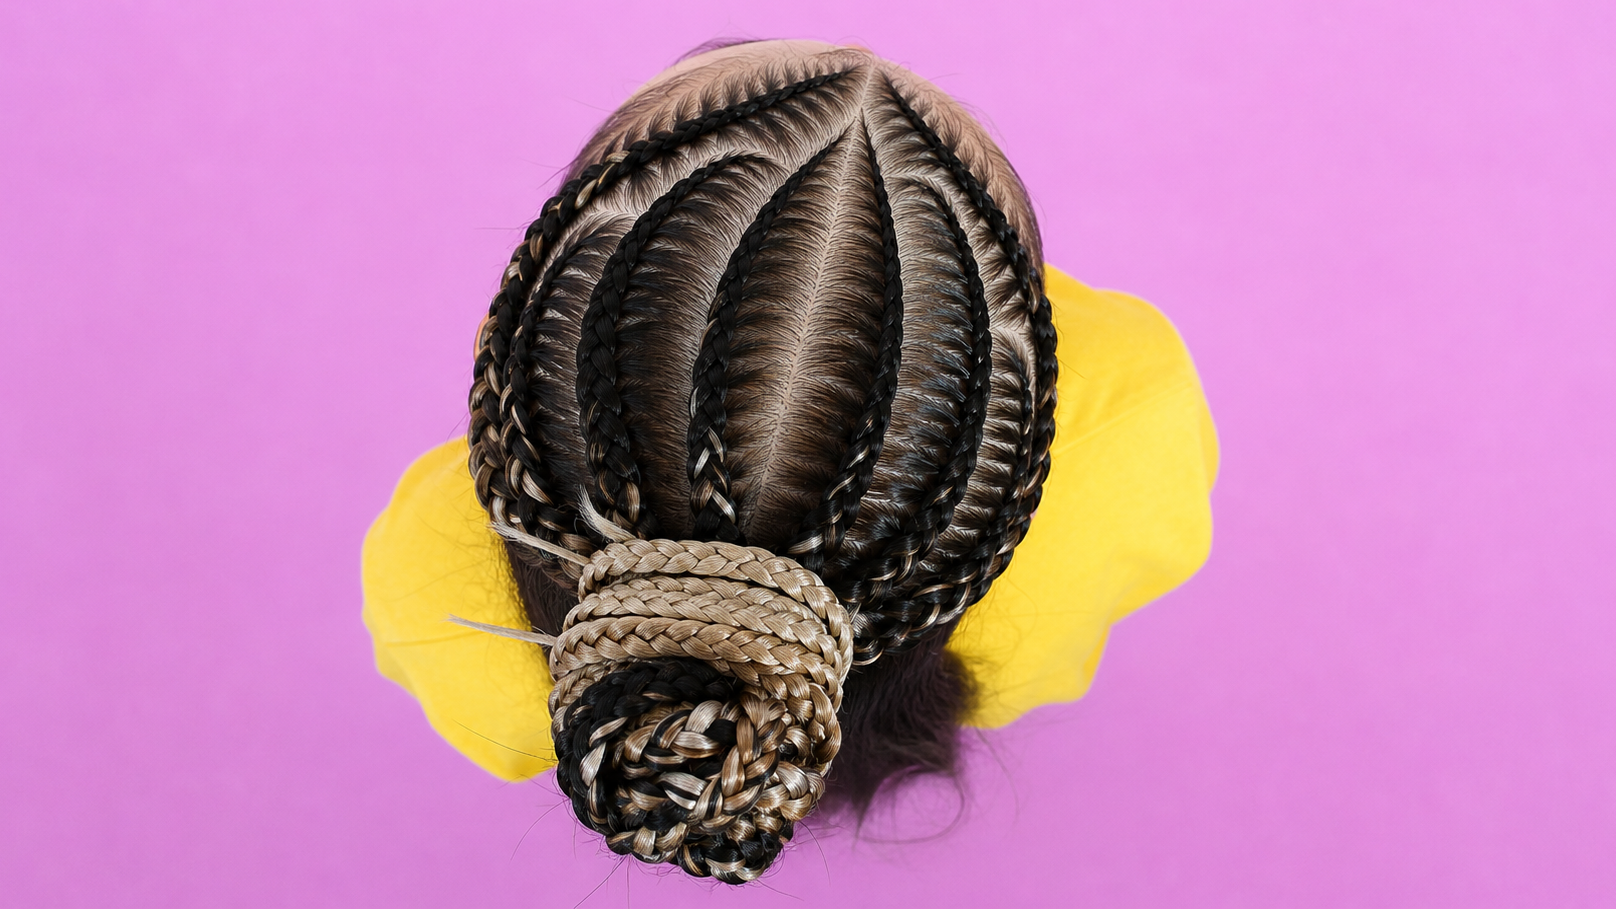
A natural-looking start is one of the main reasons clients choose Knotless Braids. The goal is for the braid to look like it grows from the scalp, without a bulky knot, heavy attachment, or sudden jump in size at the root. When the start is done well, the braid feels softer, moves more naturally, and looks cleaner from the front, side, and top. When the start is rushed, the braid can look puffy, uneven, or too thin at the base to support the length. A professional knotless start is not created by simply avoiding a knot. It is created by clean sectioning, controlled tension, gradual Feed-In placement, proper strand balance, and a realistic amount of synthetic hair.
Build the Base Before Adding Hair
The first step is the base. Before any synthetic hair is added, the section has to be clean, balanced, and strong enough to support the planned braid. If the base is too small for the finished braid, the braid may look delicate at the start but feel heavy during wear. If the base is too large, the root can look loose or underbuilt. For Knotless Braids, the base should match the braid size and the client’s hair density. This is especially important around the hairline, temples, and nape, where the hair is often finer or more sensitive. A natural-looking start should never depend on pulling fragile hair tightly just to make the root look flat.
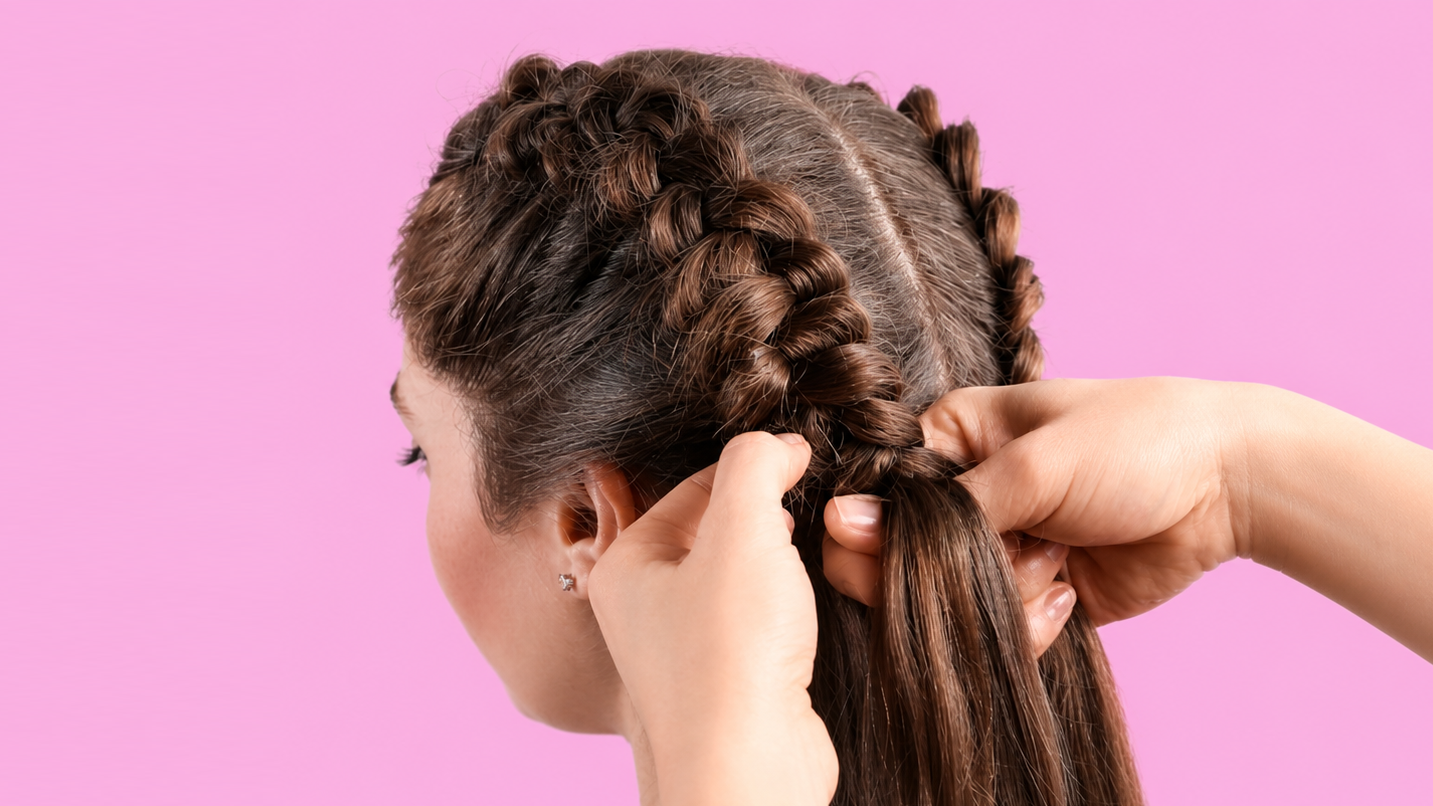
The braid should begin with the client’s natural hair. Those first few stitches establish the direction, shape, and tension of the braid before the added hair enters. If the natural hair is not organized at the start, the synthetic hair will not fix it. The braider should smooth the section, separate the natural hair evenly, and begin the braid with steady control. The first movements should be close to the scalp but not painful. A clean knotless start feels secure because the braid is built correctly, not because the hair is being pulled hard. The root should look flat and calm, not stretched or shiny from too much tension.
Add the First Feed-In Pieces Gradually
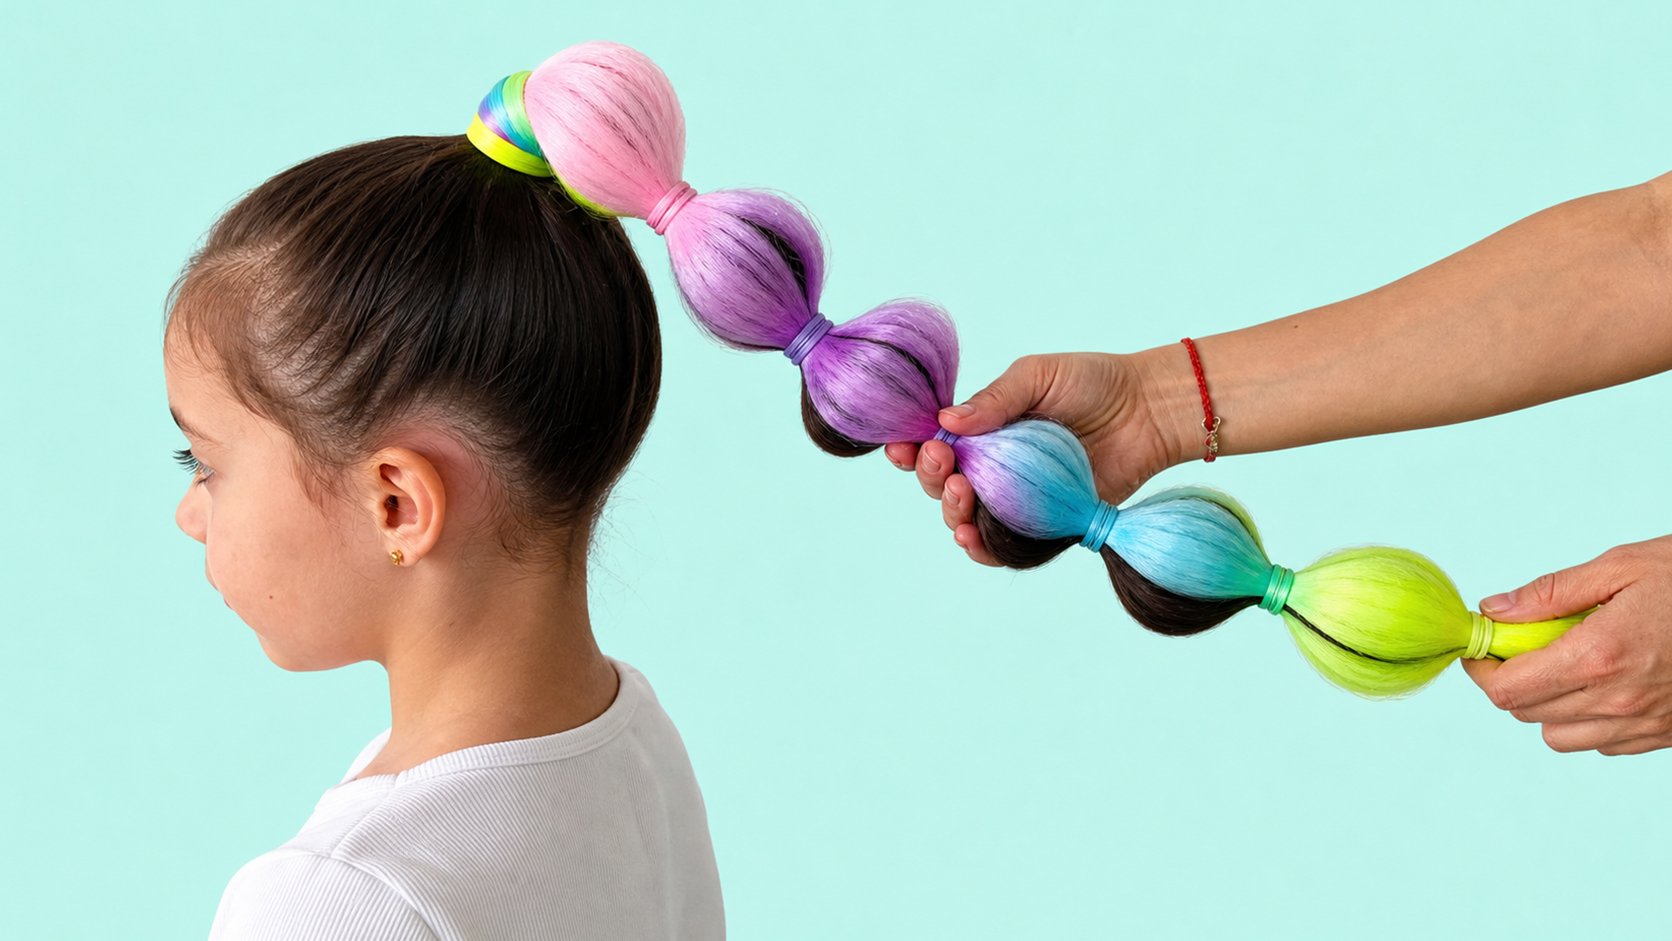
One of the most common mistakes is adding synthetic hair too early. If the first piece is placed before the natural braid has a stable foundation, the root can become bulky or uneven. The added hair may sit on top of the braid instead of blending into it, which creates a visible bump. A better approach is to create a few controlled stitches with the natural hair first, then add a very small piece of synthetic hair once the braid direction is clear. The first addition should almost disappear into the braid. If the client or the braider can immediately see where the synthetic hair entered, the piece may be too large or placed too soon.
Piece size is everything in a natural-looking knotless start. The first Feed-In pieces should be small, light, and easy to control. A large piece can make the braid jump from thin to thick in one stitch, which breaks the illusion of a soft natural start. The braid should grow gradually over several movements. This gives the root a flatter appearance and helps the braid feel more flexible. The braider can increase the amount of synthetic hair as the braid moves down, but the first inches should be handled with restraint. Fullness can be built after the root is established. It should not be forced into the first stitch.
The added hair should enter the braid in the correct position. It should not sit on top of the natural hair or wrap awkwardly around the base. The synthetic hair needs to become part of the working strand before the next cross. The braider should align the piece with the strand that will carry it, keep the hands close to the scalp, and continue the pattern without changing the rhythm. If the added hair folds, twists, or shifts to the surface, the start will look uneven. A natural-looking root depends on clean placement, not on covering the mistake later with product or tighter tension.
Keep the Root Comfortable and Blended
Tension has to stay consistent from the first stitch. Many braiders make the root too tight because they want the knotless start to look flat. That can make the braid look clean for a moment, but it can also create discomfort and unnecessary stress on the natural hair. A soft root does not mean a loose root. It means the hair is controlled without being forced. The tension should feel even, steady, and comfortable. If the client feels sharp pulling when blinking, smiling, turning the head, or relaxing the face, the braid is too tight. A professional knotless start should feel wearable immediately, not after the client “waits for it to loosen.”
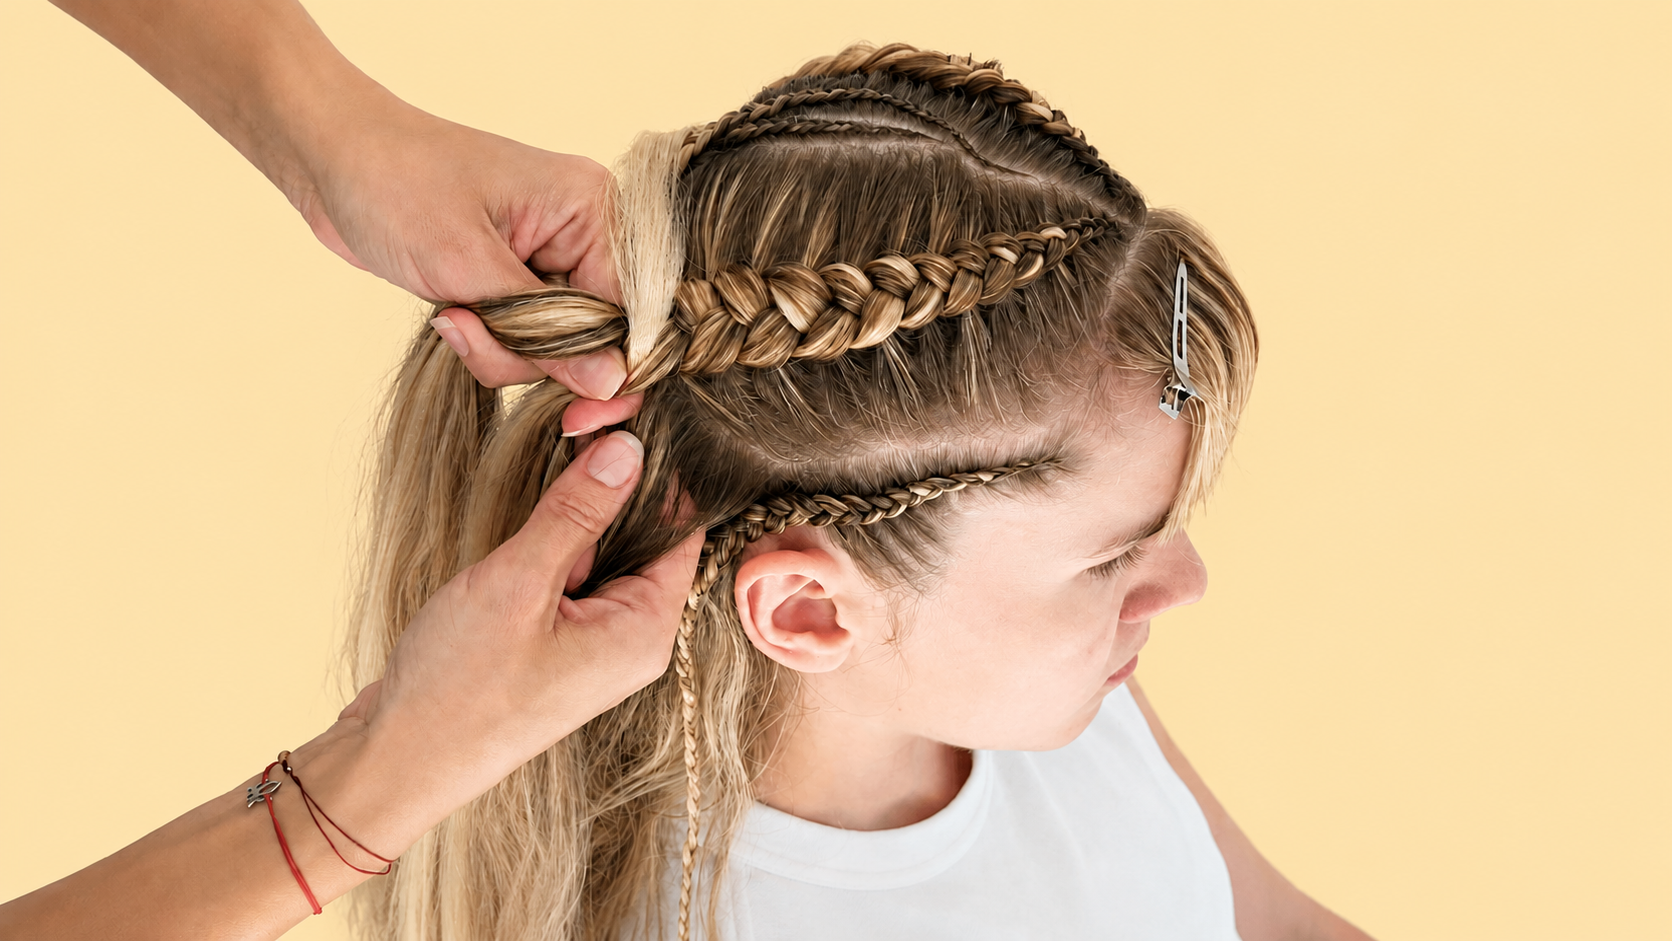
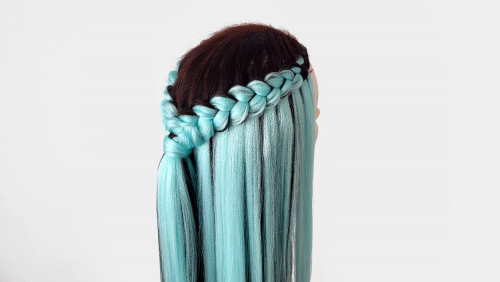
Natural hair tucking is also part of the start. If the client’s natural hair is shorter, layered, blunt-cut, or a different color from the extension hair, it needs to be guided inside the braid from the beginning. The synthetic hair should cover and support the natural hair so the braid looks blended, not fuzzy. If the natural hair starts on the outside of the working strand, it will continue to show as the braid moves down. This is especially visible when dark natural hair is braided with blonde, pastel, gray, or bright synthetic hair. The cleaner the tuck at the start, the more professional the braid will look through the length.
Product can help smooth the section, but it should be used with control. A small amount of braiding gel or jam can help short hairs stay organized and make the base look cleaner. Too much product can create buildup, white residue, stiffness, or a root that looks coated instead of natural. The product should support the technique, not replace it. Apply only what is needed, smooth it through the natural hair, and keep the braid clean with hand control. If the root only looks neat because it is packed with product, the start may not hold up well after a few days of wear.
Protect the Hairline and Prepare the Pieces
The hairline requires the softest approach. Clients often want the front of their Knotless Braids to look flawless, but the edge area is usually the most delicate. The first pieces near the hairline should be very light, and the braid direction should respect the natural growth pattern. Forcing every baby hair into the braid can create unnecessary tension and make the start look harsh instead of natural. Sometimes leaving fragile baby hairs out and finishing them softly is more professional than pulling them into the base. A natural-looking knotless start should protect the frame of the face, not use it as an anchor for heavy extensions.
Preparation makes the start smoother. The synthetic hair should be pre-separated before installation, with the smallest pieces ready for the beginning of each braid. When the braider pulls random pieces from the pack while working, the first additions often become inconsistent. One braid starts softly, another starts bulky, and the finished head loses uniformity. Pre-loading the pieces helps the braider keep the same rhythm across the full style. It also reduces hesitation during the first feed-ins, which is important because the start of a Knotless Braid needs calm, precise movement.
Check the First Row Before Continuing
A good professional test is to complete the first row and let the braids fall naturally. The roots should look flat without looking stretched. The braids should move without pulling the scalp. The size should build gradually, not suddenly. If the first row feels heavy, the rest of the head will usually feel heavier. If the root looks puffy, the first pieces may be too large. If the braid looks too thin and weak at the base, the section may need adjustment. It is better to correct the method early than to finish a full head of braids with roots that do not feel or look right.
Create a Soft Transition from Natural Hair to Added Hair
A natural-looking start for Knotless Braids is the result of several small decisions working together. The section has to be clean, the natural braid has to begin with control, the first feed-ins have to be small, the tension has to stay comfortable, and the synthetic hair has to blend into the structure without creating bulk. The goal is not to make the braid invisible. The goal is to make the transition from natural hair to added hair look soft, intentional, and balanced. When the start is built correctly, the braid feels lighter, looks more refined, and gives the client the flexible, polished result that makes Knotless Braids so popular.