


The Head-Tilt Hack: How to Braid the Nape More Comfortably
The nape is one of the most technically awkward areas to braid because it challenges both the client’s comfort and the braider’s body position. The hair is lower, the growth direction often changes, the sections can be smaller, and the braider may be tempted to bend forward, lift the elbows, or twist the neck just to see the base clearly. This is where the head-tilt hack becomes useful. A small, controlled adjustment in the client’s head position can make the nape easier to section, easier to braid, and more comfortable for everyone. The goal is not to force the client’s chin all the way down. The goal is to create just enough access so the braid can be installed cleanly without putting strain on the scalp, neck, shoulders, or back.
Use a Slight Head Tilt, Not an Extreme Bend
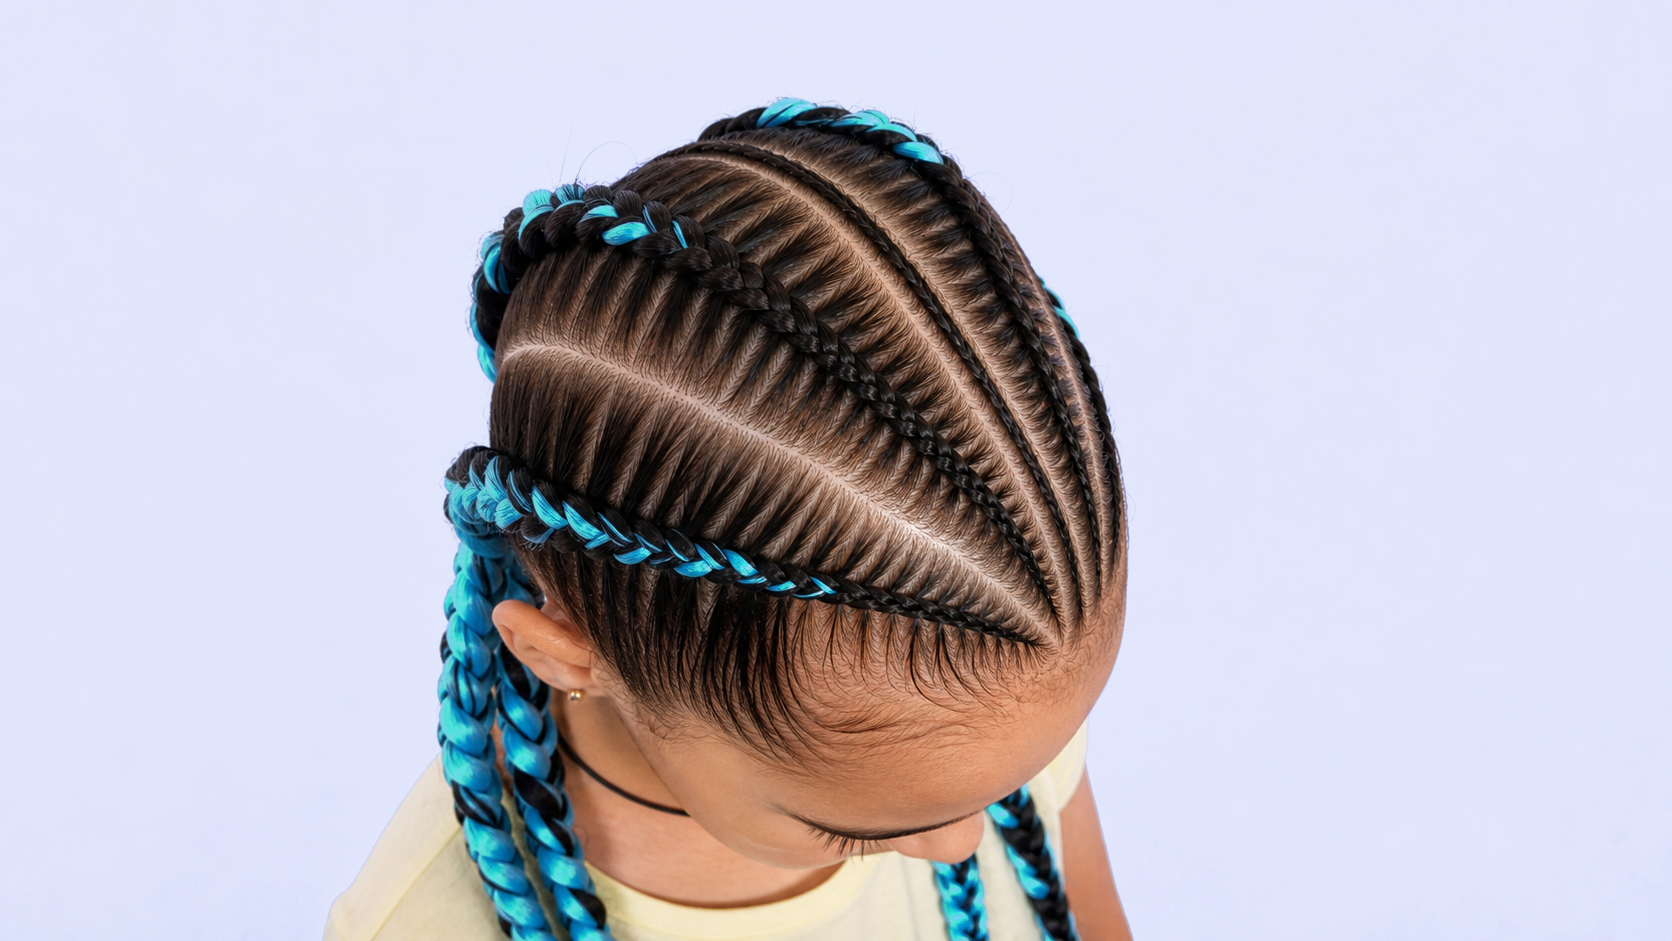
The biggest mistake is asking the client to drop the head too far forward. At first, it may seem helpful because the nape becomes more visible, but too much tilt can create new problems. The skin at the back of the neck can fold, the hairline can shift, and the section may not sit the same way it will sit when the client returns to a natural posture. If the braider parts and braids while the head is over-flexed, the braid can feel tight once the client lifts their head again. This is especially important for Cornrows, Feed-In Braids, Box Braids, Knotless Braids, Zizi Braids, and any style where the nape sections need to sit comfortably during real movement.
A better approach is to use a slight chin-down position. Ask the client to lower the chin just enough to expose the nape, then check whether the skin is still smooth and the hairline is not being stretched. The position should feel relaxed, not forced. If the client is holding tension in the neck or shoulders, the tilt is probably too strong. A professional braider should watch the client’s posture before starting the section. Comfortable positioning helps the client stay still longer, which makes parting cleaner and reduces unnecessary corrections. When the client is uncomfortable, they shift, lift, or turn without realizing it, and the braid map can start drifting.
The head tilt should be adjusted before the parting begins, not halfway through the braid. If the braider sections the nape in one head position and then braids in another, the base can change shape. Hair that looked controlled while the head was tilted may pull differently when the head returns upright. This can create tightness at the root or a braid that does not fall naturally. Before creating the part, the braider should set the client’s position, check the working angle, and decide whether the row will still sit comfortably when the client moves normally. A clean nape section should work with the client’s posture, not only with the braider’s view.
Protect the Braider’s Body Position
The braider’s position matters just as much as the client’s head position. Many braiders try to reach the nape from too far away, which forces the shoulders forward and the back into a rounded position. That posture may feel manageable for one braid, but during a full service it can create neck, shoulder, wrist, and lower back strain. A more professional setup is to move closer to the client, adjust the chair height if possible, and keep the hands working near the body. The braider should not sacrifice their own posture to see the section. Repositioning the client, the chair, or the braider’s stance is part of the technique.
Lighting also affects nape comfort. If the braider cannot see the nape clearly, they may lean closer, pull the hair harder, or overwork the section with the comb. Good lighting reduces that strain. The nape should be visible without the braider having to bend into an uncomfortable angle. If the service is happening in a studio, salon, or home setup, the light should be positioned so the part line is easy to see. This is especially important for dense, curly, coily, or dark hair, where the parting can disappear quickly if the surrounding hair is not controlled. Clear visibility helps the braider use gentler hands.
Clip and Control the Nape Section Cleanly
Clean clipping is essential at the nape because short hairs and loose sections can easily fall into the part. The nape often has shorter growth, baby hairs, uneven density, and direction changes. If the surrounding hair is not secured, the braider has to keep stopping to push hair away, which increases friction and makes the section less clean. Clip the upper hair out of the way, smooth the working zone, and keep the section small enough to control. A well-clipped nape gives the braider more room to work and helps prevent unnecessary pulling. The cleaner the setup, the less force is needed during the braid.
The braid direction at the nape should respect how the hair grows. Some nape hair grows upward, some grows downward, and some grows in small curves or swirls. If the braid is forced sharply against the natural direction, the client may feel pulling once the head moves. This is one reason the head-tilt position should stay moderate. The braider needs to see the natural growth pattern, not distort it. A slight adjustment in braid angle can make the style much more comfortable. This matters for Cornrows and Feed-In Braids that begin at the nape, but it also matters for individual braids or pre-made braid installations where the base carries weight.
Use Lighter Tension and Comfort Checks
Tension should be lighter and more controlled in the nape area. The nape can be sensitive because the hair may be shorter, finer, or exposed to friction from clothing, scarves, collars, and sleeping. A braid that is too tight at the nape can feel uncomfortable when the client looks up, turns the head, or lies down. The braider should build the braid with steady tension, not aggressive pulling. If synthetic hair is added, the amount should match the strength of the base. Heavy extensions on small nape sections can create dragging during wear. A clean braid at the nape should sit close enough to look polished but soft enough for normal neck movement.
For clients with neck sensitivity, posture issues, or limited mobility, the head-tilt hack should be used even more carefully. Some clients cannot hold a chin-down position for long without discomfort. In that case, the braider may need to work in shorter sections, give the client breaks, or change their own position more often. The client should never feel like they have to stay frozen in an uncomfortable pose. A professional service includes comfort checks. Ask if the neck feels okay, adjust the tilt, and reset the posture between rows. This small communication can prevent a lot of discomfort during longer braid appointments.
The braider should also reset the head position regularly. Clients naturally move, especially during long services. They may lift the chin, turn slightly, or sink into the chair without noticing. If the braider keeps working without resetting, the rows can become uneven or the tension can change. Before starting each new nape row, gently ask the client to return to the ideal position. This keeps the parting more consistent and helps the braider avoid chasing the section from a bad angle. A small reset takes seconds, but it protects the final result and reduces strain on the stylist.
Apply the Same Principle to Self-Braiding
For self-braiding, the same principle applies in a different way. The goal is still to avoid extreme head positions and unnecessary shoulder strain. When braiding the nape on yourself, it helps to work with a mirror setup, keep the elbows lower when possible, and take breaks before the arms become tired. If the head is tilted too far forward, the braid may feel tight when you return to a neutral position. A small tilt, controlled hand placement, and patient sectioning usually create a cleaner and more comfortable result than forcing the position for visibility. Self-braiding should still respect the scalp and neck.
The head-tilt hack is not a trick for speed only. It is a professional positioning habit that supports cleaner parting, safer tension, better posture, and a more comfortable client experience. The nape is a small area, but it can affect the whole service because it is easy to overpull, overbend, or rush. When the client’s head is positioned correctly, the braider can see the section without clawing through the hair, the braid can follow the natural growth direction, and the stylist can work without unnecessary strain. That is the difference between simply reaching the nape and working the nape with control.
Braid the Nape with Control and Comfort
The best nape work comes from balance. Tilt the head slightly, keep the client relaxed, protect the part with clips, follow the growth pattern, control extension weight, and keep the braider’s body close to the work. If the position feels forced, adjust it. If the braid feels tight when the client lifts the head, rebuild it. If the stylist’s shoulders or back are straining, change the setup instead of pushing through. A clean braid should not cost the client comfort or the braider’s body. With the right head position, the nape becomes easier to braid, easier to wear, and much more professional in the final result.