


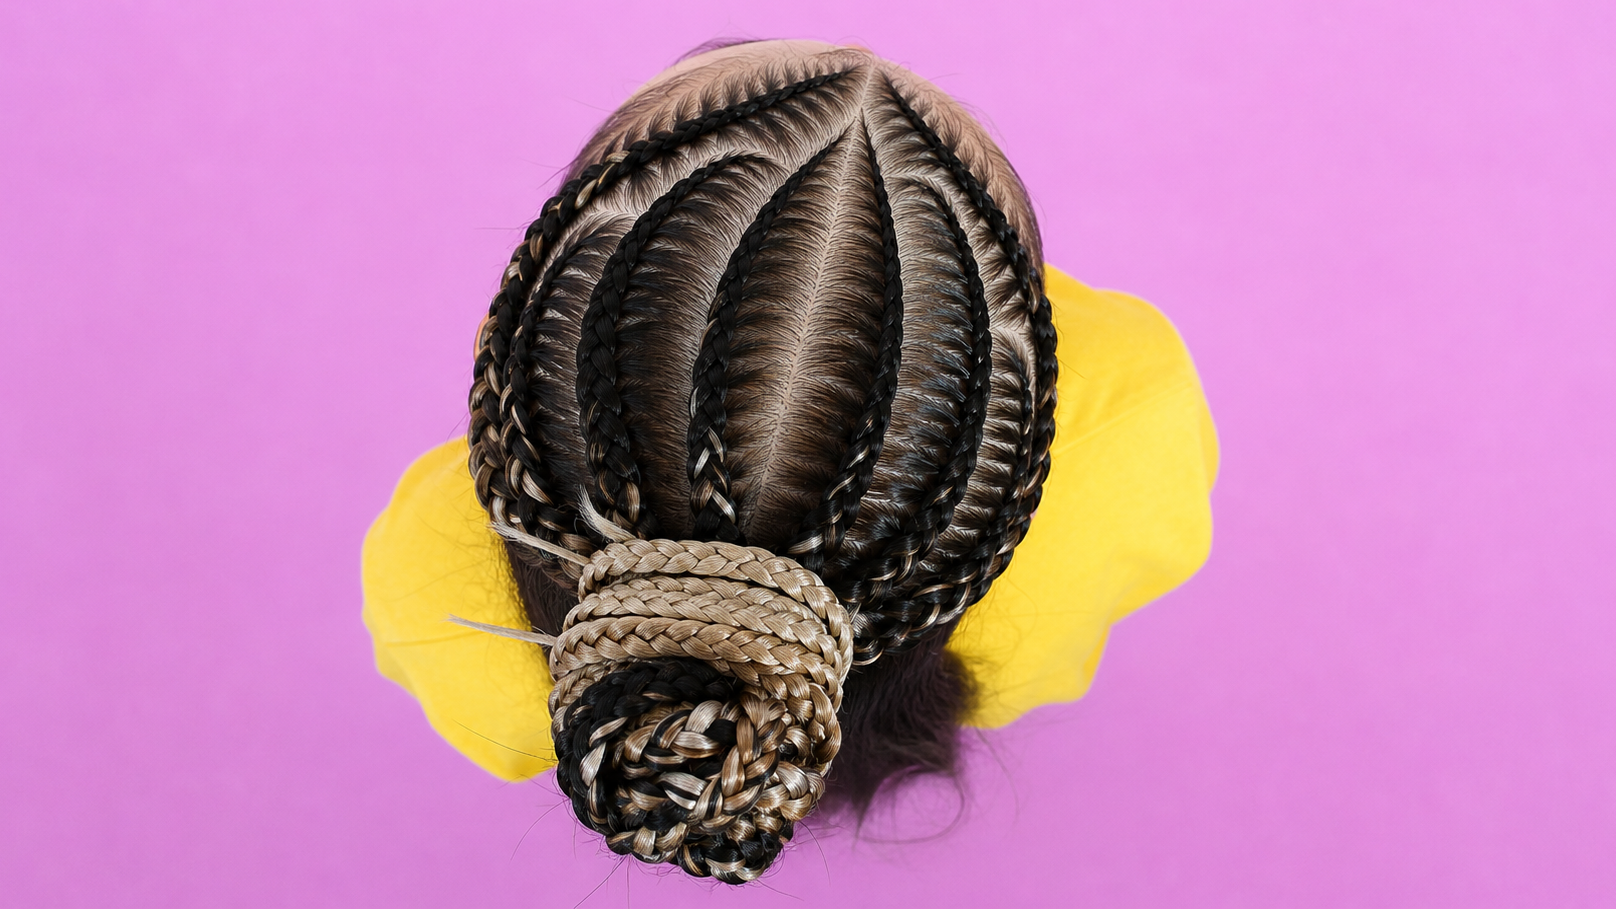
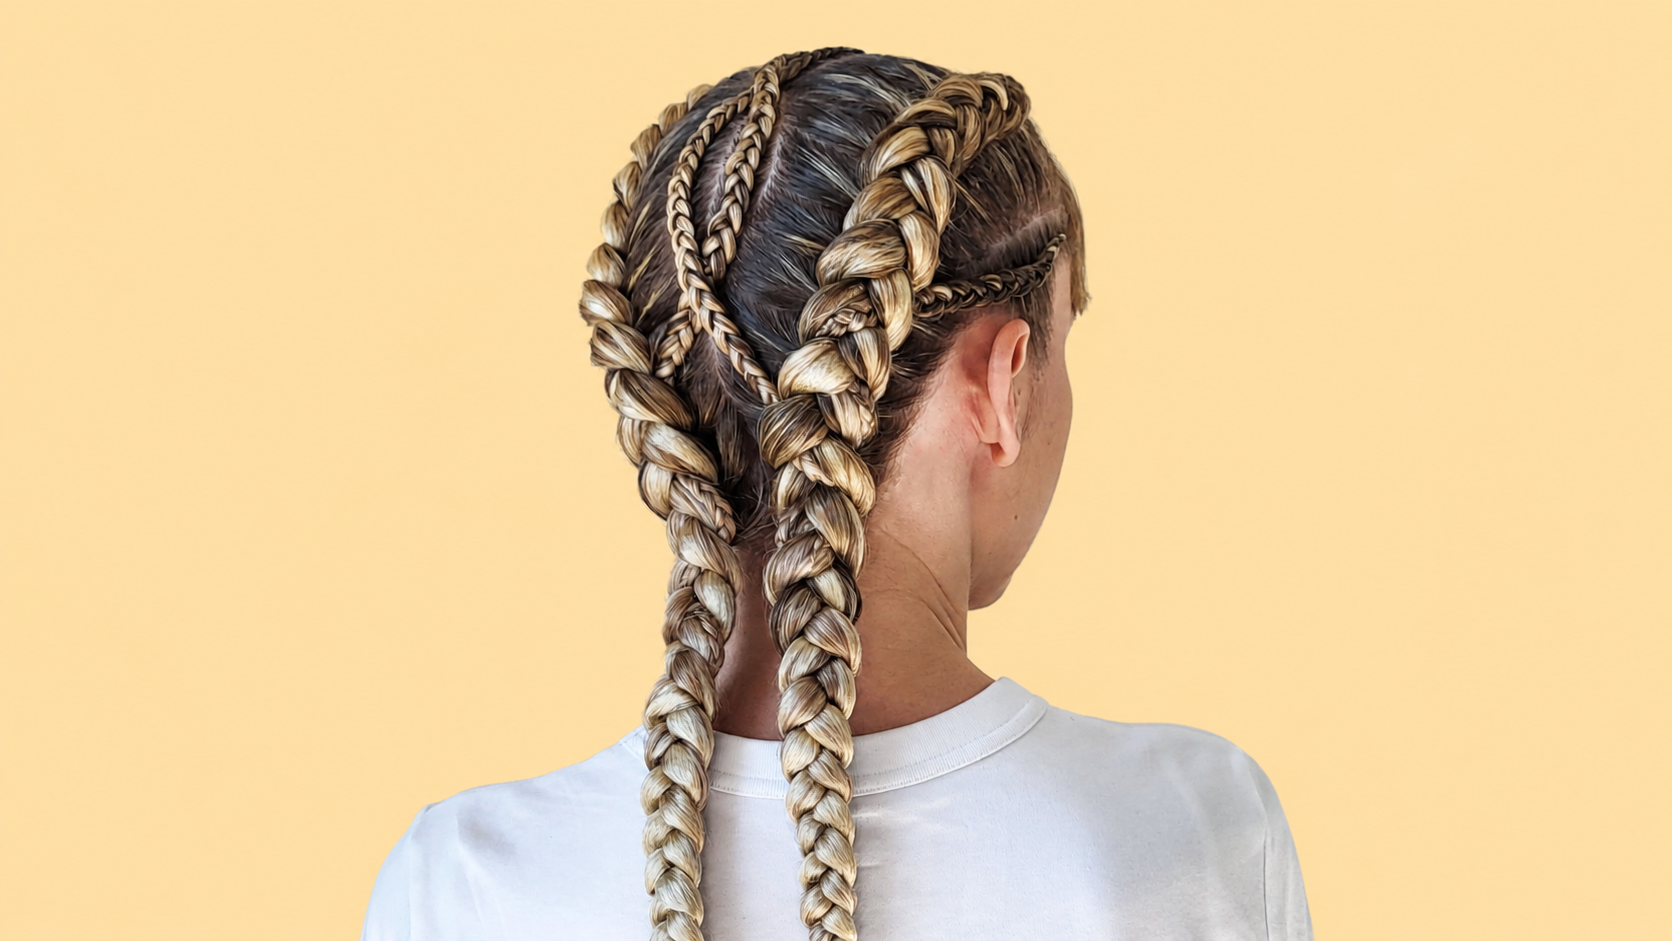
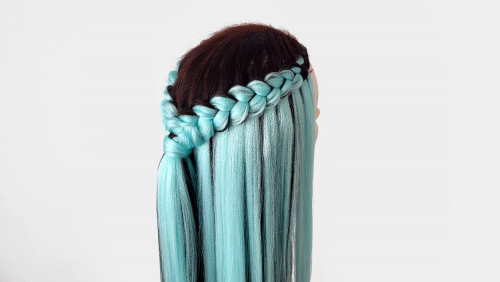
Safe Takedown Tips to Prevent Breakage
Safe takedown is one of the most important parts of protective styling, and it should never be treated like a quick cleanup step. A braid style may look finished when the installation is complete, but the full service is not truly successful until the natural hair is removed from the style without unnecessary breakage. Many clients lose hair during takedown, not because the braids were impossible to remove safely, but because the process was rushed, done dry, or handled without enough patience. Box Braids, Knotless Braids, Cornrows, Feed-In Braids, Senegalese Twists, Twists, Zizi Braids, and other long-wear styles all need a careful removal plan. The goal is to release the natural hair gently, separate shed hair properly, and protect the roots after weeks of being tucked away.
Never Rush the Removal Process
The first rule of takedown is to never rush the process. Braids that have been worn for several weeks contain more than just natural hair and extensions. They hold shed hair, product, sweat, lint, scalp oil, and sometimes small tangles at the root. This is normal, but it has to be handled correctly. When the client or braider pulls through the braid too quickly, the shed hair can wrap around the attached hair and create knots. If those knots are ripped apart with a comb, the natural hair can snap. A safe takedown is slow because it respects what has happened during wear. The longer the style has been in, the more patience the removal usually requires.
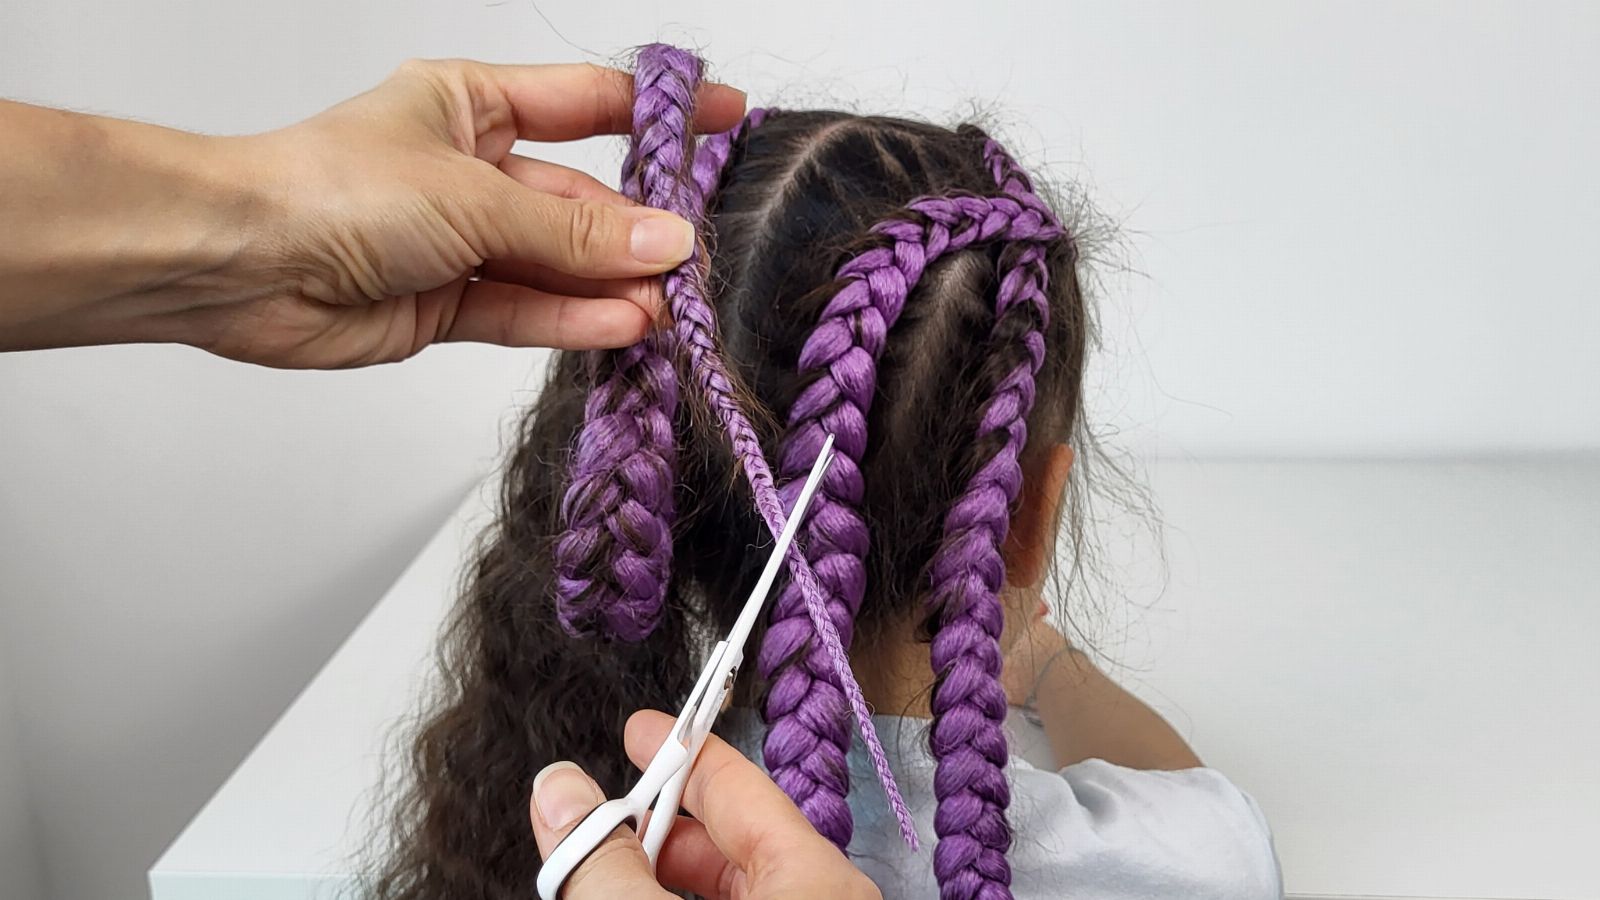
Before cutting any extension hair, the natural hair length has to be identified. This is one of the most common and most serious takedown mistakes. If the braider cuts too high, natural hair can be cut along with the synthetic hair. When in doubt, cut lower than expected and remove more length by hand. This may take extra time, but it is much safer. For clients with layered hair, uneven haircuts, shrinkage, or very long natural hair, the natural ends may sit lower than expected inside the braid. A professional braider should never guess. The safest approach is to know where the natural hair ends before scissors come anywhere near the braid.
Use Moisture, Slip, and Section-by-Section Control
Moisture and slip make takedown easier. Dry hair is more likely to snap, especially after weeks inside a protective style. Before detangling, the hair should be softened with a product that gives slip, such as a lightweight conditioner, detangling spray, or a suitable softening product for the client’s hair type. The product should help the strands separate without forcing them. This does not mean soaking the entire head until it becomes heavy and difficult to manage. It means giving the hair enough flexibility so shed strands, product buildup, and small tangles can loosen more safely. A dry takedown can feel faster at first, but it often creates more breakage by the end.
The braid should be removed section by section. Taking down the whole head and leaving all the loose hair together can create a larger tangled area that becomes harder to manage. A cleaner method is to remove one braid or one small group of braids, then separate the shed hair from that section before moving on. This keeps the process organized and prevents shed hair from traveling into neighboring sections. After each braid is removed, use fingers first before using a comb. The fingers can feel knots, buildup, and compacted shed hair more gently than a tool. A comb should come in only after the section has been loosened enough to handle it.
Separate Shed Hair Without Panic
Shed hair should not cause panic. Hair naturally sheds every day, but when the hair is braided, many of those shed strands stay trapped in the style until takedown. When the braids come out, the amount of shed hair can look larger than expected because several weeks of shedding are being released at once. The important question is whether the hair is shedding normally or breaking. Shed hair usually has a natural full-length strand and may include a small bulb at one end. Breakage often looks like shorter broken pieces. A professional takedown should focus on separating shed hair gently so it does not wrap around the attached hair and cause unnecessary snapping.
The root area needs the most patience. This is where new growth, shed hair, product, and scalp oils collect during wear. If the style has been left in too long, the base may feel compacted, webbed, or slightly matted. This area should be softened and separated slowly. Pulling straight through the root with a comb can break the hair quickly. Instead, open the section with fingers, separate the shed hair, and work through the buildup gradually. If the roots are heavily matted, the takedown may need more time and more softening product. Rushing through matted roots is one of the fastest ways to turn a protective style into a breakage problem.
Product buildup should be handled carefully during takedown. Braiding gel, edge control, mousse, oil, and scalp products can collect at the base of the braid. When buildup dries around shed hair, it can make the section feel stiff or sticky. Adding a little moisture or slip can help loosen it, but the braider should avoid aggressive scrubbing while the braid is still being removed. The goal is to soften and separate, not tear through the hair. If a section feels hard or resistant, pause and add more slip instead of forcing the comb through. A resistant section is a signal to slow down.
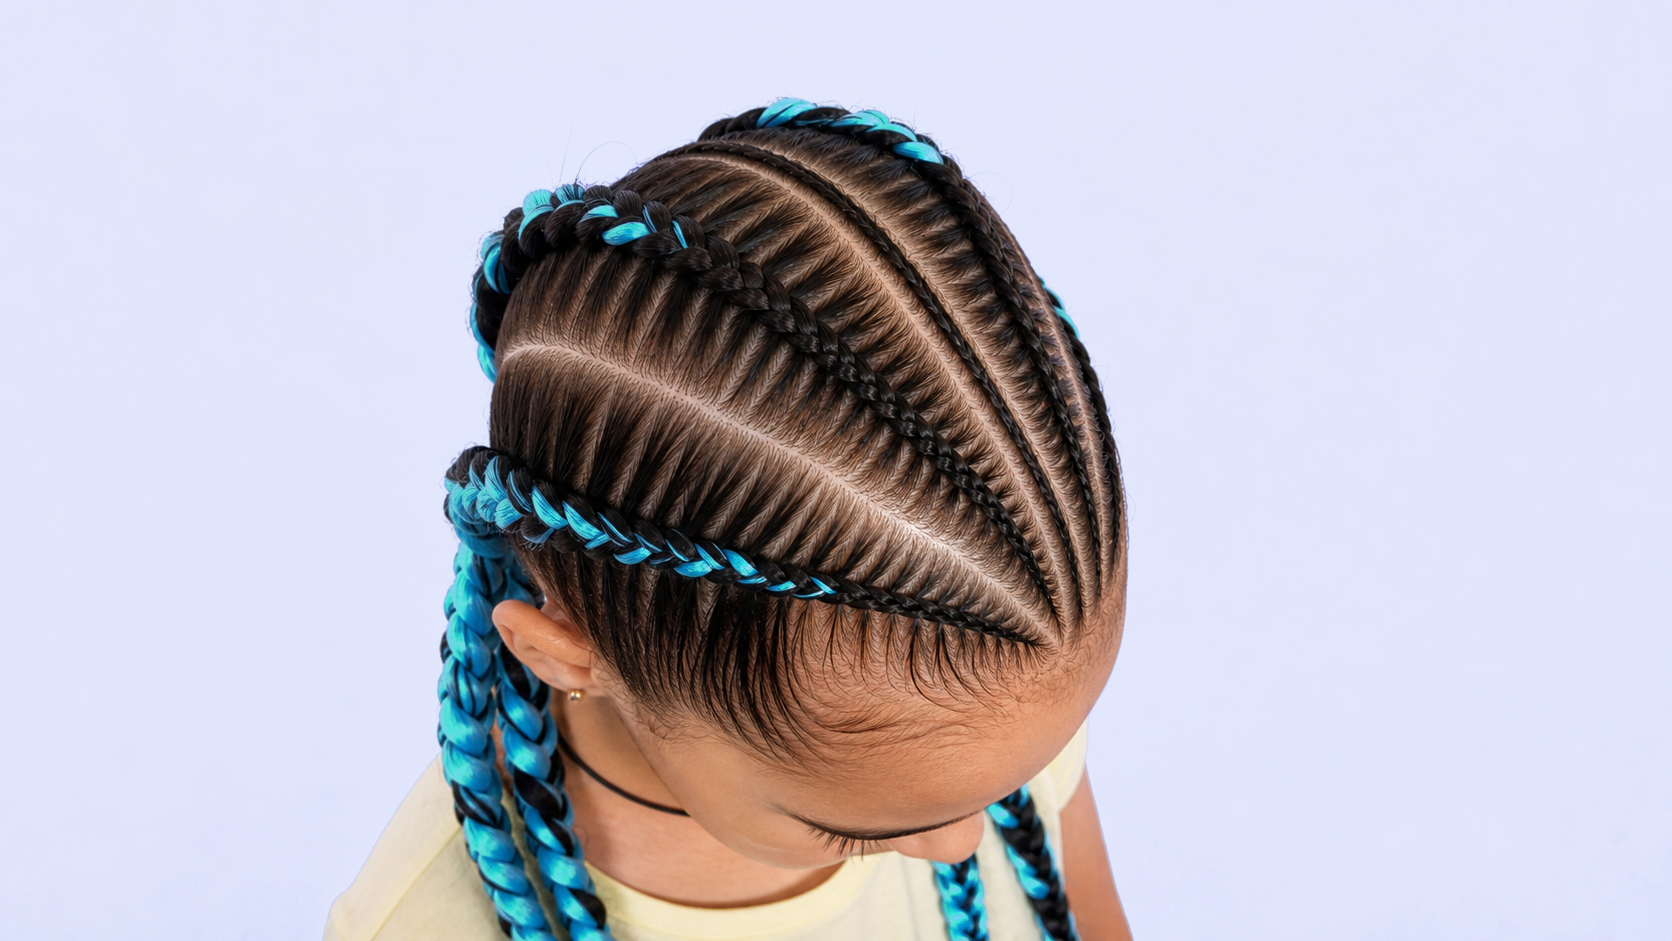
Adjust Takedown for Each Braid Style
For Cornrows and Feed-In Braids, the takedown should follow the braid direction. The braid sits close to the scalp, so pulling in the wrong direction can create unnecessary tension at the root. Start from the end and work upward carefully, releasing the braid without scratching or tugging the scalp. If synthetic hair was fed into the braid, remove it gently as the braid opens instead of pulling it out aggressively. Around the hairline and temples, work even slower because these areas are more delicate. A cornrow takedown may look simple, but if it is rushed, it can create breakage along the most visible parts of the style.
For Box Braids and Knotless Braids, the lower length can often be removed faster than the root area, but the same caution still applies. Once the synthetic length is cut safely below the natural hair, the braid can be unraveled. When the natural hair appears, slow down. This is where the client’s real hair is most vulnerable to breakage. If the natural hair is tucked inside the extension hair, it may need gentle separation to release it from the synthetic fiber. If the hair was braided with a strong tuck or high color contrast, the braider should pay close attention to where the natural strand sits inside the braid.
For Senegalese Twists and other twist styles, removal requires a slightly different feel. Twists can sometimes be untwisted faster than braids, but natural hair can still wrap around the synthetic fiber, especially near the root. The twist should be opened in the opposite direction of the installation, and the natural hair should be separated gently as it appears. If the twist has started to lock or compact near the base, do not pull it apart dry. Add slip, loosen with fingers, and move slowly. A twist takedown may seem easy until the root area is neglected. That is where most of the care is needed.
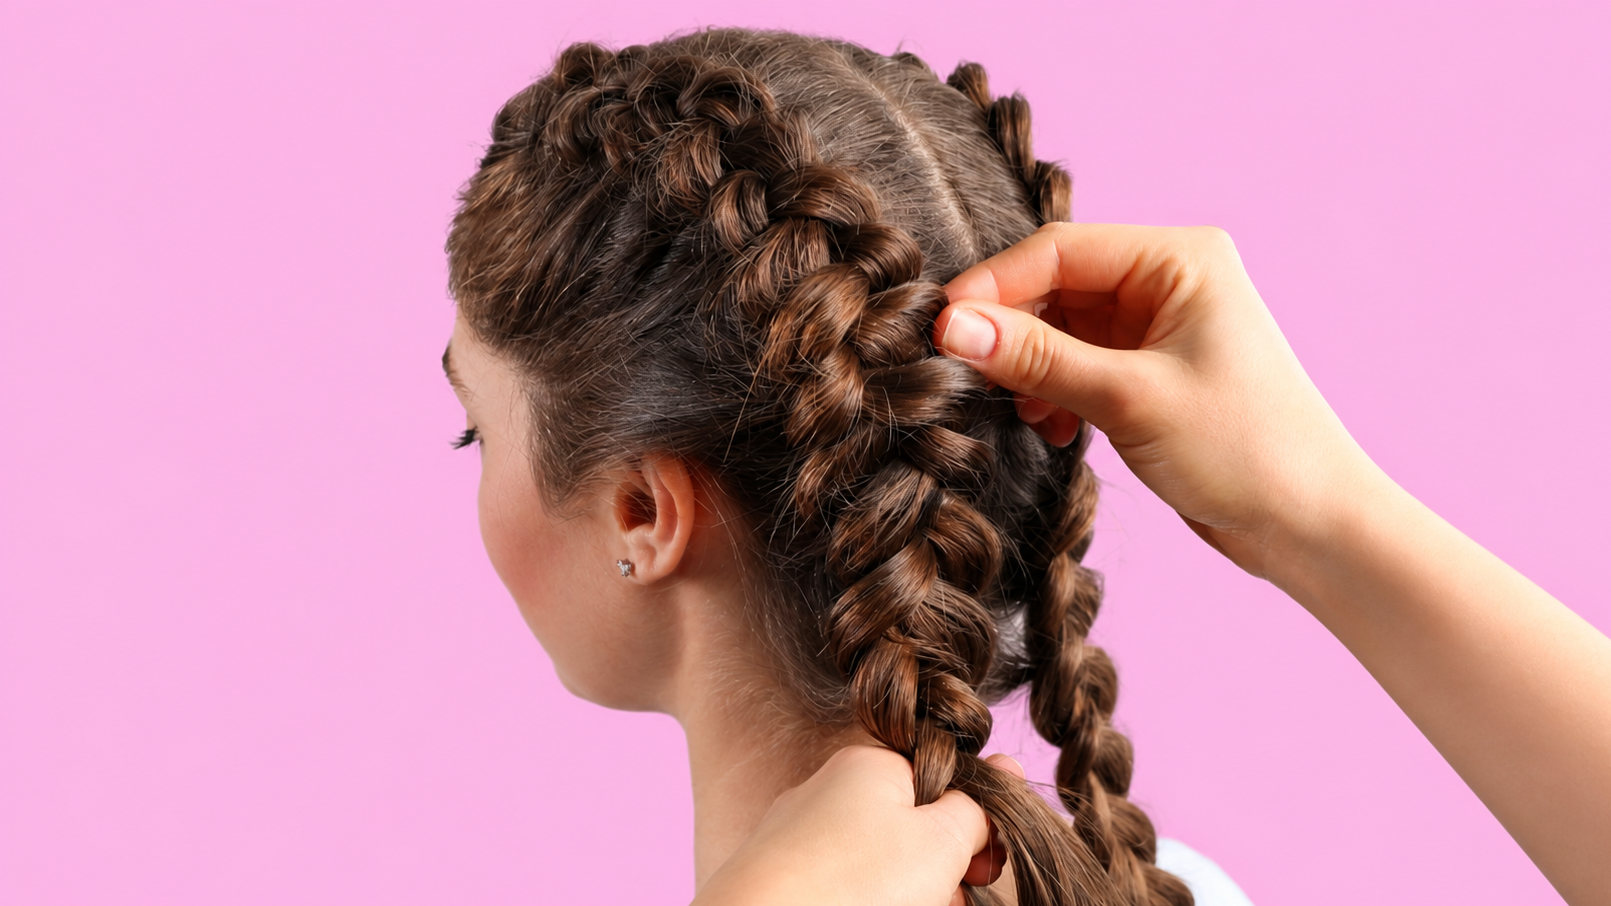
Detangle Before Washing
After each section is removed, detangling should happen before washing. This is important because washing loose, tangled hair can make knots tighter. Water can cause shed hair and product buildup to compact if the hair has not been separated first. A better approach is to remove the braid, separate shed hair, finger-detangle, and then gently comb through the section when it is soft enough. Once all sections are removed and detangled, the hair can be cleansed more safely. This order helps prevent matting during the wash and makes the shampoo process easier on the scalp and hair.
The hairline should be handled with extra care during takedown. Edges, baby hairs, temples, and the nape can be more fragile than the rest of the head, especially after weeks in a style. Do not pull small edge braids out quickly just because they are short. These areas may have more tension history and need slower removal. If a braid near the hairline feels stuck, soften it and separate it carefully. If the client has bumps, tenderness, redness, or thinning around the perimeter, the braider should avoid aggressive manipulation and recommend a break from high-tension styling before the next install.
Know When the Hair Needs Extra Care
Safe takedown also includes knowing when to stop and reassess. If the hair is severely matted, if the scalp is irritated, or if the client is experiencing pain, the process should slow down. In some cases, the client may need professional help instead of trying to remove the style alone at home. Braiders should not diagnose scalp conditions, but they should recognize when something needs extra care. If there is persistent inflammation, sores, unusual shedding, or pain, the client should seek advice from a licensed medical professional. A professional braid service includes knowing the limits of styling advice.
After the braids are removed, the hair should not be immediately forced into another tight style. The scalp and hair may need cleansing, conditioning, detangling, and rest. If the client has worn the style for several weeks, the natural hair has been tucked away and needs time to be assessed. Look for dryness, breakage, thinning at the edges, tenderness, or areas that need extra moisture. A good after-takedown routine helps prepare the hair for whatever comes next. If the hair feels weak, the next style should be lighter, lower tension, or delayed until the hair feels stronger.
Make Safe Removal Part of Professional Braiding
The strongest takedown routine is built on patience, moisture, and organization. Cut only where it is safe, soften the hair before detangling, remove one section at a time, separate shed hair with fingers, protect the root area, and avoid combing aggressively through buildup. A protective style should not end with unnecessary breakage. When takedown is done correctly, the client can enjoy the beauty of braids while still preserving the natural hair underneath. Safe removal is not an extra step. It is part of professional braiding from start to finish.